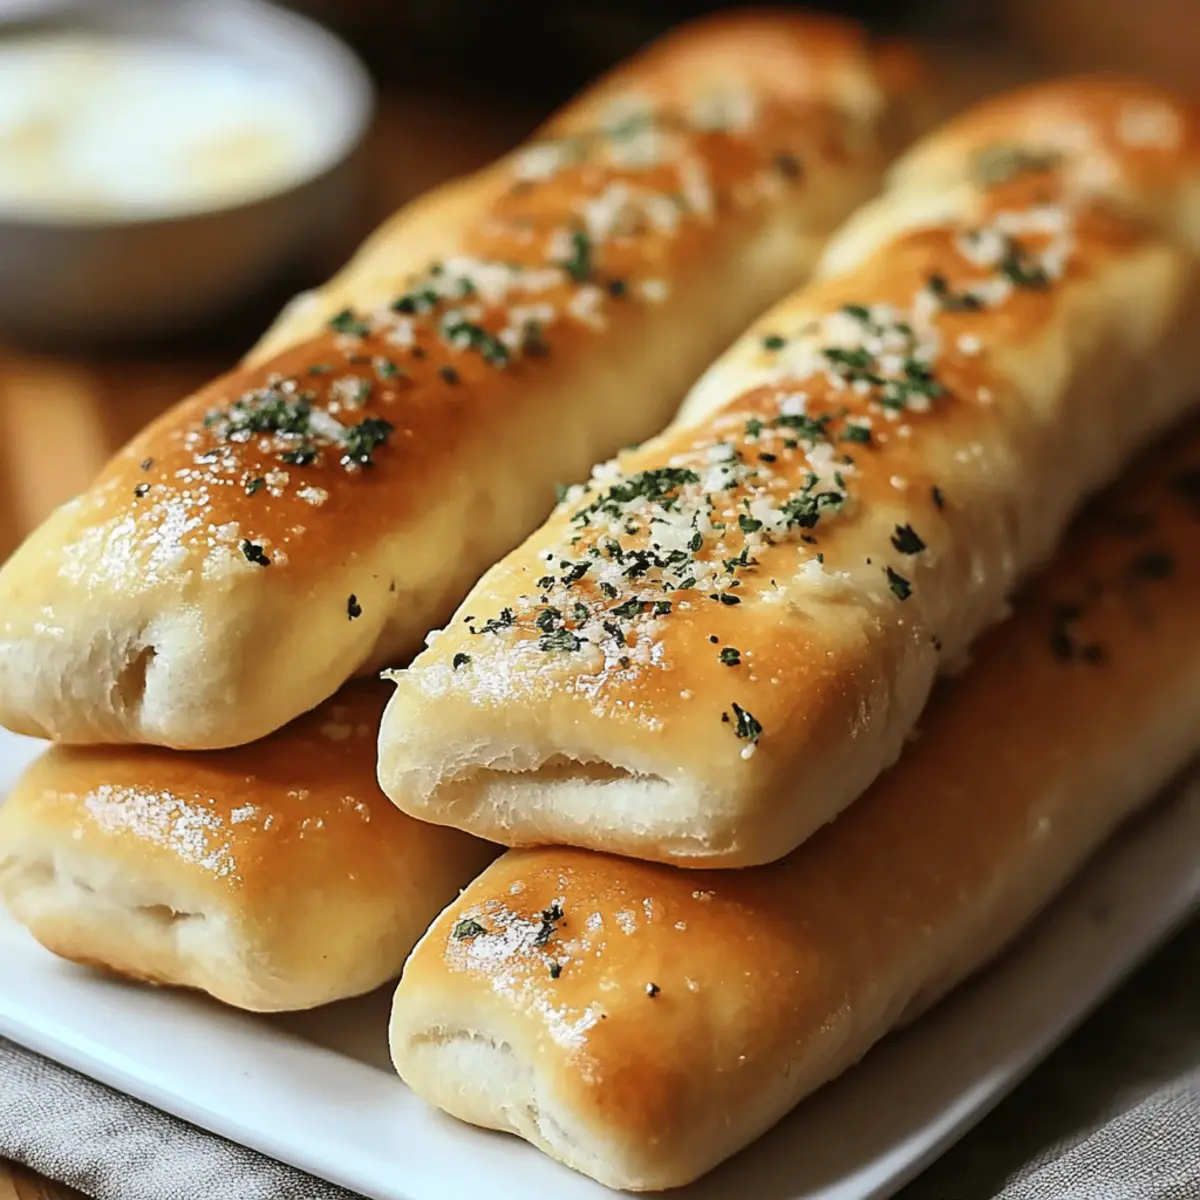
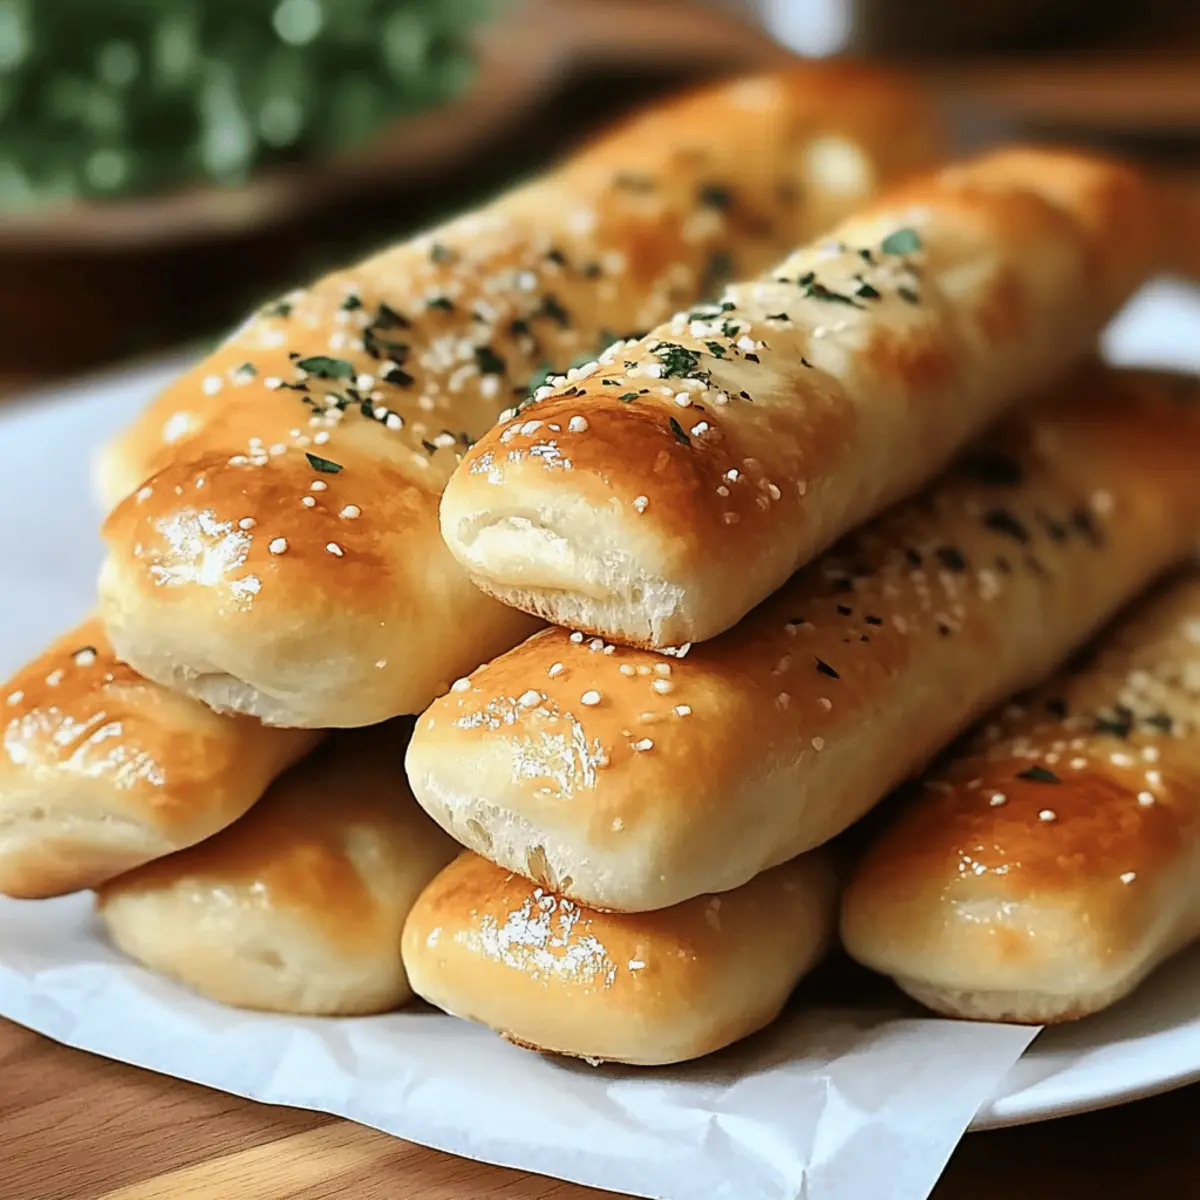
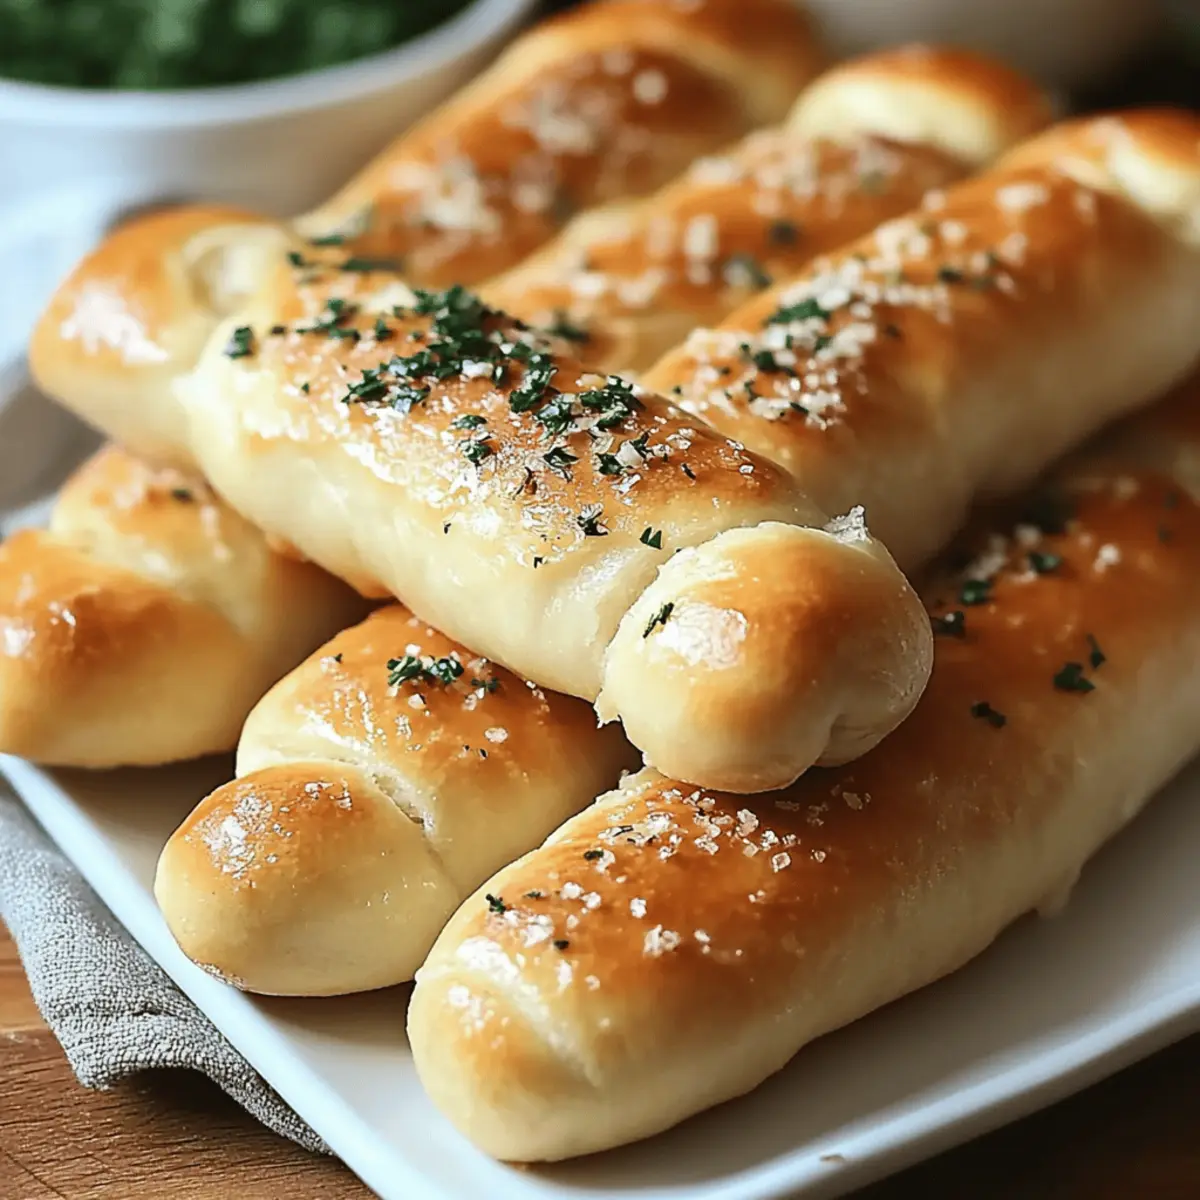
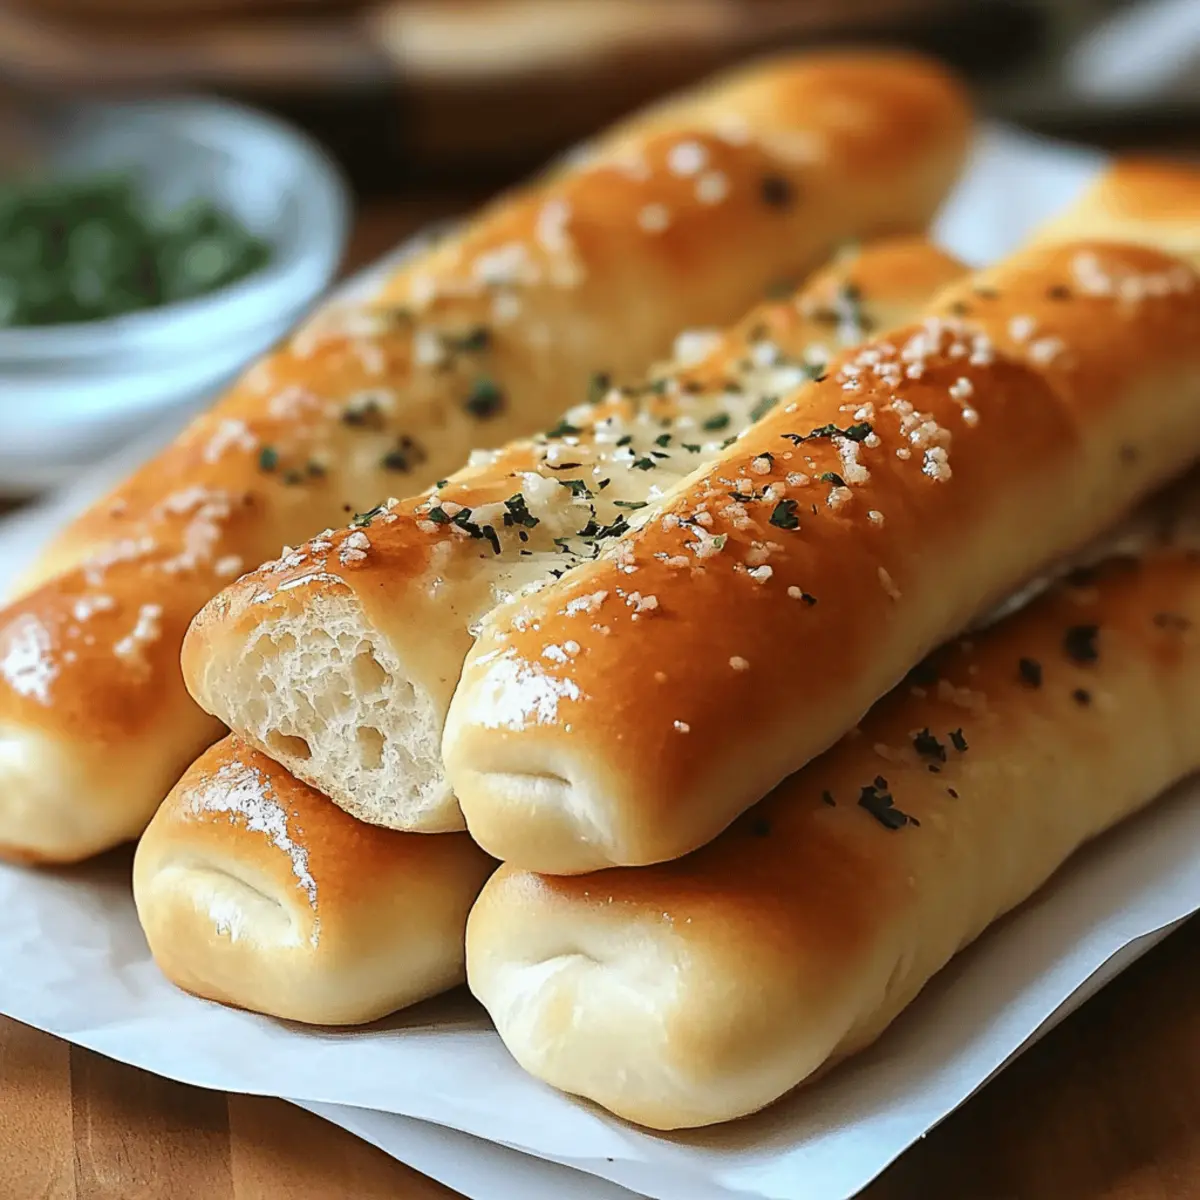
Stepping into my kitchen, I can almost hear the warm, inviting chatter of families gathered around an Italian table, where the smell of fresh-baked bread hangs in the air. That’s the essence I capture with my Copycat Olive Garden Breadsticks, which bring that beloved restaurant experience right into your home. This easy recipe is not only a breeze to whip up, but it also transforms simple ingredients into soft, buttery bites that pair perfectly with any meal or stand alone as a delightful snack. Whether you’re diving into a comforting bowl of pasta or enjoying them fresh from the oven with a savory dip, these homemade breadsticks are sure to become a crowd-pleaser. Ready to get started on your own batch of these irresistible delights? Let’s dive in!

Why Choose Homemade Olive Garden Breadsticks?
Irresistible Flavor: The buttery, garlic-infused taste transports you straight to a cozy Italian restaurant.
Easy and Fun: This simple recipe is perfect for novice bakers and experienced chefs alike. Whipping these up is a joyful experience, especially with loved ones around.
Versatile Pairing: Whether alongside marinara sauce, Alfredo, or your favorite pasta dish, they elevate any meal effortlessly.
Crowd Favorite: Impress your family and friends with these delightful breadsticks that are sure to disappear in no time!
Make Ahead: These fluffy delights can be baked in advance and stored for later, making dinner time stress-free. Want more recipes that make your family smile? Check out our easy pasta dinners for more delicious ideas!
Olive Garden Breadsticks Ingredients
• Get ready to bake these soft, buttery delights!
For the Dough
- Warm Water – Activates yeast; use at 110°F (45°C) for best results.
- Active Dry Yeast – This leavening agent ensures fluffy breadsticks; fresh yeast is key for a good rise.
- Granulated Sugar – Feeds the yeast, enhancing the flavor and promoting a lovely rise.
- All-Purpose Flour – Provides structure; swap for a gluten-free blend if desired.
- Unsalted Butter (Softened) – Adds richness and moisture; margarine works if you’re looking for dairy-free.
- Salt – Enhances all the flavors; feel free to use sea salt for a gourmet touch.
For the Topping
- Melted Unsalted Butter – Brushing this on adds flavor and moisture to your breadsticks.
- Garlic Powder – Infuses a delicious garlic taste; fresh garlic delivers a stronger punch.
- Salt – Balances the flavors in your decadent melted butter topping.
Step‑by‑Step Instructions for Olive Garden Breadsticks
Step 1: Activate Yeast
In a small bowl, combine 1 cup of warm water (110°F or 45°C) with 2 ¼ teaspoons of active dry yeast and 1 tablespoon of granulated sugar. Stir gently to mix and let it sit for 5-10 minutes until the mixture is frothy. This bubbling action indicates that the yeast is active and ready to create those fluffy Olive Garden Breadsticks.
Step 2: Prepare Dough
In a large mixing bowl, whisk together 4 cups of all-purpose flour and 1 teaspoon of salt. Add the frothy yeast mixture and 3 tablespoons of softened unsalted butter to the flour. Mix until combined and then knead the dough on a floured surface for about 8-10 minutes until it is smooth and elastic. This step is essential for developing the perfect texture.
Step 3: First Rise
Place the dough in a greased bowl and cover it with a kitchen towel. Set it in a warm place to rise for about 1 hour, or until it doubles in size. Once it has completed this first rise, it should feel light and airy, ready to transform into those soft and buttery Olive Garden Breadsticks that we love.
Step 4: Shape Breadsticks
After the dough has risen, punch it down gently to release the air. Divide the dough into 12-14 equal pieces, rolling each piece into a 6-7 inch rope. Place these shaped breadsticks on a greased baking sheet, spacing them apart to allow for expansion. They should look delightful and rustic at this stage.
Step 5: Second Rise
Cover the shaped breadsticks with a towel and let them rise for an additional 20-30 minutes until they are visibly puffy. This second rise is crucial for achieving that wonderful softness reminiscent of restaurant-style Olive Garden Breadsticks. You’ll know they are ready when they look airy and almost double in size again.
Step 6: Preheat Oven
While the breadsticks are rising, preheat your oven to 400°F (200°C). This temperature is perfect for baking the breadsticks to a golden brown finish. As the oven heats up, the anticipation of those warm, garlicky delights will fill your kitchen with an inviting aroma.
Step 7: Bake Breadsticks
Once preheated, place the baking sheet in the oven and bake the breadsticks for 12-15 minutes. Keep an eye on them as they start to turn golden brown. When they’re beautifully browned on top and smell heavenly, they’re ready to come out.
Step 8: Prepare Topping
While the breadsticks are baking, melt ½ cup of unsalted butter in a small saucepan. Once melted, stir in 1 teaspoon of garlic powder and a sprinkle of salt to create a deliciously flavorful topping. This aromatic butter mixture will be the finishing touch that makes your Olive Garden Breadsticks irresistible.
Step 9: Finish
As soon as the breadsticks are out of the oven, brush them generously with the melted butter mixture. This step not only adds flavor but gives them a beautiful sheen. Serve them warm, and watch as they disappear quickly from the table, capturing the essence of Olive Garden right in your home!

Expert Tips for the Best Olive Garden Breadsticks
Fresh Yeast: Ensure your yeast is fresh: Old yeast can lead to flat breadsticks. Activate it properly for best results!
Knead Well: Knead for elasticity: Proper kneading for 8-10 minutes ensures a fluffy texture. Don’t rush this important step!
Perfect Temperature: Monitor dough rises: Keeping the dough in a warm, draft-free spot is key to achieving that lovely rise reminiscent of Olive Garden Breadsticks.
Baking Time: Keep an eye on color: Bake until golden brown but not too dark; they should be soft and inviting.
Immediate Brush: Brush right after baking: Applying the garlic butter mixture while they’re still hot allows for maximum flavor absorption.
Serve Warm: Best served fresh: These breadsticks are delicious right out of the oven. Serve them warm to capture everyone’s palate!
What to Serve with Copycat Olive Garden Breadsticks
There’s nothing quite like savoring warm, garlicky breadsticks fresh from the oven, and pairing them with the perfect complements can elevate your meal to new heights.
- Marinara Sauce: The tangy richness of marinara provides a delightful contrast to the buttery breadsticks, perfect for dipping.
- Alfredo Sauce: Creamy and indulgent, Alfredo sauce easily complements the soft texture of the breadsticks for a truly comforting experience.
- Caesar Salad: The crunch of crisp romaine and savory dressing balances the softness of the breadsticks, creating a pleasing texture contrast.
- Italian Meatballs: A hearty addition that brings a savory punch, meatballs pair beautifully with both the breadsticks and marinara.
- Pasta Primavera: Fresh and vibrant vegetables in a light sauce enhance the meal, allowing the breadsticks to soak up every delicious bite.
- Garlic Herb Olive Oil: Dip raw vegetables in this fragrant oil for a fresh appetizer that cozies up perfectly to your warm breadsticks.
- Tuscan Soup: A bowl of Tuscan soup offers warmth and deep flavor that perfectly compliments the airy qualities of the breadsticks.
- Sparkling Lemonade: A refreshing drink to cleanse your palate between bites, the citrus notes brighten the meal beautifully.
- Tiramisu: End your dining experience on a sweet note with this classic Italian dessert; the creamy coffee layers are a match made in heaven!
- Red Wine: A glass of Chianti or Merlot provides a wonderful depth to the overall meal, enhancing the flavors of your breadsticks and dishes.
How to Store and Freeze Olive Garden Breadsticks
Airtight Container: Store in an airtight container at room temperature for up to 2 days to maintain their softness.
Refrigerator: If you need to keep them longer, they can be refrigerated for up to 5 days; reheat in the microwave or oven to restore texture.
Freezer: For longer storage, freeze the breadsticks in a resealable bag or airtight container for up to 3 months. Thaw in the fridge overnight and reheat in the oven.
Reheating: To reheat, place the breadsticks in a preheated oven at 350°F (175°C) for 5-10 minutes until warm and soft again; this brings back that amazing, fresh-baked aroma and taste!
Make Ahead Options
These Copycat Olive Garden Breadsticks are perfect for meal prep enthusiasts! You can prepare the dough up to 24 hours in advance by completing all the steps up to the first rise; simply cover the dough tightly with plastic wrap and refrigerate it. For optimal results, allow the dough to come to room temperature before shaping and performing the second rise. Alternatively, shape the breadsticks and freeze them directly on a baking sheet; once frozen, transfer them to an airtight container for up to 3 days. When ready to bake, simply let them thaw for about an hour, perform the second rise, and then bake as instructed. This way, you’ll have warm, buttery breadsticks ready with minimal effort on busy weeknights!
Olive Garden Breadsticks Variations
Embrace the joy of customizing your Olive Garden Breadsticks with these fun and flavorful twists!
- Herb-Infused: Add 2 tablespoons of minced fresh herbs like rosemary or parsley to the dough for an aromatic surprise.
- Cheesy Delight: Fold in 1 cup of shredded Parmesan cheese into the dough to create a rich, cheesy flavor and delightful texture.
- Garlic Lovers: Increase the garlic powder to 2 teaspoons in both the dough and topping for a fully-loaded garlic experience.
- Spicy Kick: Mix a pinch of red pepper flakes into the butter topping for those who love an extra heat punch.
- Honey Glaze: Drizzle a bit of honey over the warm breadsticks for a sweet and savory contrast.
- Olive Oil Swap: Replace the melted butter in the topping with high-quality olive oil for a Mediterranean twist.
- Vegan Version: Use plant-based butter, coconut milk, and a milk alternative to craft vegan-friendly breadsticks that everyone can enjoy.
- Allergen-Free: Opt for a gluten-free 1:1 flour blend and ensure your other ingredients are gluten-free for breadsticks that cater to dietary needs.
These variations will not only elevate your breadsticks but may inspire you to explore even more heavenly recipes. If you want to complement your fresh-baked goodness, consider serving them with a warm marinara sauce or rich Alfredo sauce as a delightful dip!

Olive Garden Breadsticks Recipe FAQs
What type of warm water should I use for the dough?
Absolutely! For optimal yeast growth, use warm water heated to around 110°F (45°C). This temperature is perfect for activating the yeast without killing it.
How should I store leftover breadsticks?
I recommend storing your Olive Garden breadsticks in an airtight container at room temperature for up to 2 days. If you want to keep them longer, refrigerate them for up to 5 days. Just remember to reheat them in the oven or microwave before serving to enjoy their fluffy goodness again!
Can I freeze the breadsticks, and if so, how?
Yes, you can! To freeze your Olive Garden breadsticks, first allow them to cool completely. Next, place them in a resealable freezer bag or an airtight container, and they will keep well for up to 3 months. To enjoy them later, simply thaw in the fridge overnight and reheat them in a preheated oven at 350°F (175°C) for 5-10 minutes until warm.
Why did my breadsticks come out dense or flat?
Very common question! If your breadsticks are dense, it could be due to using old yeast that didn’t activate properly. Make sure your yeast is fresh and bubbled in the warm water before mixing. Additionally, kneading the dough properly for 8-10 minutes is crucial for achieving that delightful fluffiness.
Are these breadsticks suitable for people with dairy allergies?
For sure! You can easily make these Olive Garden breadsticks dairy-free by substituting the unsalted butter with margarine or a dairy-free spread. Just make sure to check the labels for any allergens!
Can I add additional flavors to the breadsticks?
Absolutely! You can enhance the flavor of your Olive Garden breadsticks by mixing in minced fresh herbs like parsley or rosemary into the dough. For a spicy kick, consider adding a pinch of red pepper flakes to the garlic butter topping. The more, the merrier!

Mouthwatering Olive Garden Breadsticks Made Easy at Home
Ingredients
Equipment
Method
- In a small bowl, combine warm water, active dry yeast, and granulated sugar. Let sit until frothy.
- In a mixing bowl, whisk together all-purpose flour and salt. Add the yeast mixture and softened butter, mix until combined.
- Knead the dough on a floured surface for 8-10 minutes until smooth and elastic.
- Place dough in a greased bowl, cover with a towel, and let rise for about 1 hour until doubled in size.
- After rising, punch the dough down, divide into 12-14 pieces, and roll into ropes.
- Place breadsticks on a greased baking sheet, cover with a towel, and let rise for 20-30 minutes until puffy.
- Preheat oven to 400°F (200°C).
- Bake breadsticks for 12-15 minutes until golden brown.
- Melt butter, stir in garlic powder and salt, then brush over hot breadsticks.
- Serve warm and enjoy!

Leave a Reply