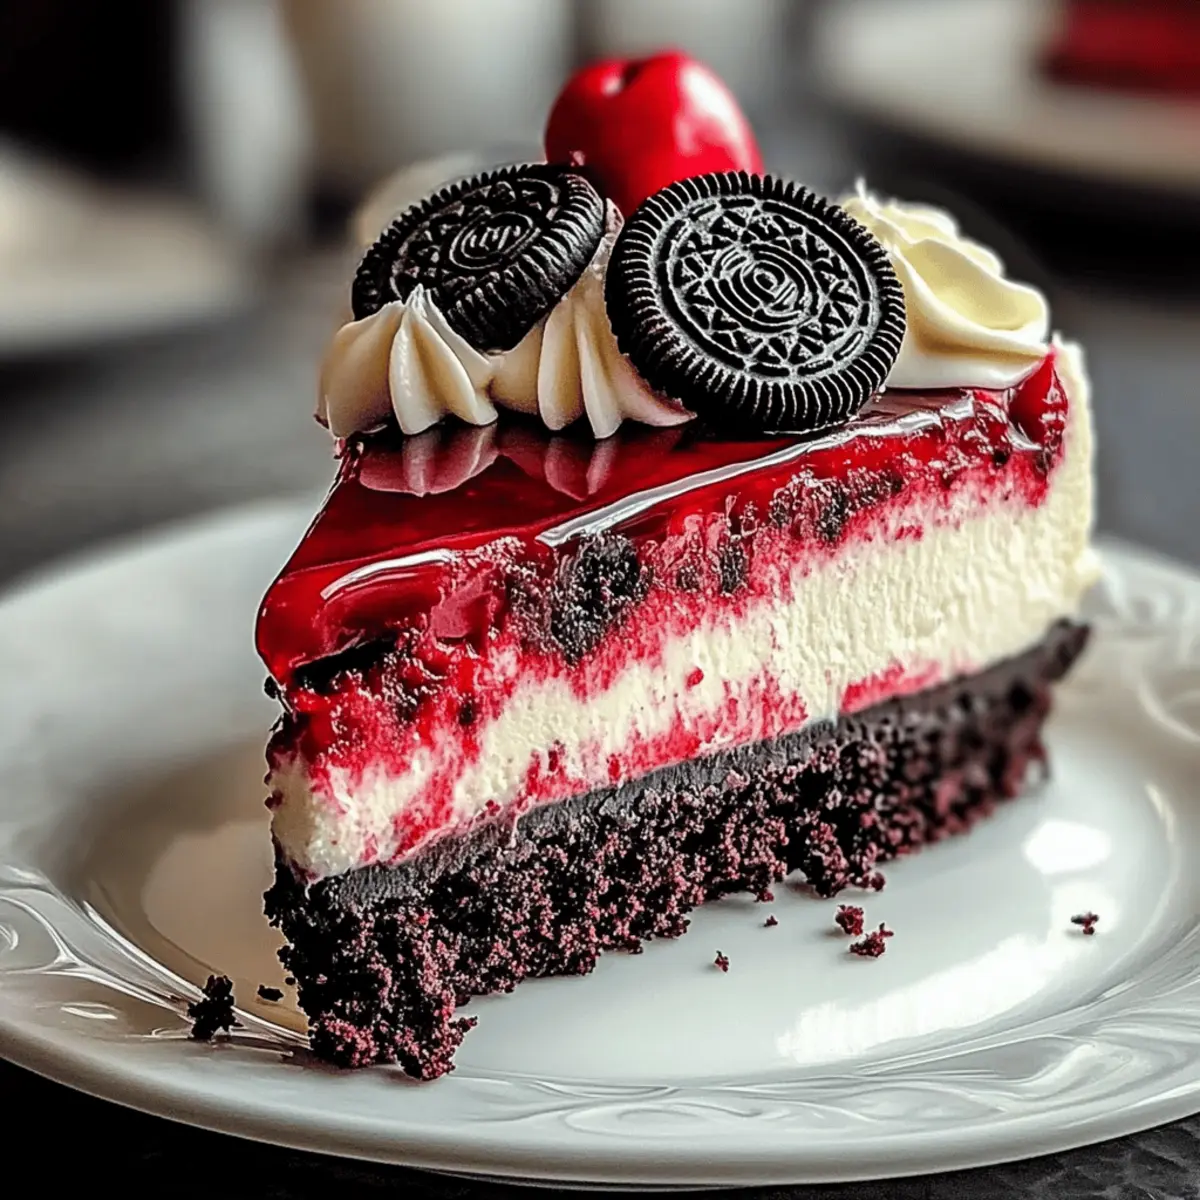
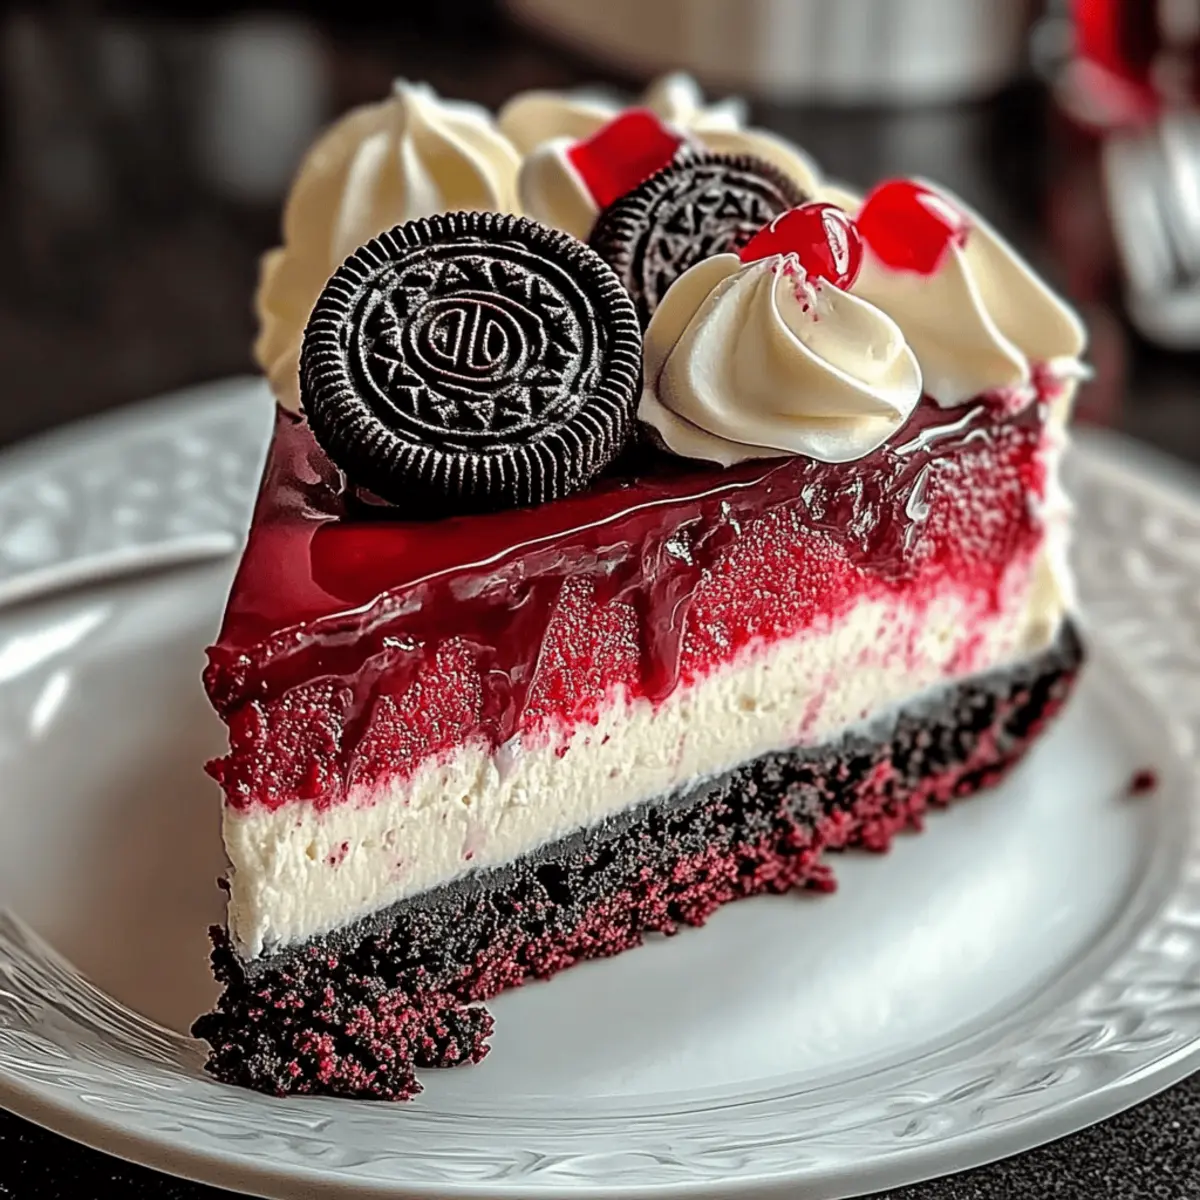
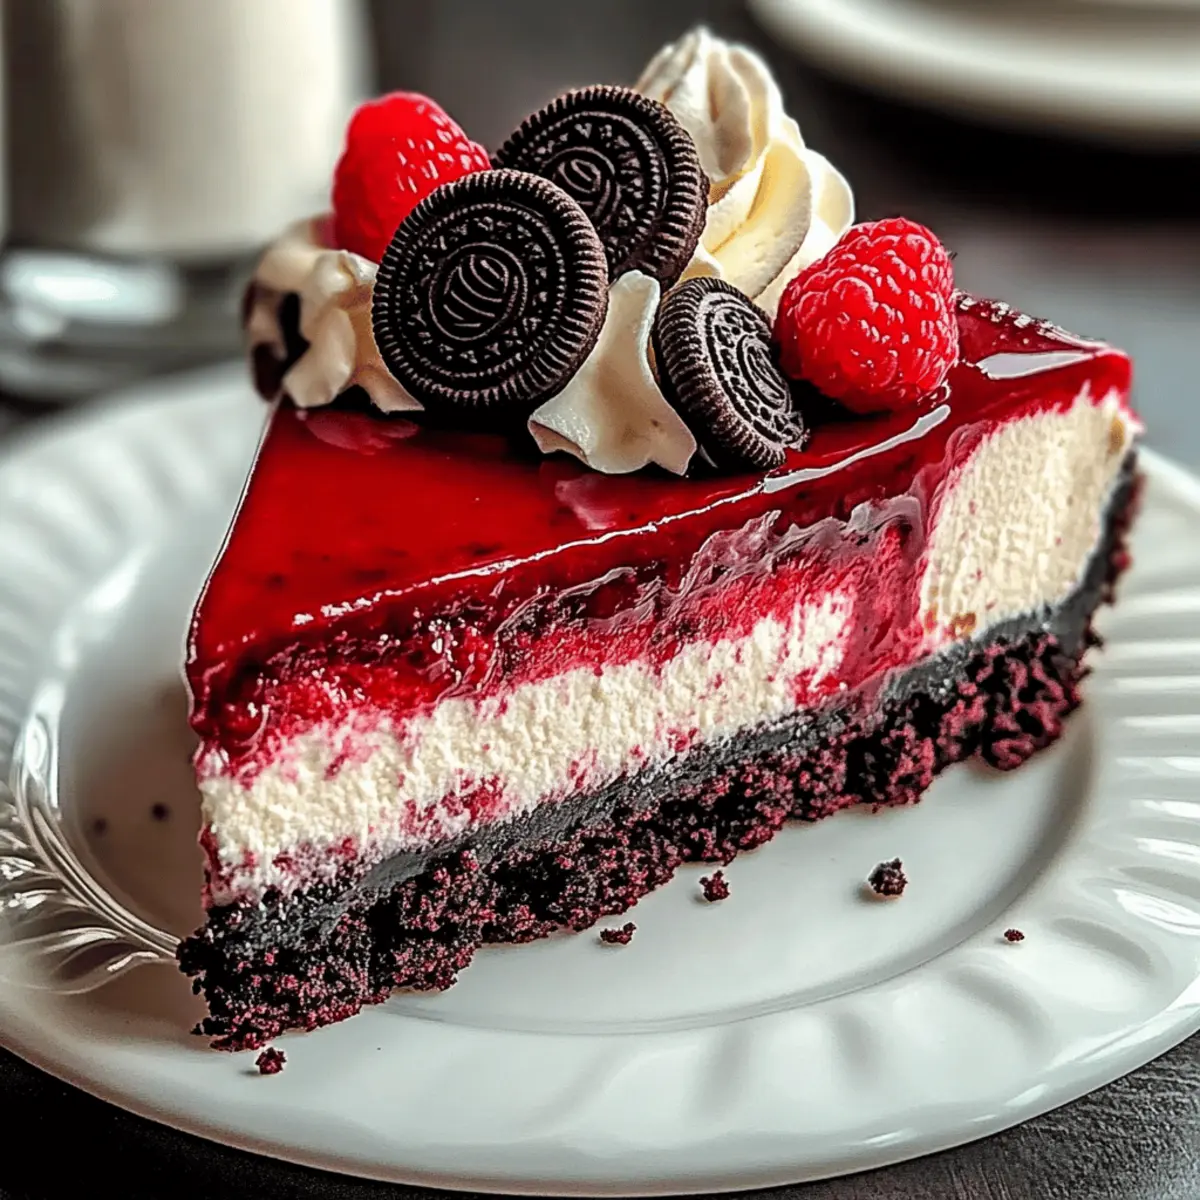
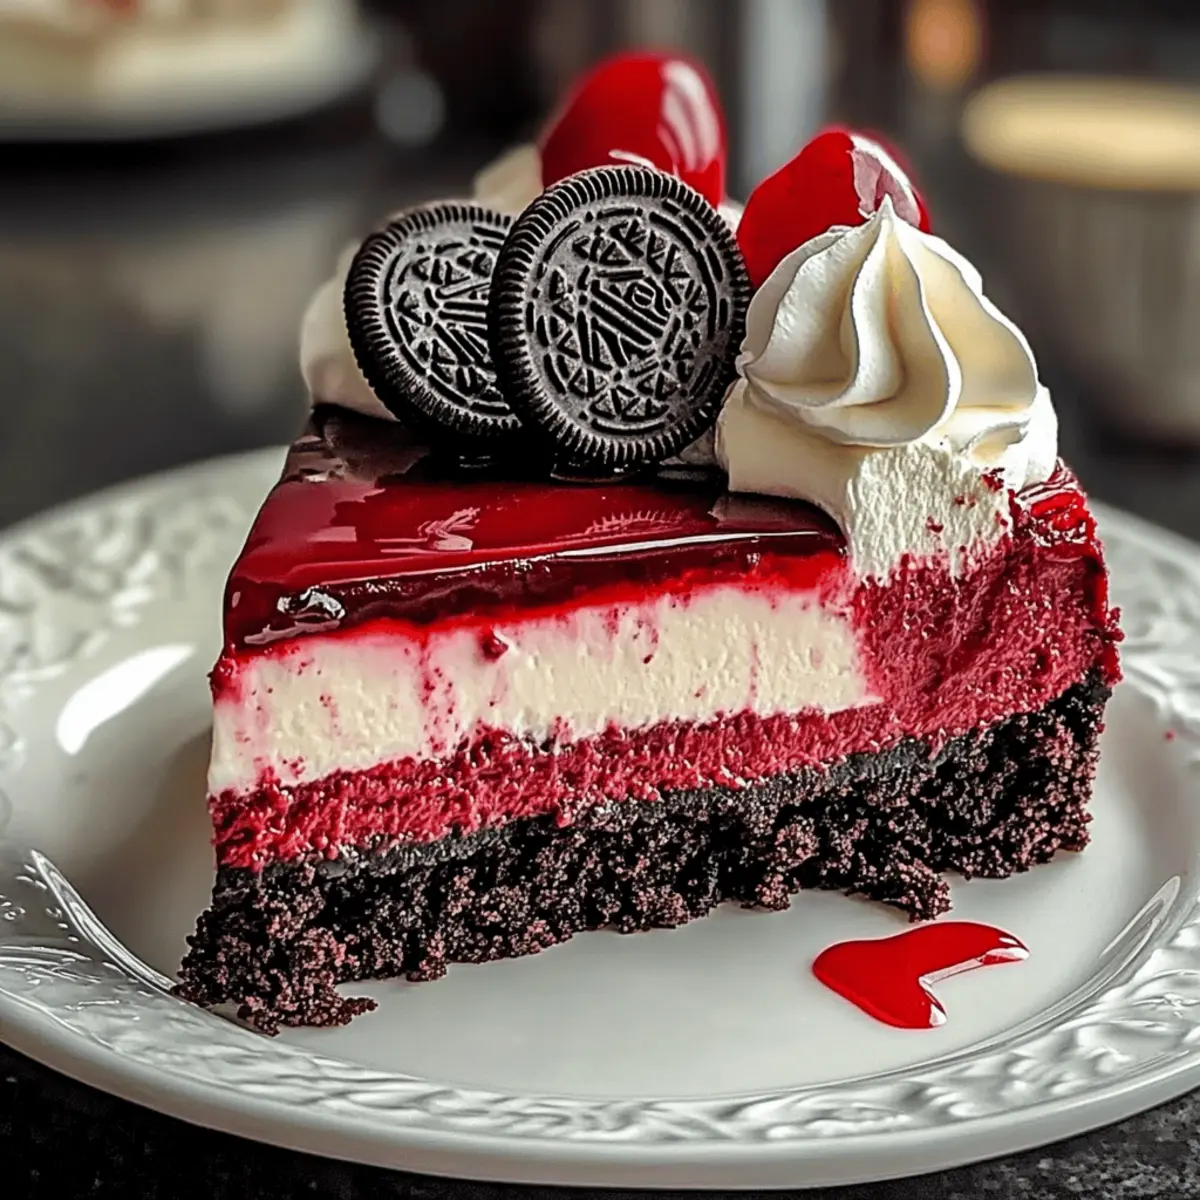
You won’t believe the delight that awaits with this Red Velvet Oreo Cheesecake! Combining two beloved desserts into one stunning creation, it’s a showstopper that’s bound to impress your friends and family. This recipe not only offers the irresistible perk of being gluten-free, but its rich, creamy texture with a hint of crunch from Oreo pieces makes it a crowd-pleaser for any occasion. Imagine serving this beauty at your next gathering; it’s both a feast for the eyes and a dream for the taste buds. Whether you’re a seasoned home chef or just looking to whip up something special, this cheesecake is your ticket to dessert bliss. Are you ready to dive into a slice of heaven?

Why Is This Cheesecake So Special?
Decadent Layers: This dessert beautifully merges rich red velvet cake with creamy cheesecake, creating a luscious treat that will delight your taste buds.
Crowd-Pleaser: With its eye-catching colors and familiar flavors, this cheesecake is sure to impress guests and leave them wanting more!
Gluten-Free Option: Easily adapt this recipe to fit gluten-free diets by as simple as swapping in chocolate Oreo cookies—satisfying your sweet cravings without compromise.
Quick to Prepare: While it looks impressive, the process is surprisingly straightforward, making it ideal for novice bakers who want to shine!
Versatile Twist: Mix things up by trying different Oreo flavors or adding a layer of chocolate ganache for an extra touch of luxury.
Your gatherings deserve this showstopper, and trust me, once you take a bite, you’ll understand why it’s destined to be a new favorite!
Red Velvet Oreo Cheesecake Ingredients
Get ready to create a dessert masterpiece that’ll make everyone swoon!
For the Crust
• Oreo Cookies – These provide a chocolatey crunch for a delightful crust; swap with gluten-free cookies for a delicious gluten-free option.
• Unsalted Butter – Binds the crust together for rich flavor; substitute with coconut oil for a dairy-free twist.
For the Cheesecake Filling
• Cream Cheese – The star of the filling, delivering a tangy and creamy texture; opt for full-fat for the best results.
• Granulated Sugar – Sweetens the cheesecake nicely; you can use a sugar alternative like Stevia for a lower-calorie choice.
• Eggs – Ensures the cheesecake is moist and holds its shape; bring them to room temperature for smoother mixing.
• Vanilla Extract – Enhances the overall taste; pure vanilla extract is preferred for the best flavor.
• Cocoa Powder – Adds a subtle hint of chocolate; use Dutch-processed cocoa for a deeper taste.
• Red Food Coloring – Gives the cheesecake its signature red hue; natural coloring from beet juice can be a vibrant alternative.
For the Topping
• Heavy Cream – Creates a luscious frosting that finishes off your cheesecake beautifully; consider coconut cream for dairy-free frosting options.
Step‑by‑Step Instructions for Red Velvet Oreo Cheesecake
Step 1: Prepare the Crust
Start by preheating your oven to 350°F (175°C). In a mixing bowl, crush Oreo cookies into fine crumbs and combine them with melted unsalted butter until well mixed. Press this mixture firmly into the bottom of a springform pan to form an even layer. Bake the crust for 10 minutes and then let it cool while you prepare the filling.
Step 2: Make the Filling
In a large mixing bowl, beat the cream cheese until it’s smooth and creamy, using a hand mixer for about 2 minutes. Gradually add granulated sugar, and continue mixing until the ingredients are well incorporated. Next, add in eggs one at a time, ensuring each is mixed thoroughly before adding the next. Incorporate vanilla extract and cocoa powder into the cream cheese mixture, combining until smooth and fluffy.
Step 3: Add Color and Cookies
Gently mix in your desired amount of red food coloring, watching the batter turn into a vibrant red hue. Then, fold in the crushed Oreo chunks to give the cheesecake filling some delightful texture. The mixture should be bright and velvety, inviting you to pour it over the prepared crust.
Step 4: Bake the Cheesecake
Pour the filling over the cooled Oreo crust and spread it evenly. Reduce the oven temperature to 325°F (160°C) and bake the cheesecake for 60 to 75 minutes, or until the edges are set but the center slightly wobbles. Once done, turn off the oven and leave the cheesecake inside for an hour to cool gradually, which helps prevent cracks.
Step 5: Chill the Cheesecake
After the hour, transfer the cheesecake to the refrigerator and allow it to chill for at least 6 hours or overnight. This step is crucial for achieving the perfect texture in your Red Velvet Oreo Cheesecake; it allows the flavors to meld beautifully and the cheesecake to set properly.
Step 6: Frosting and Finishing Touches
Prepare the frosting while your cheesecake is chilling. You can use a creamy cream cheese frosting or a rich chocolate ganache to top your cheesecake. Once ready, frost the top and sides of the chilled cheesecake generously, then sprinkle crushed Oreos on top for a delightful finishing touch that enhances both flavor and appearance.

Make Ahead Options
These Red Velvet Oreo Cheesecakes are perfect for meal prep enthusiasts! You can prepare the crust and filling ahead of time—just make the crust and let it chill in the fridge for up to 3 days. The cheesecake filling can also be made the day before and stored in the refrigerator until you’re ready to bake it. Just remember to allow the cheesecake to cool in the oven and chill for at least 6 hours or overnight; this helps it set perfectly while keeping it just as delicious. When you’re ready to serve, simply frost it and add those crushed Oreos for a stunning finish that takes minimal time. Enjoy stress-free entertaining with this delightful make-ahead dessert!
Expert Tips for Red Velvet Oreo Cheesecake
-
Room Temperature Ingredients: Ensure all ingredients, especially cream cheese and eggs, are at room temperature for a smooth, lump-free batter.
-
Avoid Overmixing: Take care not to overmix the filling after adding eggs, as this can lead to cracks in your cheesecake during baking.
-
Cooling Method: Allow the cheesecake to cool gradually in the oven after baking to reduce the risk of cracks and maintain a beautiful form.
-
Serving Technique: Use a hot, dry knife to slice through the cheesecake for clean cuts, showcasing those tempting layers of the Red Velvet Oreo Cheesecake.
-
Chill Time is Key: Don’t rush the chilling process; letting it set for at least 6 hours or overnight gives the flavors time to develop beautifully.
Storage Tips for Red Velvet Oreo Cheesecake
Fridge: Keep your Red Velvet Oreo Cheesecake in an airtight container for up to one week to maintain its rich flavor and creamy texture.
Freezer: Seal slices tightly in plastic wrap, then store in an airtight container for up to 3 months. Thaw overnight in the fridge before serving for the best results.
Reheating: If you prefer to enjoy your cheesecake slightly warmed, microwave a slice for about 10-15 seconds on low power, just until it’s cozy but not hot.
Serving Note: Bring the cheesecake back to room temperature for about 30 minutes after thawing to enhance the flavors before serving.
Red Velvet Oreo Cheesecake Variations
Feel free to explore your creativity and personalize this delightful dessert to suit your taste and dietary needs!
- Gluten-Free: Use gluten-free chocolate sandwich cookies instead of regular Oreos for a fabulous gluten-free version.
- Vegan-Friendly: Substitute cream cheese and heavy cream with vegan alternatives, plus use flax eggs to keep it plant-based.
- Chocolate Lover’s Delight: For an intense chocolate hit, mix in chopped chocolate bars or chocolate chips into the filling before baking.
- Nutty Twist: Fold in crushed pecans or walnuts for an extra crunch and a nutty flavor that beautifully complements the rich cheesecake.
- Cheesecake Bars: Transform this recipe into cheesecake bars by using a baking pan, slicing into squares once set, and serving as portable treats.
- Fruit Infusion: Add a swirl of raspberry or strawberry puree to the filling before baking for a fruity burst of flavor and vibrant color.
- Mini Cheesecakes: Pour the batter into cupcake liners in a muffin tin to create adorable mini cheesecakes that are easy to serve and enjoy.
- Layered Experience: To elevate the decadence, add an extra layer of chocolate ganache or whipped cream on top and garnish with fresh berries or mint leaves.
With these variations, you can adapt the Red Velvet Oreo Cheesecake to match any occasion or dietary preference, allowing everyone at your table to indulge in this amazing treat. If you’re looking for more delicious cheesecake recipes, consider exploring my Cherry Pistachio Cheesecake or the delightful Fruity Pebbles Cheesecake. The options are endless, and the joy of baking and sharing is waiting for you!
What to Serve With Red Velvet Oreo Cheesecake?
To elevate your dessert experience, here are some delightful pairings that will make your gathering extra special.
-
Creamy Vanilla Ice Cream: The coolness of vanilla ice cream complements the rich flavors of the cheesecake, providing a delightful contrast in temperature and texture. A scoop adds a classic touch that everyone loves.
-
Fresh Berries: Raspberries or strawberries add a vibrant pop of color and a refreshing tartness that cuts through the cheesecake’s richness. Their natural sweetness pairs beautifully with the dessert, creating a balanced bite.
-
Chocolate Ganache: An extra layer of smooth, glossy chocolate ganache on top intensifies the dessert’s decadence, attracting chocolate lovers to take a second slice. It’s a luxurious finish that elevates the entire cheesecake.
-
Mint Leaves: Garnish with fresh mint leaves for a burst of vibrant color and a refreshing aroma. They not only add a decorative touch but also cleanse the palate after each rich bite.
-
Whipped Cream: Light, fluffy whipped cream dolloped on top enhances the cheesecake’s creaminess and rounds out its flavor. It provides an airy texture that balances the heaviness of the cheesecake.
-
Coffee or Espresso: A hot cup of coffee or a shot of espresso pairs perfectly with the sweet flavors, enhancing the chocolate and cream profiles beautifully. The bitterness of coffee complements the cheesecake, making for a comforting duo.
-
Sparkling Lemonade: This refreshing drink can offer a tangy contrast to the rich cheesecake. The effervescence and citrus notes cut through the creaminess, making it a delightful and refreshing beverage choice.
-
Chocolate-Covered Strawberries: As a fun finger food, these treats add a sweet, fruity element that matches the flavors of the cheesecake while bringing a little elegance to the dessert table.
-
Caramel Sauce: Drizzle warm caramel sauce over slices for an added layer of flavor. The sweet, buttery notes of caramel are irresistible, making each bite even more indulgent.

Red Velvet Oreo Cheesecake Recipe FAQs
What type of Oreo cookies should I use for the crust?
Absolutely! Regular Oreo cookies work beautifully, but you can easily swap them with gluten-free Oreo alternatives to create a gluten-free Red Velvet Oreo Cheesecake. Look for brands that specify gluten-free on the packaging to maintain the dessert’s delectable crunch.
How should I store my cheesecake, and how long will it last?
To keep your cheesecake fresh and delicious, store it in an airtight container in the refrigerator for up to 1 week. If you’re not planning to enjoy it within that timeframe, you can freeze the cheesecake. Wrap slices tightly in plastic wrap, then place them in an airtight container or freezer bag, where they will stay good for up to 3 months. Just remember to thaw them in the refrigerator overnight before serving!
Can I freeze Red Velvet Oreo Cheesecake? If so, how?
Yes, you can absolutely freeze your cheesecake! First, let it cool completely after baking and chilling. Then, to freeze, wrap each slice tightly in plastic wrap to ensure no air can seep in, which helps prevent freezer burn. Next, place the wrapped slices in an airtight container or freezer bag. When you’re ready to enjoy, simply transfer them to the fridge overnight to thaw. Let them sit for about 30 minutes at room temperature before serving for the best flavor.
Why did my cheesecake crack while baking?
It’s a common issue, but you can prevent it! Cracks often happen when the filling is overmixed or the cheesecake cools too quickly. To avoid this, keep your mixer speed low and be gentle after adding eggs. Also, remember to let your cheesecake cool gradually in the oven after baking—turn off the heat and keep the door slightly ajar for about an hour. This gentle cooling process can help maintain its beautiful surface.
Can I use low-fat cream cheese for this recipe?
Yes, you can use low-fat cream cheese if you’re looking to reduce calorie intake. However, be aware that it may affect the richness of the Red Velvet Oreo Cheesecake slightly. For the best texture, I recommend sticking with full-fat cream cheese, but if you’re watching your diet, low-fat cream cheese is a feasible substitute—you’ll still get a delicious dessert!
Does this recipe contain any allergens?
Definitely a good question! This Red Velvet Oreo Cheesecake contains several common allergens, including dairy (from cream cheese and butter) and gluten (from Oreo cookies unless you use a gluten-free alternative). If you’re making this treat for guests with specific allergies, always check the ingredient labels and consider options like dairy-free cream cheese or gluten-free cookies to cater to dietary needs.

Decadent Red Velvet Oreo Cheesecake for Sweet Indulgence
Ingredients
Equipment
Method
- Preheat your oven to 350°F (175°C). Crush Oreo cookies into fine crumbs and mix with melted unsalted butter. Press into the bottom of a springform pan. Bake for 10 minutes and let cool.
- In a mixing bowl, beat cream cheese until smooth. Gradually add sugar, mixing well. Add eggs one at a time, then mix in vanilla extract and cocoa powder until smooth.
- Mix in red food coloring and fold in crushed Oreo chunks. Pour mixture over cooled crust.
- Reduce oven temperature to 325°F (160°C) and bake for 60 to 75 minutes. Turn off the oven and leave the cheesecake inside for an hour to cool.
- Transfer cheesecake to refrigerator and chill for at least 6 hours or overnight.
- Prepare frosting and frost the top and sides of the chilled cheesecake. Sprinkle crushed Oreos on top.

Leave a Reply