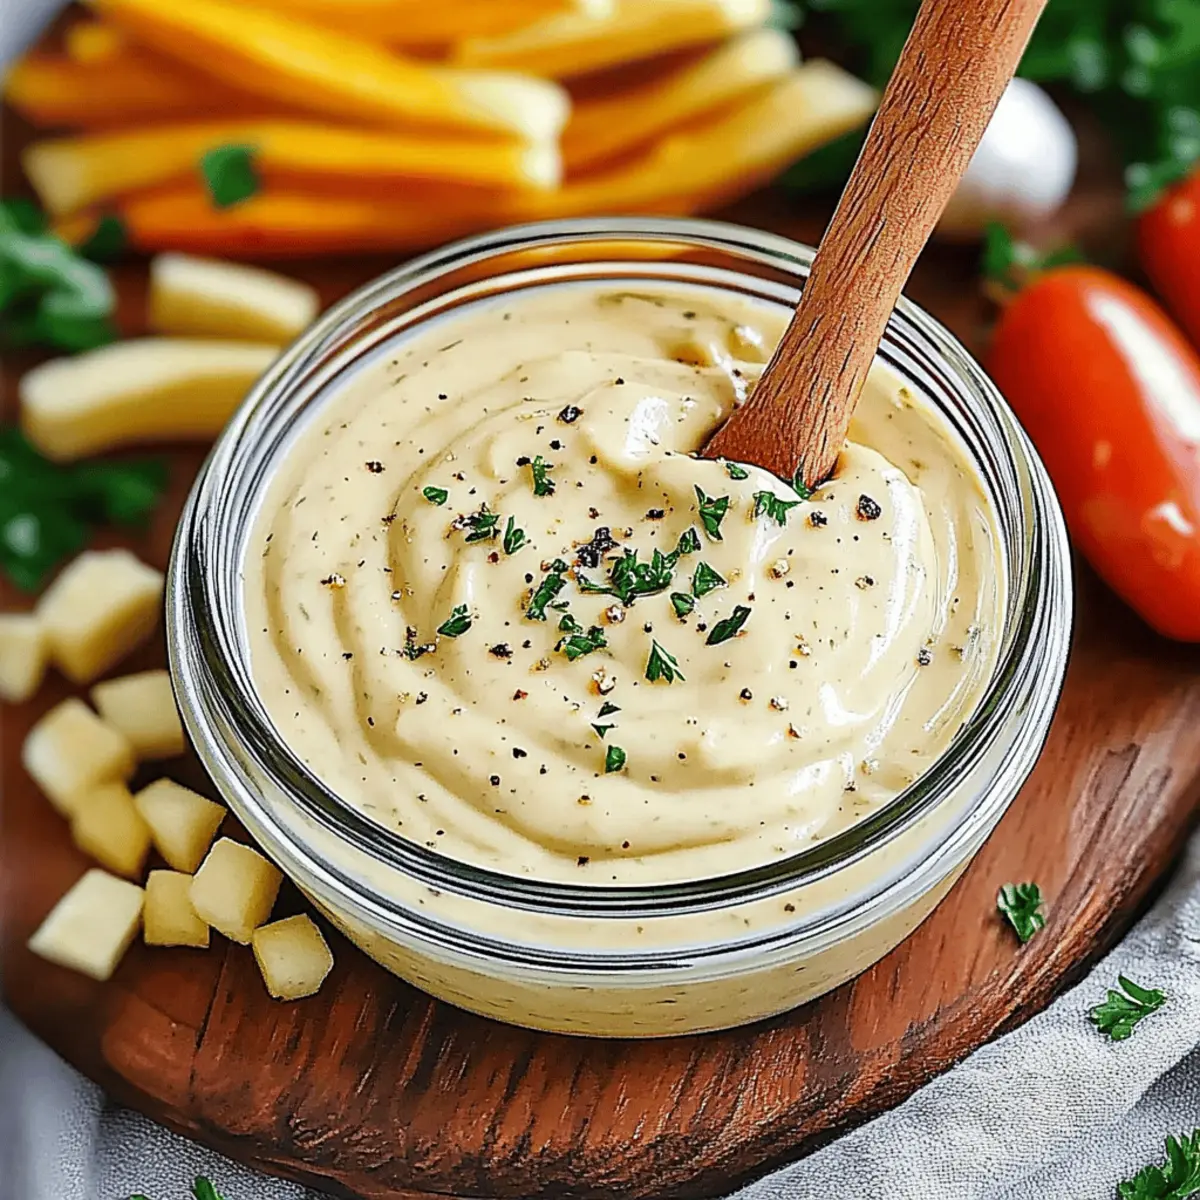
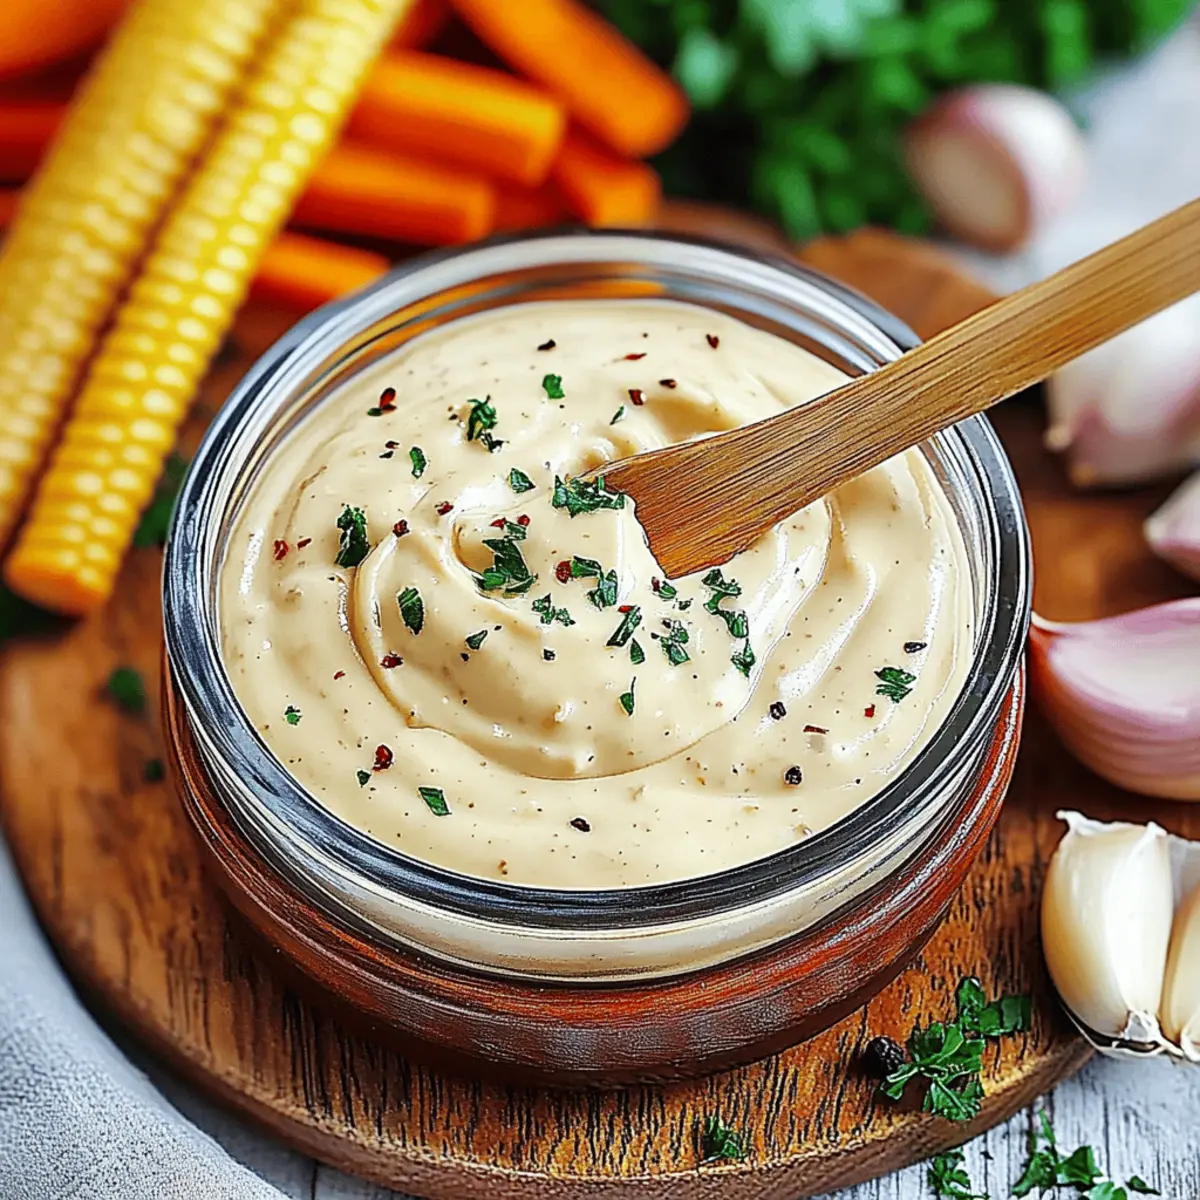
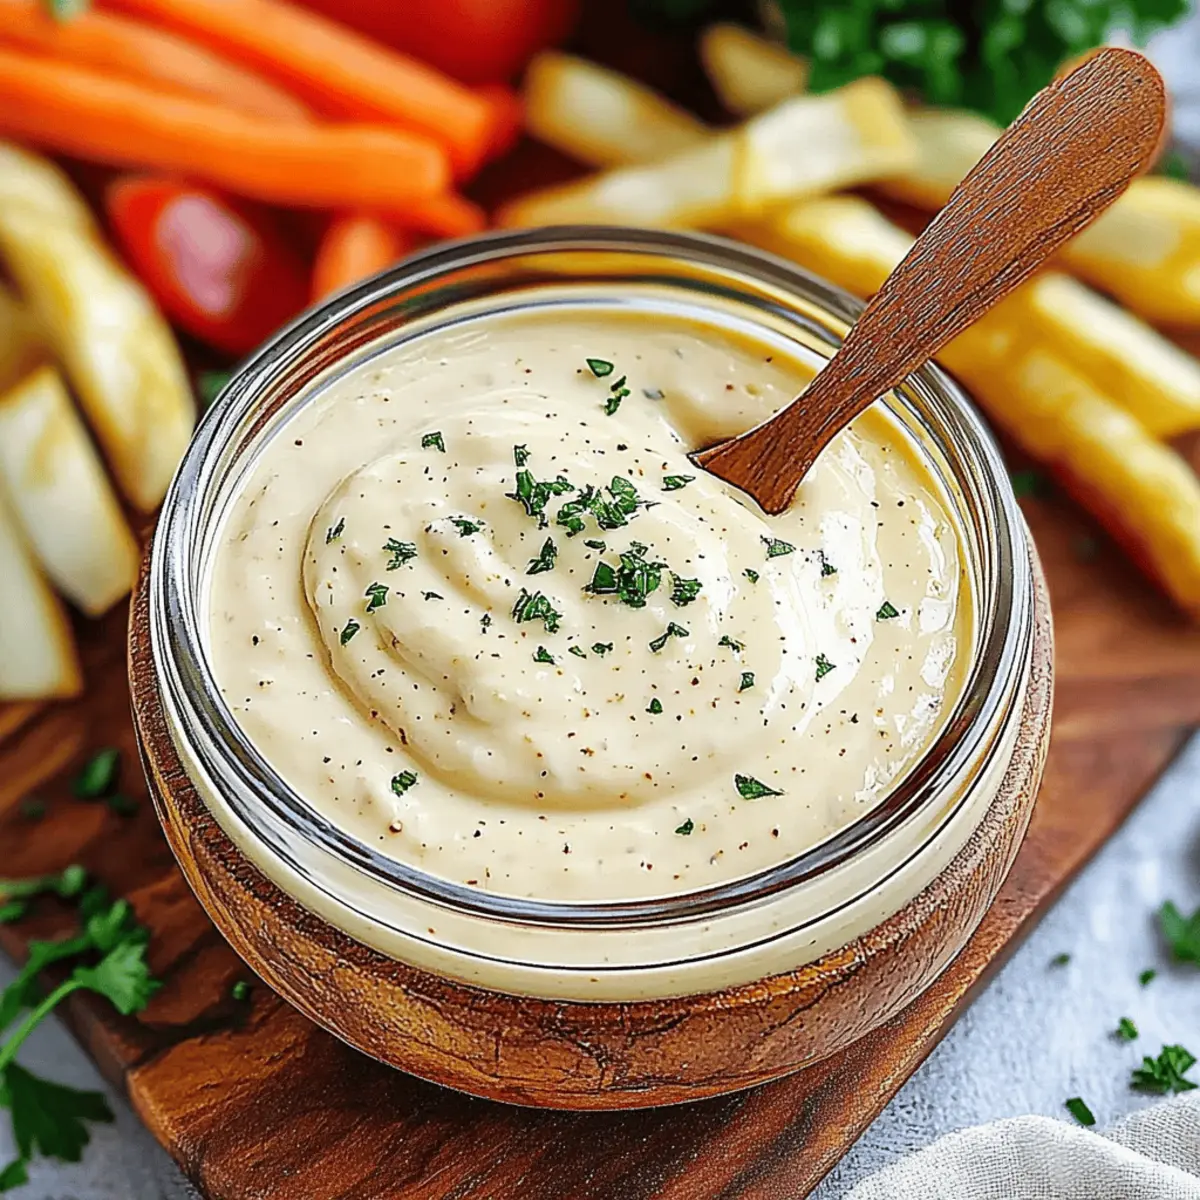
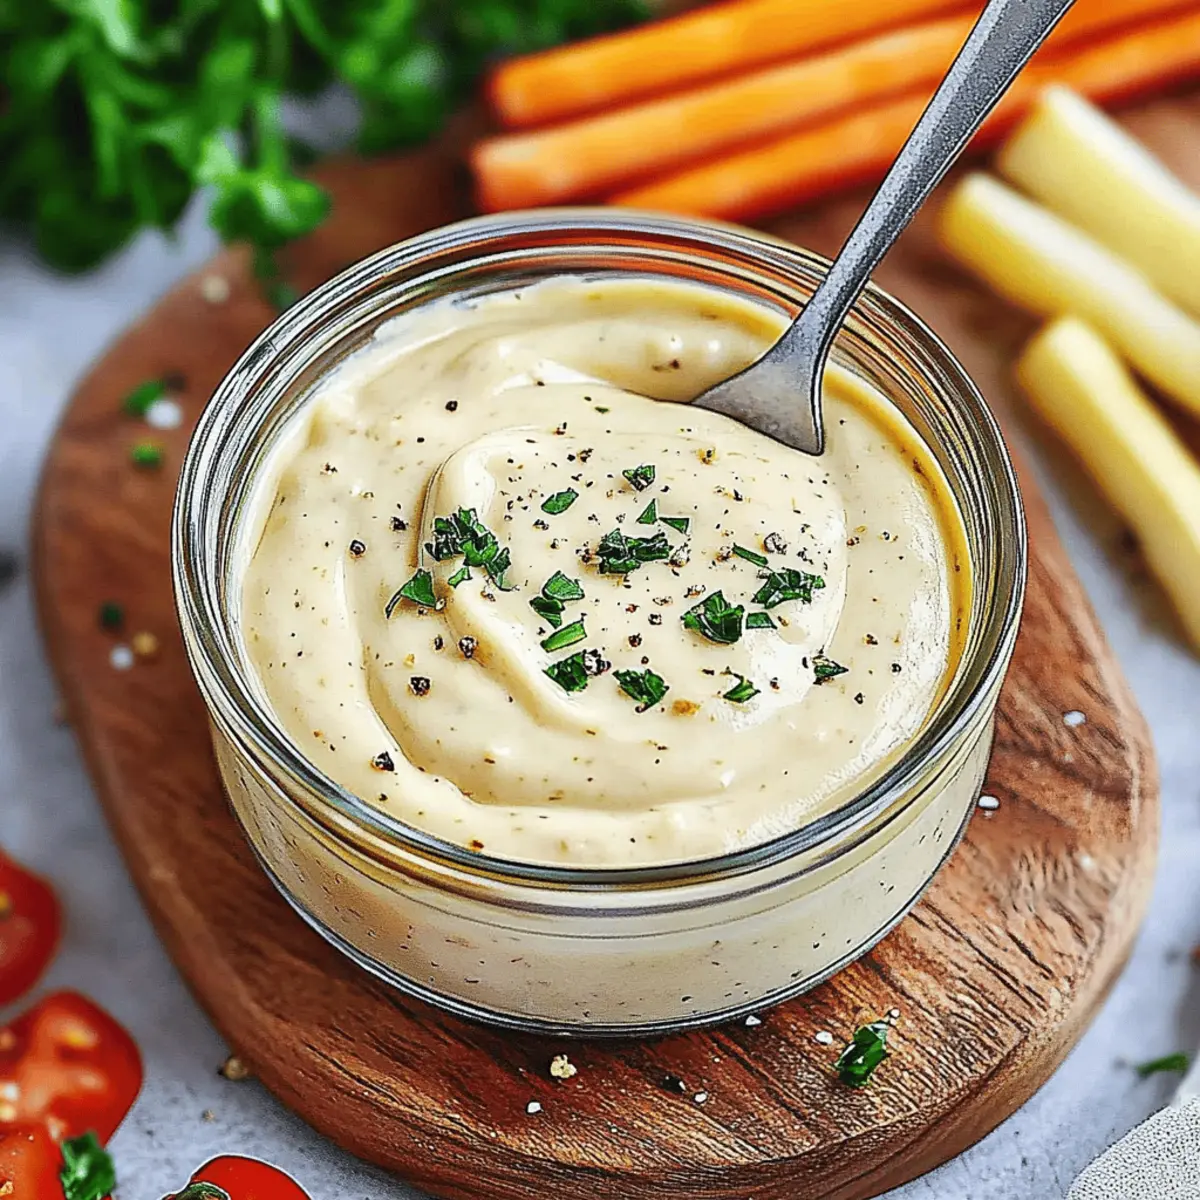
As I watched the garlic transform in the oven, its pungent aroma mellowing into a sweet, warm scent, I knew I was onto something special. This Creamy Roasted Garlic Aioli Sauce brings simplicity and elegance to your kitchen, perfectly marrying roasted garlic’s rich flavor with tangy lemon and a creamy base. What I adore about this homemade condiment is its incredible versatility; whether slathered on a sandwich, served as a dip for veggies, or drizzled over grilled vegetables, it elevates any dish you pair it with. Plus, it’s a breeze to whip up, making it an ideal choice for busy weeknights or an unexpected gathering. Ready to elevate your condiment game? Let’s dive into this delightful recipe, and prepare to impress your taste buds!

Why is Roasted Garlic Aioli a Must-Try?
Irresistible Flavor: With its sweet, mellow garlic taste, this aioli is sure to captivate your palate.
Quick and Easy: You can whip this up in under an hour, making it perfect for last-minute meals or gatherings.
Versatile Use: Enjoy it as a dip, spread, or drizzle, bringing life to everything from sandwiches to grilled veggies.
Healthier Homemade Option: Ditch the store-bought sauces; this recipe lets you control the ingredients for a fresher, healthier condiment.
Crowd-Pleasing Appeal: Whether you’re hosting or enjoying a cozy night in, this aioli is a surefire way to impress your guests.
Elevate your dinner parties with this creamy delight, and for more easy-to-make condiments, check out my guide on homemade sauces.
Roasted Garlic Aioli Sauce Ingredients
• For the Aioli
- Garlic – 1 head; roasting mellows its pungency into a sweet, comforting flavor.
- Mayonnaise – 1 cup; serves as the creamy base, providing richness for the aioli.
- Fresh Lemon Juice – 2 tablespoons; adds the perfect tang to balance the creamy texture.
- Dijon Mustard – 1 teaspoon; gives a subtle hint of depth and complexity.
- Salt – to taste; boosts all the flavors, ensuring each bite shines.
- Black Pepper – to taste; adds a mild warmth that rounds out the flavor profile.
- Olive Oil – 1 tablespoon (optional); enhances the richness and mouthfeel of the aioli.
- Fresh Herbs (e.g., parsley or chives) – for garnish; adds a pop of color and freshness to your dish.
Enjoy creating this Roasted Garlic Aioli Sauce that’s not only creamy and flavorful but also incredibly versatile!
Step‑by‑Step Instructions for Creamy Roasted Garlic Aioli Sauce
Step 1: Preheat the Oven
Begin by preheating your oven to 400°F (200°C). This temperature is key to perfectly roasting the garlic, transforming its sharp flavor into a rich, sweet essence. While the oven heats up, gather your ingredients and tools, including a head of garlic, olive oil, and aluminum foil for wrapping.
Step 2: Prepare the Garlic
Next, take the head of garlic and peel away the outer layers, keeping the cloves intact. Carefully slice off about 1/4 inch from the top of the head, exposing the individual cloves. This step ensures that each clove roasts evenly, creating that delicious, caramelized flavor characteristic of roasted garlic.
Step 3: Roast the Garlic
Drizzle a bit of olive oil over the exposed garlic cloves, allowing the oil to coat them lightly. Wrap the garlic head in aluminum foil, sealing it tightly to prevent steam from escaping. Place the wrapped garlic directly on the oven rack and roast for 30-35 minutes, or until it becomes soft and golden brown. The aroma filling your kitchen will be irresistible!
Step 4: Make the Garlic Paste
Once roasted, remove the garlic from the oven and let it cool slightly. Once it’s cool enough to handle, squeeze the cloves from their skins into a mixing bowl, forming a creamy paste. The roasted garlic should be sweet and tender, making it easy to combine with the other ingredients for your Creamy Roasted Garlic Aioli Sauce.
Step 5: Combine the Ingredients
In a separate bowl, mix together 1 cup of mayonnaise, the garlic paste, 2 tablespoons of fresh lemon juice, and 1 teaspoon of Dijon mustard. Add salt and black pepper to taste. Use a whisk to blend these ingredients together until smooth. This vibrant mixture will serve as the base of your aioli, marrying all the flavors beautifully.
Step 6: Adjust for Richness
For a richer flavor in your aioli, drizzle in 1 tablespoon of olive oil while whisking the mixture. This optional step adds an extra layer of depth and creaminess, enhancing the overall mouthfeel. Continue to whisk until all the ingredients are fully incorporated and the aioli reaches a thick, velvety consistency.
Step 7: Taste and Season
Take a moment to taste your Roasted Garlic Aioli Sauce. Adjust the seasoning with more salt or pepper as needed, accommodating your palate. This step ensures that the sauce complements your dishes perfectly, providing that balanced flavor profile.
Step 8: Chill to Meld Flavors
Cover the bowl with plastic wrap and refrigerate the aioli for at least 30 minutes. This chilling period allows the flavors to meld together, resulting in a more harmonious taste. The wait will be worth it as the garlic and lemon notes develop deeper nuances in your creamy sauce.
Step 9: Serve and Garnish
Before serving, give the aioli a good stir to recombine any components. Transfer it to a serving dish and consider garnishing with fresh herbs like parsley or chives for a lovely pop of color and freshness. Now, your Creamy Roasted Garlic Aioli Sauce is ready to elevate your meals, be it as a dip, spread, or sauce!

Make Ahead Options
These Creamy Roasted Garlic Aioli Sauce is an excellent choice for meal prep, allowing you to enjoy its delightful flavor on busy weeknights. You can roast the garlic and prepare the aioli base up to 3 days in advance; simply store it in an airtight container in the refrigerator. When ready to serve, just stir the mixture and adjust the seasoning if necessary, ensuring that it remains fresh and delicious. To prevent browning, ensure the garlic is tightly wrapped while roasting. With these make ahead options, you’ll save valuable time without sacrificing quality—enjoy the taste of homemade aioli anytime!
What to Serve with Creamy Roasted Garlic Aioli Sauce
As you savor the creamy richness of roasted garlic aioli, it’s delightful to pair it with dishes that complement its flavor and texture.
-
Crispy French Fries: The crunchy exterior and fluffy interior of fries pair wonderfully, soaking up the velvety aioli for a delicious dip.
-
Grilled Vegetables: Drizzle the aioli over charred zucchini, red peppers, and asparagus for a burst of creamy, garlicky goodness that enhances their natural flavors.
-
Savory Sandwiches: Spread this aioli on turkey, chicken, or veggie sandwiches, adding a layer of richness that elevates every bite. Imagine the perfect balance of textures in each mouthful!
-
Seafood Dishes: Use it as a dipping sauce for shrimp or calamari. The creamy consistency works beautifully to balance the brininess of seafood with a touch of zest.
-
Fresh Veggies: Serve it alongside crunchy carrot sticks, cucumber slices, or bell pepper strips. The aioli transforms simple vegetables into a flavorful snack.
-
Roasted Chicken: A dollop of this roasted garlic aioli enhances the savory flavor of grilled or roasted chicken, providing a creamy contrast that will have everyone asking for more.
Serve this versatile Roasted Garlic Aioli Sauce alongside these options, and watch as it turns any meal into a delightful experience!
Expert Tips for Roasted Garlic Aioli Sauce
-
Use Fresh Ingredients: Using fresh garlic and high-quality mayonnaise is key for the best flavor in your homemade aioli. Avoid stale or old ingredients that may dull the taste.
-
Control the Consistency: If you prefer a thicker aioli, reduce the amount of lemon juice. For a lighter version, consider mixing in Greek yogurt to balance the richness of mayonnaise.
-
Avoid Over-roasting Garlic: Keep an eye on the garlic while roasting; if it becomes too dark, it may turn bitter. Aim for a golden brown color to achieve that sweet flavor.
-
Experiment with Flavors: Add a pinch of smoked paprika for a unique twist or drizzle in some hot sauce for a spicy kick. These flavor enhancements can turn your aioli into a standout condiment.
-
Chill Before Serving: Allowing the aioli to chill in the refrigerator for at least 30 minutes lets the flavors meld beautifully. This step is crucial for a rich-tasting roasted garlic aioli that’s worth savoring!
Roasted Garlic Aioli Variations & Substitutions
Feel free to unleash your creativity and make this roasted garlic aioli uniquely yours with these delightful twists!
-
Greek Yogurt: Substitute half of the mayonnaise with Greek yogurt for a tangy, lighter version that still packs a flavor punch. It creates a lovely creaminess while adding a healthful twist.
-
Spicy Kick: Add a pinch of cayenne pepper or a splash of your favorite hot sauce to turn up the heat. This fiery addition gives the aioli an exciting new dimension, perfect for those who crave a bit of spice!
-
Herb-Infused: Stir in fresh chopped herbs like basil or dill for a garden-fresh flavor. These herbs will brighten up the aioli and add a lovely pop of color; think of it as a vibrant foray into the Mediterranean!
-
Smoky Flavor: Mix in some smoked paprika or a few drops of liquid smoke to introduce a rich, smoky undertone. This twist is fantastic for enhancing grilled meats or roasted vegetables.
-
Roasted Veggie Aioli: Blend in pureed roasted red peppers or sun-dried tomatoes for added depth and sweetness. These ingredients enhance the aioli’s color and flavor, making it irresistible.
-
Cheesy Aioli: For a cheesy treat, fold in a bit of grated Parmesan or feta cheese. This version will add creaminess with a delightful umami punch, perfect for dipping or drizzling.
-
Citrus Zest: Experiment with adding lemon or lime zest to elevate the citrus flavor profile, making it even more refreshing. The zesty notes will brighten up any dish you serve alongside this aioli.
-
Nutty Finish: Drizzle in a touch of toasted sesame oil for a nutty flavor that wonderfully complements grilled chicken or seafood dishes. This subtle change adds a surprising twist you’ll love!
For more flavor-infused sauces, check out my guide on homemade sauces, where you’ll find a treasure trove of ideas to tantalize your taste buds!
How to Store and Freeze Roasted Garlic Aioli
Fridge: Store your creamy roasted garlic aioli in an airtight container in the refrigerator. It will stay fresh for up to a week, but it’s best enjoyed within the first few days for optimal flavor.
Freezer: You can freeze the aioli for longer storage; simply place it in a freezer-safe container and use it within 2-3 months. Thaw it overnight in the fridge before use.
Reheating: When ready to use, give your thawed aioli a good stir to regain its creamy consistency. If it appears too thick, blend in a splash of lemon juice or olive oil to lighten it up.
Serving Ideas: Keep your roasted garlic aioli handy as a go-to dip or spread. Remember to taste and adjust any seasonings after storage to ensure that the flavors shine through!

Roasted Garlic Aioli Sauce Recipe FAQs
How do I choose the best garlic for this aioli?
When selecting garlic, look for heads that feel firm and heavy, with tight, dry skins. Avoid any bulbs with soft spots or dark spots all over, as these indicate overripeness or spoilage. Fresh garlic will provide the best flavor for your homemade aioli.
How should I store the roasted garlic aioli?
To keep your creamy roasted garlic aioli fresh, store it in an airtight container in the refrigerator. It can last up to a week, but for the best flavor, I recommend enjoying it within the first few days. Just remember to seal it tightly to prevent any refrigerator odors from seeping in.
Can I freeze roasted garlic aioli?
Absolutely! To freeze your aioli, transfer it to a freezer-safe container or a sealable plastic bag. It can be stored for up to 2-3 months. When you’re ready to use it, simply thaw it overnight in the refrigerator. If the texture seems a bit thick after thawing, blend in a splash of lemon juice or olive oil to bring it back to life.
What if my aioli turns out too thick?
If you find your roasted garlic aioli thicker than desired, don’t worry! Simply add a teaspoon of lemon juice or olive oil at a time, whisking until you reach your preferred consistency. This will also help to brighten the flavors, making every bite exciting.
Are there any dietary considerations with roasted garlic aioli?
Yes, it’s good to be mindful of your ingredients! For those with egg allergies, consider substituting half of the mayonnaise with Greek yogurt for a lighter version. If serving to pets, keep in mind that garlic is toxic to dogs; hence, it’s best to keep this delicious aioli for human consumption only. Always check labels for allergen information if you’re using store-bought mayo!
Can I customize the flavor of my aioli?
Very much so! Feel free to experiment with flavors — adding a pinch of smoked paprika will give it a lovely depth, while a dash of cayenne pepper introduces some heat. Fresh herbs like basil or cilantro can brighten things up even more. The more the merrier, so don’t hesitate to make it your own!

Creamy Roasted Garlic Aioli Sauce to Elevate Any Dish
Ingredients
Equipment
Method
- Preheat your oven to 400°F (200°C).
- Peel away the outer layers of the garlic head, keeping the cloves intact. Slice off about 1/4 inch from the top.
- Drizzle olive oil over the exposed garlic cloves, wrap in aluminum foil and roast for 30-35 minutes until soft and golden brown.
- Let the garlic cool slightly, then squeeze the cloves into a mixing bowl to form a creamy paste.
- In a separate bowl, mix together mayonnaise, garlic paste, lemon juice, and mustard. Add salt and pepper to taste.
- For richer flavor, drizzle in olive oil while whisking until fully incorporated.
- Taste and adjust seasoning as needed.
- Cover and refrigerate for at least 30 minutes to let flavors meld.
- Stir before serving and garnish with fresh herbs.

Leave a Reply