
In a kitchen filled with laughter and excitement, I recently found myself on a mission to create something unique, something that would surprise my friends during our casual gathering. Enter Oreo Sushi—a playful twist on the classic Oreo cookie that’s bound to make your taste buds dance! With just two ingredients, this no-bake dessert not only brings a whimsical flair to your table but also serves as a delightful, kid-friendly treat. The joy of crafting these cookie rolls lies in their fun presentation, offering a perfect mix of crunchy and creamy textures that everyone will adore. Whether you’re after a quick sweet fix or looking to impress guests with a creative snack, Oreo Sushi is your answer. So, are you ready to roll with me and discover just how fun dessert can be?
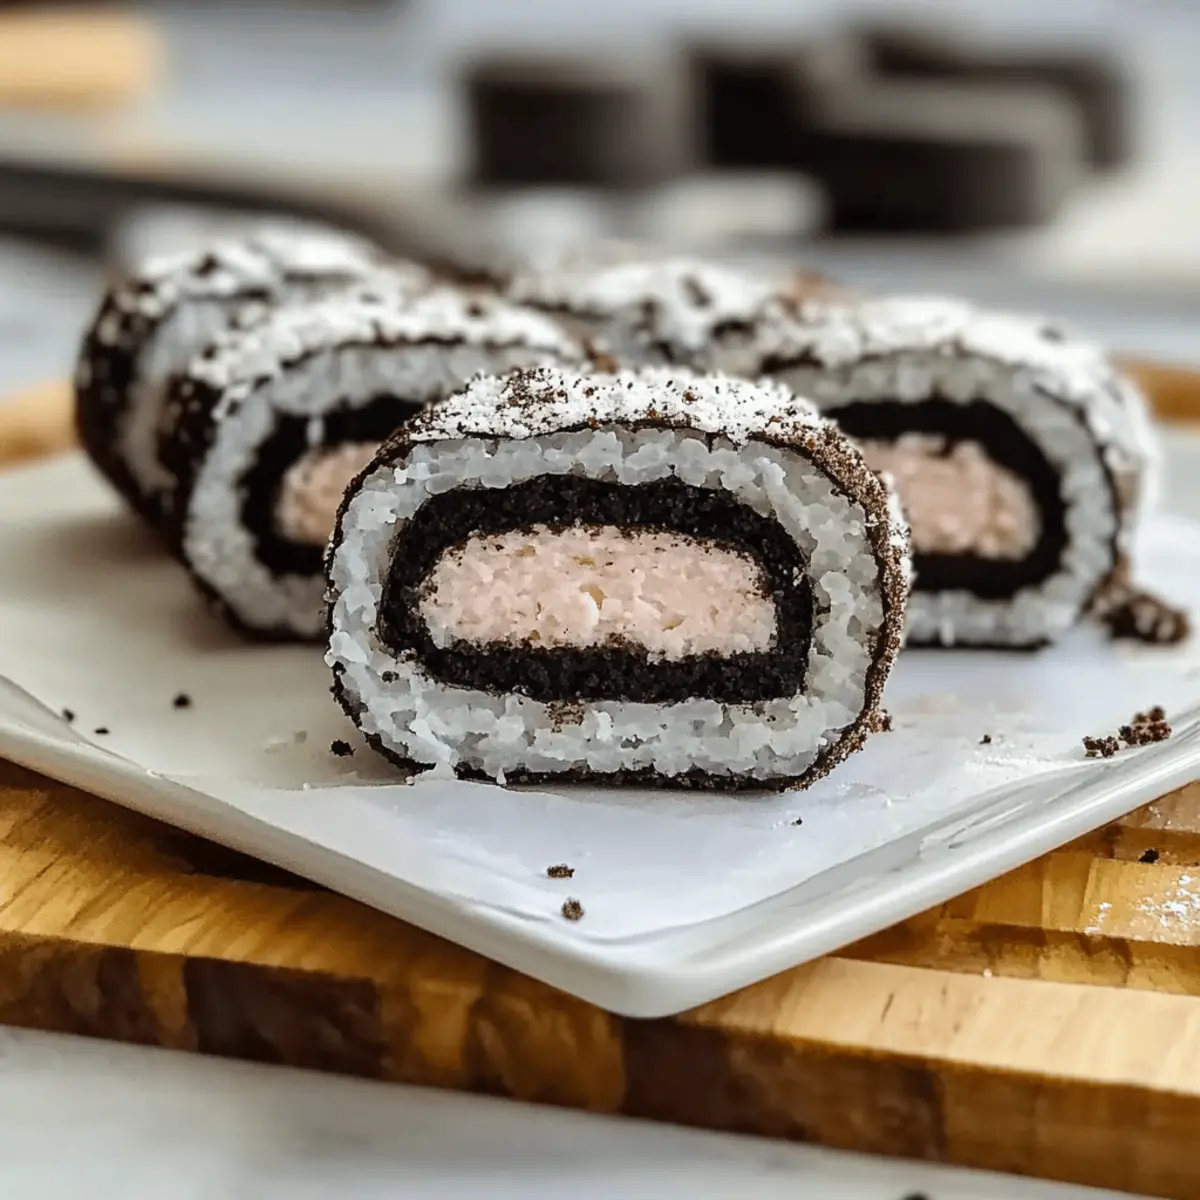
Why is Oreo Sushi a Must-Try?
Simplicity: With just two ingredients, whipping up Oreo Sushi has never been easier! You don’t need advanced baking skills to impress.
Playful Twist: This recipe transforms the classic Oreo into a fun sushi roll, making it appealing for both kids and the kid-at-heart.
Versatile: Get creative! Add fresh fruits or try different Oreo flavors to make each roll unique, just like I did with my Fruity Pebbles Sushi.
No Bake: Perfect for those hot summer days, you don’t even need to turn on the oven!
Crowd-Pleaser: It’s a fun treat for parties, gatherings, or just a cozy night in—everyone will want to try a piece!
Oreo Sushi Ingredients
For the Sushi Rolls
- Oreo Cookies – The star of the show; any variety works, including seasonal flavors for a festive touch.
- Milk – Binds the crushed cookies into a dough-like consistency; feel free to use dairy or plant-based alternatives depending on your preference.
Optional Add-Ins
- Fresh Fruits – Slices of strawberries or bananas can add a burst of flavor and a colorful twist to your Oreo Sushi.
- Chocolate Sauce – Drizzle on top for extra indulgence; perfect for those who love an extra chocolate kick!
- Crushed Nuts or Sprinkles – Add texture and fun, making your dessert pop visually and taste-wise.
Oreo Sushi is truly a playful dessert that takes the beloved Oreo to a whole new level!
Step‑by‑Step Instructions for Oreo Sushi
Step 1: Separate the Oreos
Begin by carefully twisting apart each Oreo cookie, ensuring the cream filling stays on one side. Place the cream filling in a medium bowl. Set the cookie halves aside, as you’ll be using them shortly. This step not only sets the foundation for your Oreo Sushi but also adds a playful touch right from the start.
Step 2: Crush the Cookies
Next, put the separated Oreo cookie halves into a zip-top bag and seal it tightly. Using a rolling pin or a sturdy object, crush the cookies into fine crumbs, which should take about 2-3 minutes of steady pounding. Once crushed, transfer the crumbs into a mixing bowl, preparing them for mixing with milk to create the sushi base.
Step 3: Prepare the Cookie Base
Gradually add milk to the cookie crumbs in the bowl, mixing with a spoon until a thick paste forms, about 2-3 tablespoons of milk should suffice. Ensure the mixture is well combined and has a dough-like consistency, allowing you to spread it later. This process is essential for achieving that perfect balance in your Oreo Sushi texture.
Step 4: Assemble the Roll
Lay a sheet of plastic wrap on a flat surface, making it easier to roll up your sushi. Spread the cookie paste evenly on the plastic wrap, creating a rectangle about 1/4 inch thick. Once the base is evenly spread, layer the reserved cream filling on top, ensuring it covers the entire surface for that creamy Oreo flavor in every bite.
Step 5: Roll and Slice
Carefully roll the sushi using the plastic wrap to help guide it tightly into a log shape. This process should take a minute or two to ensure a compact roll. Once rolled, pinch the ends of the plastic wrap to secure it, and let it chill in the refrigerator for about 30 minutes to firm up before slicing.
Step 6: Serve and Enjoy
After chilling, unwrap the roll and place it on a cutting board. Using a sharp knife, slice the roll into bite-sized pieces, resembling sushi. Arrange the sushi pieces on a plate, and if desired, serve them with optional dips like chocolate sauce or whipped cream for extra indulgence. Your delightful Oreo Sushi is now ready to be enjoyed!
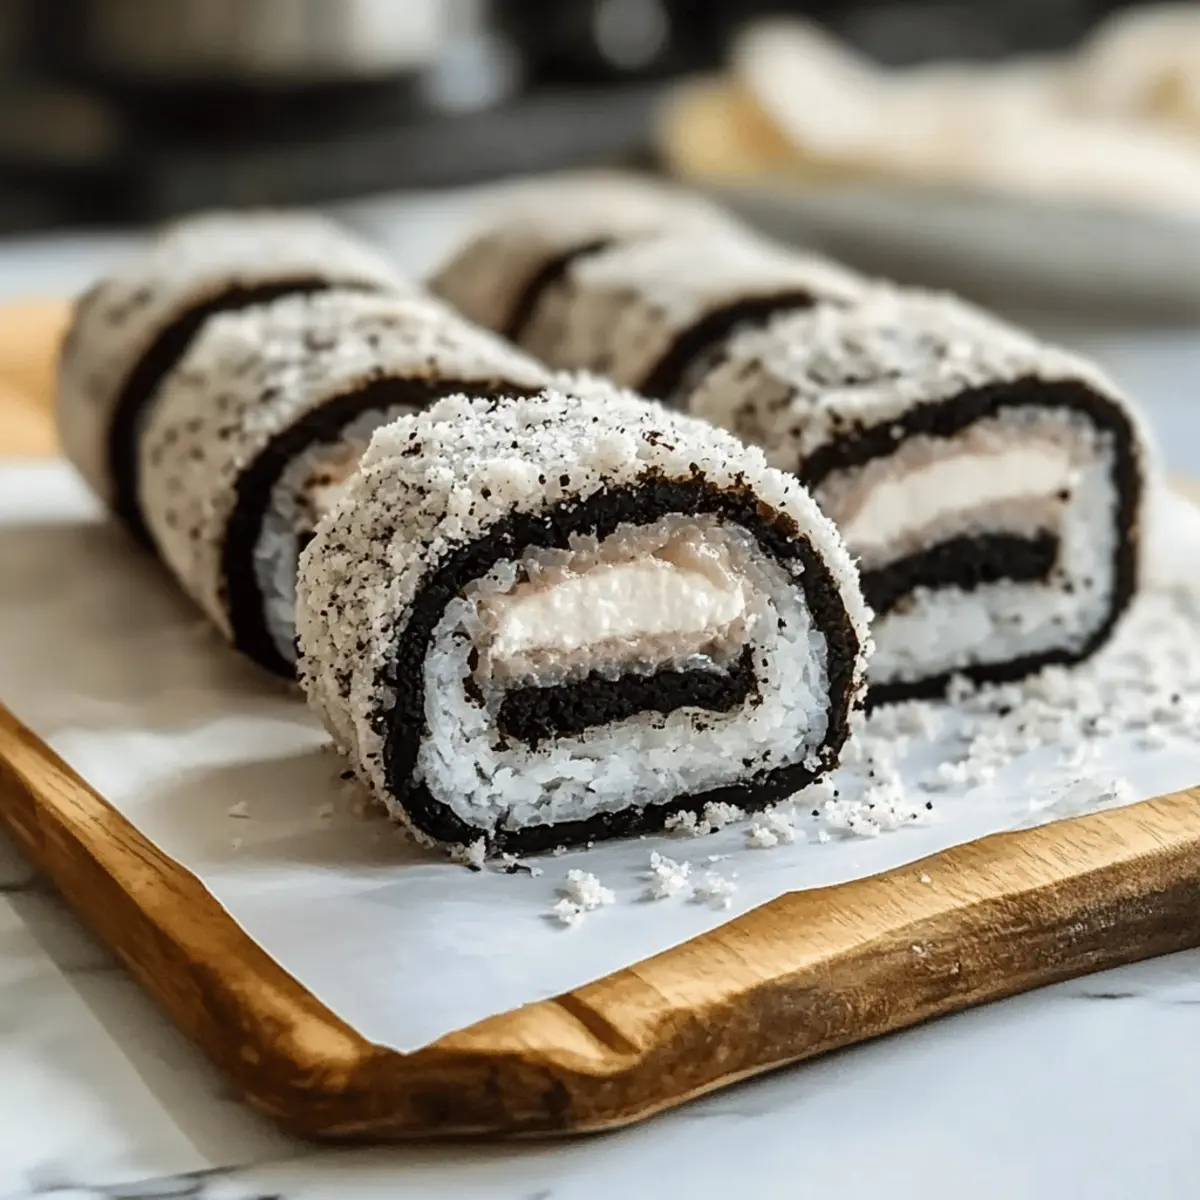
Oreo Sushi Variations & Substitutions
Feel free to get creative and personalize your Oreo Sushi to suit your taste buds and elevate your dessert experience!
-
Add Fresh Fruit: Toss in slices of strawberries, bananas, or kiwi for a refreshing burst of flavor.
-
Different Oreo Flavors: Switch up the classic! Try peanut butter, mint, or even seasonal flavors for a unique twist.
-
Incorporate Toppings: Drizzle with chocolate sauce or caramel, or add crushed nuts and sprinkles to enhance texture and taste.
-
Frozen Version: Freeze the rolls for a cool treat on hot days. It’s like an ice cream snack wrapped in a cookie!
-
Nut-Free Option: Use cookie butter or sunbutter instead of cream filling for a nut-free variant without sacrificing flavor.
-
Vegan Version: Swap milk for almond or oat milk and choose dairy-free Oreos for a delicious vegan-friendly dessert.
-
Spicy Kick: Add a sprinkle of chili powder or cinnamon to the cookie mix for those who like a bit of heat with their sweets.
-
Theme it Up: Create visually exciting “California roll” flavored versions by creatively layering with coconut or fruit purees, making it delightful for themed parties.
Whichever twist you choose, this Oreo Sushi can adapt to fit any occasion. If you’re in the mood for another fun dessert idea, check out my delightful Fruity Pebbles Sushi for more adventurous options!
Make Ahead Options
Oreo Sushi is an ideal treat for meal prep, saving you time on busy days! You can easily prepare the cookie base up to 24 hours in advance. Simply crush the Oreo cookies and mix them with milk, then store the mixture in an airtight container in the refrigerator to maintain its texture. While the cookie rolls can also be assembled and wrapped tightly in plastic wrap, it’s best to slice them just before serving to ensure they stay fresh and delicious. The sushi pieces will retain their delightful crunch if kept chilled and eaten within 3 days, allowing you to delight friends and family with this fun dessert anytime!
Expert Tips for Making Oreo Sushi
-
Crush Thoroughly: Ensure Oreos are finely crushed for a smooth mixture. Chunks can lead to uneven sushi rolls, affecting the final texture.
-
Milk Moderation: Add milk gradually to avoid oversaturation. A thick, dough-like consistency is key for forming your Oreo Sushi without it becoming soggy.
-
Chill for Best Texture: After rolling, refrigerate for 30 minutes. This helps firm the sushi, making it easier to slice and enhancing the overall texture.
-
Creative Add-Ins: Don’t hesitate to mix in sliced fruits, different Oreo flavors, or toppings like chocolate sauce for variety. This keeps every bite exciting!
-
Keep it Fun: Involve kids in the assembly process. Crafting Oreo Sushi together not only makes it more enjoyable but also encourages creativity in the kitchen!
Storage Tips for Oreo Sushi
-
Room Temperature: Oreo Sushi is best enjoyed fresh but can be left at room temperature for a short time during serving. Ideally, consume within 2 hours for optimal taste.
-
Fridge: Store any leftover sushi in an airtight container in the refrigerator. It’s best consumed within up to 3 days to maintain its delightful crunchy and creamy texture.
-
Freezer: For longer storage, wrap the sushi tightly in plastic wrap and place it in a freezer-safe container. It can be frozen for up to 1 month. Just thaw in the fridge before serving.
-
Reheating: Oreo Sushi is best served cold or at room temperature. Reheating isn’t recommended, as it can compromise the texture and flavor of this playful dessert.
What to Serve with Oreo Sushi
Set the stage for a delightful dessert experience that will have everyone raving about your fun and creative approach to sweets.
-
Chocolate Sauce: Drizzle some rich chocolate sauce on top for an added decadence, enhancing each bite of Oreo Sushi.
-
Whipped Cream: A fluffy dollop of whipped cream offers a creamy contrast, balancing the crunchy texture of the sushi.
-
Fresh Strawberries: Bright, juicy strawberries add a refreshing burst of flavor, contrasting nicely with the sweetness of the Oreos.
-
Mini Fruit Skewers: Serve colorful fruit skewers alongside your Oreo Sushi for an appealing and healthy balance, making each bite feel more vibrant and fun.
-
Ice Cream: Consider a scoop of vanilla or cookies and cream ice cream for a luxurious treat that complements the cookie flavors beautifully.
-
Milk: A glass of cold milk or a fun milkshake can elevate the experience, bringing a nostalgic touch that pairs perfectly with these playful dessert rolls.
Creating a complete dessert spread ensures your Oreo Sushi is the star of a festive culinary celebration!
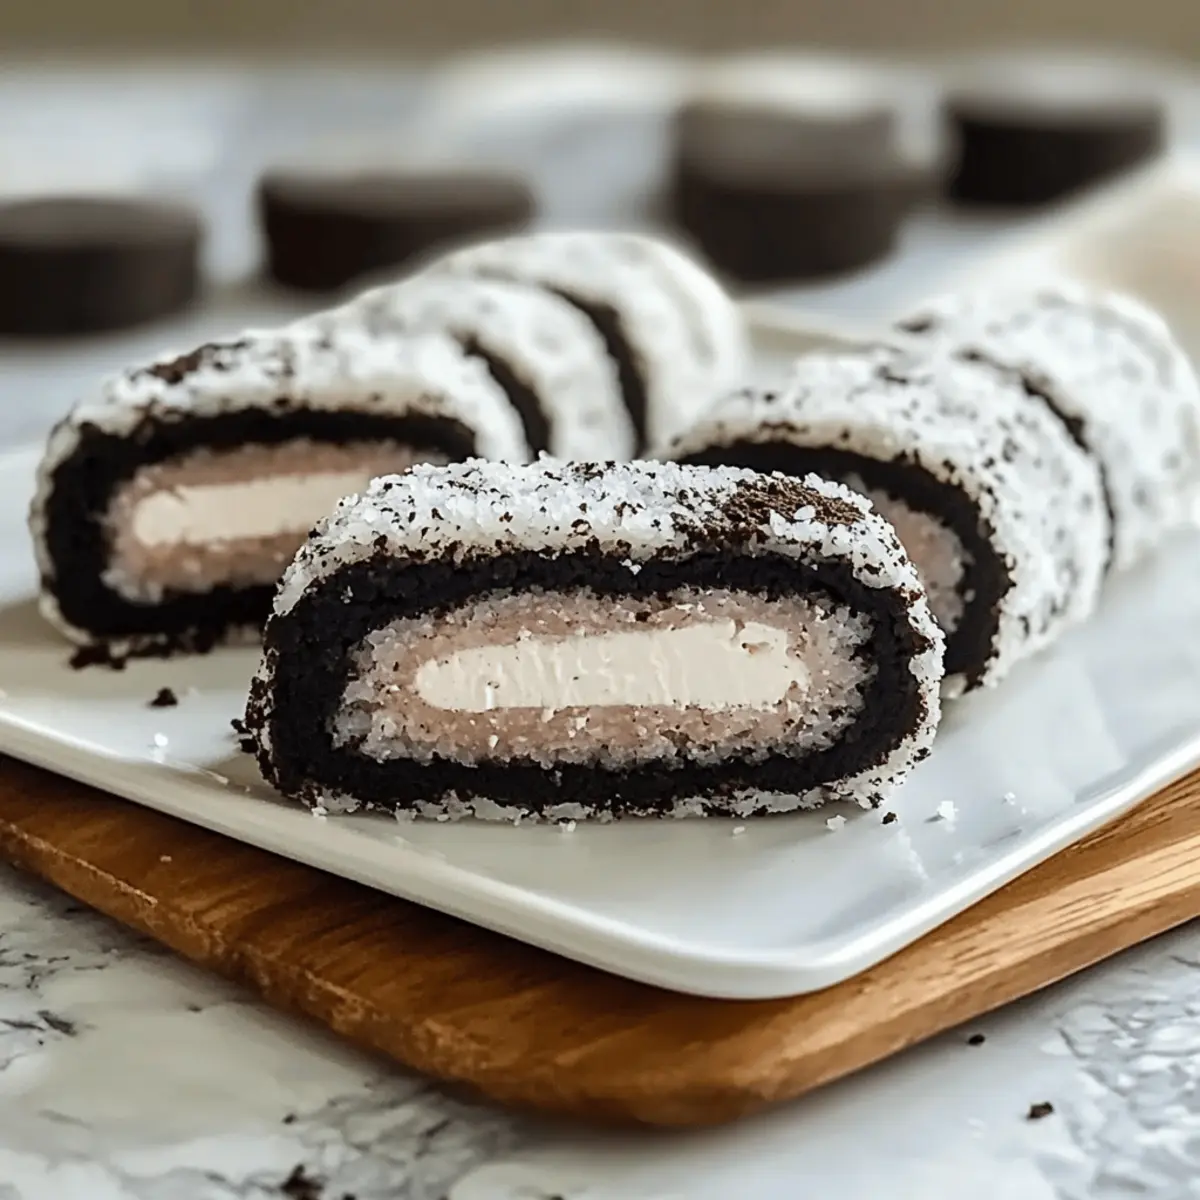
Oreo Sushi Recipe FAQs
What type of Oreos should I use for Oreo Sushi?
Absolutely, you can use any variety of Oreo cookies! Whether classic, double-stuffed, or seasonal flavors like pumpkin spice, each will add its own unique twist to your Oreo Sushi. I often enjoy experimenting with different ones to find the perfect flavor combination!
How long can I store leftover Oreo Sushi?
Great question! Store any leftover Oreo Sushi in an airtight container in the fridge for up to 3 days for the best taste and texture. After that, the crunchiness may diminish, and the creamy filling could become less enjoyable.
Can I freeze Oreo Sushi?
Yes! To freeze your Oreo Sushi, wrap each roll tightly in plastic wrap and then place them in a freezer-safe container. They can be stored in the freezer for up to 1 month. When you’re ready to enjoy them, simply thaw in the refrigerator overnight for the best results.
What should I do if my cookie mixture is too wet?
If your cookie mixture becomes too wet and sticky, don’t worry! Just add a little bit more crushed Oreo crumbs to absorb the excess moisture. Aim for a thick, dough-like consistency that holds together well when rolled. If you find it’s too dry, you can add a teaspoon of milk gradually, mixing until the texture is just right.
Can my pets enjoy Oreo Sushi?
It’s best to keep Oreo Sushi away from pets. The ingredients, especially chocolate, can be harmful to dogs and some other animals. If you’re looking for a pet-friendly treat, you could try making a version with crushed dog biscuits and a peanut butter paste instead!
What if I want to add fruits?
Adding fruits is a delightful idea! Simply slice your favorite fruits such as strawberries or bananas to about a quarter-inch thickness and layer them on the cream filling before rolling. This not only enhances flavor but also adds a splash of color to your Oreo Sushi. Enjoy the creativity!
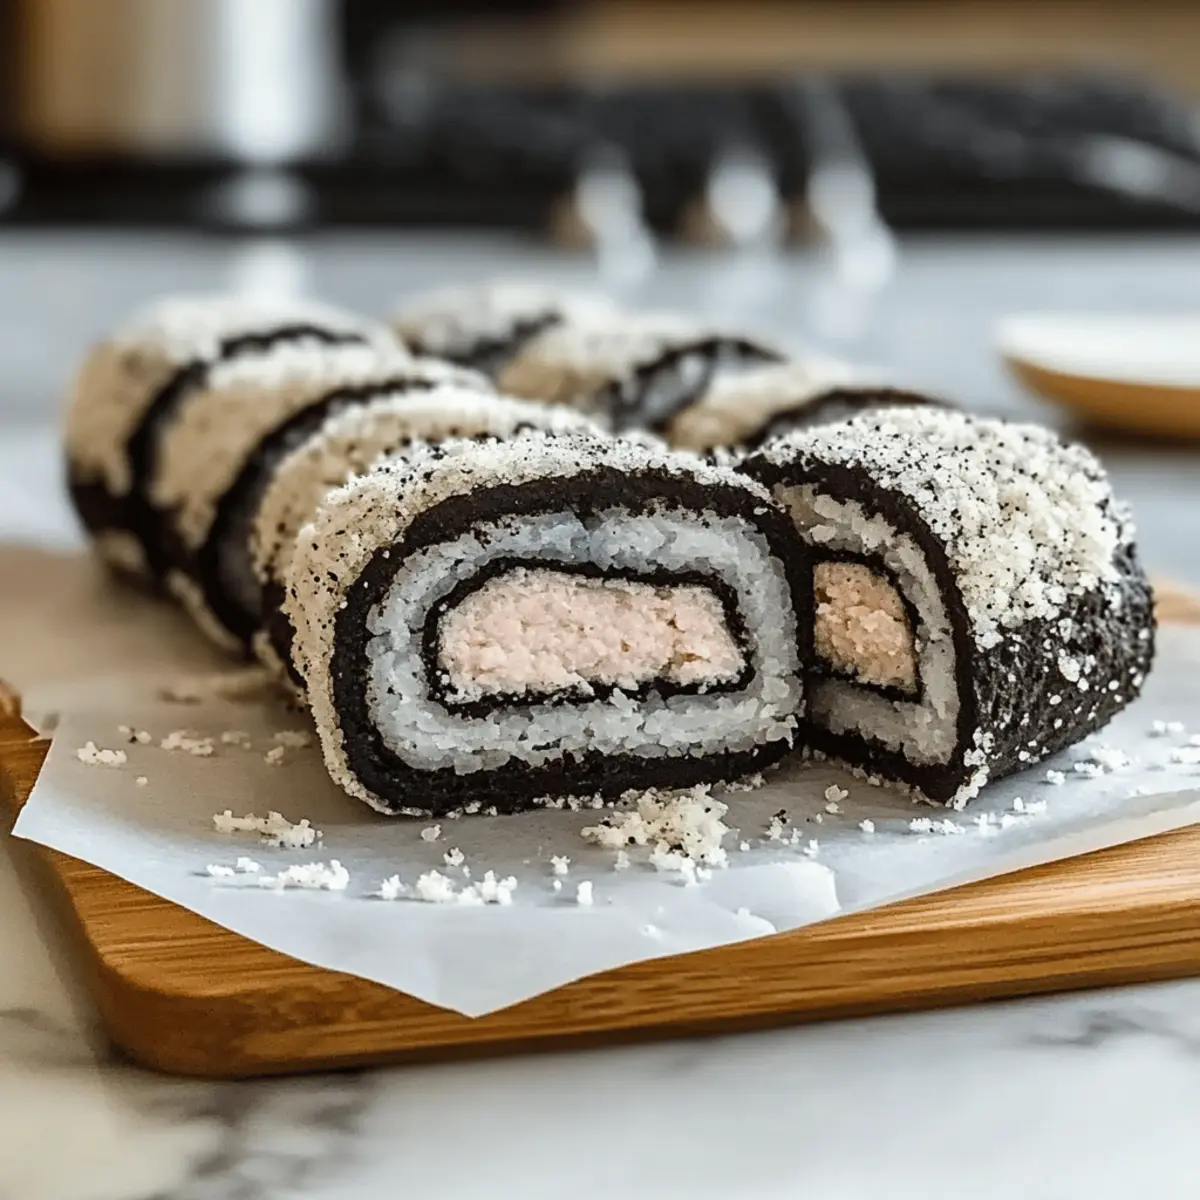
Oreo Sushi: Fun 2-Ingredient Dessert Everyone Will Love
Ingredients
Equipment
Method
- Separate the Oreos by twisting apart each cookie and placing the cream filling in a bowl. Set the cookie halves aside.
- Crush the separated Oreo halves in a zip-top bag using a rolling pin until fine crumbs form.
- In a mixing bowl, gradually add milk to the cookie crumbs until a thick paste forms.
- Lay a sheet of plastic wrap on a flat surface, spread the cookie paste into a rectangle, and layer the cream filling on top.
- Roll the sushi tightly using the plastic wrap, secure the ends, and chill in the refrigerator for 30 minutes.
- After chilling, unwrap and slice the roll into bite-sized pieces, arrange on a plate, and serve with optional dips.
Leave a Reply