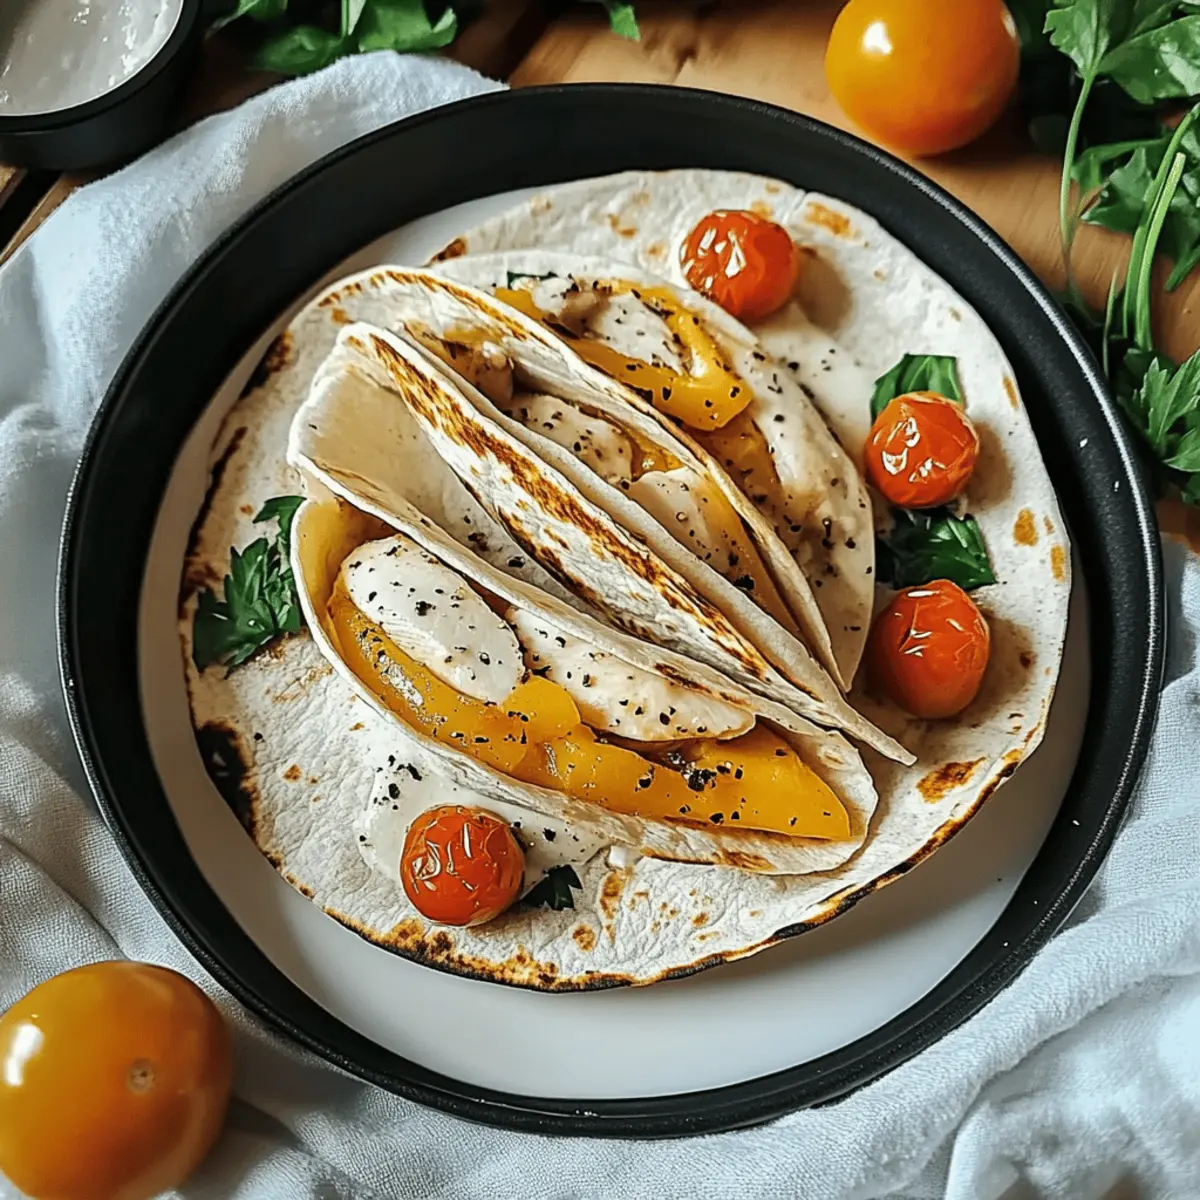
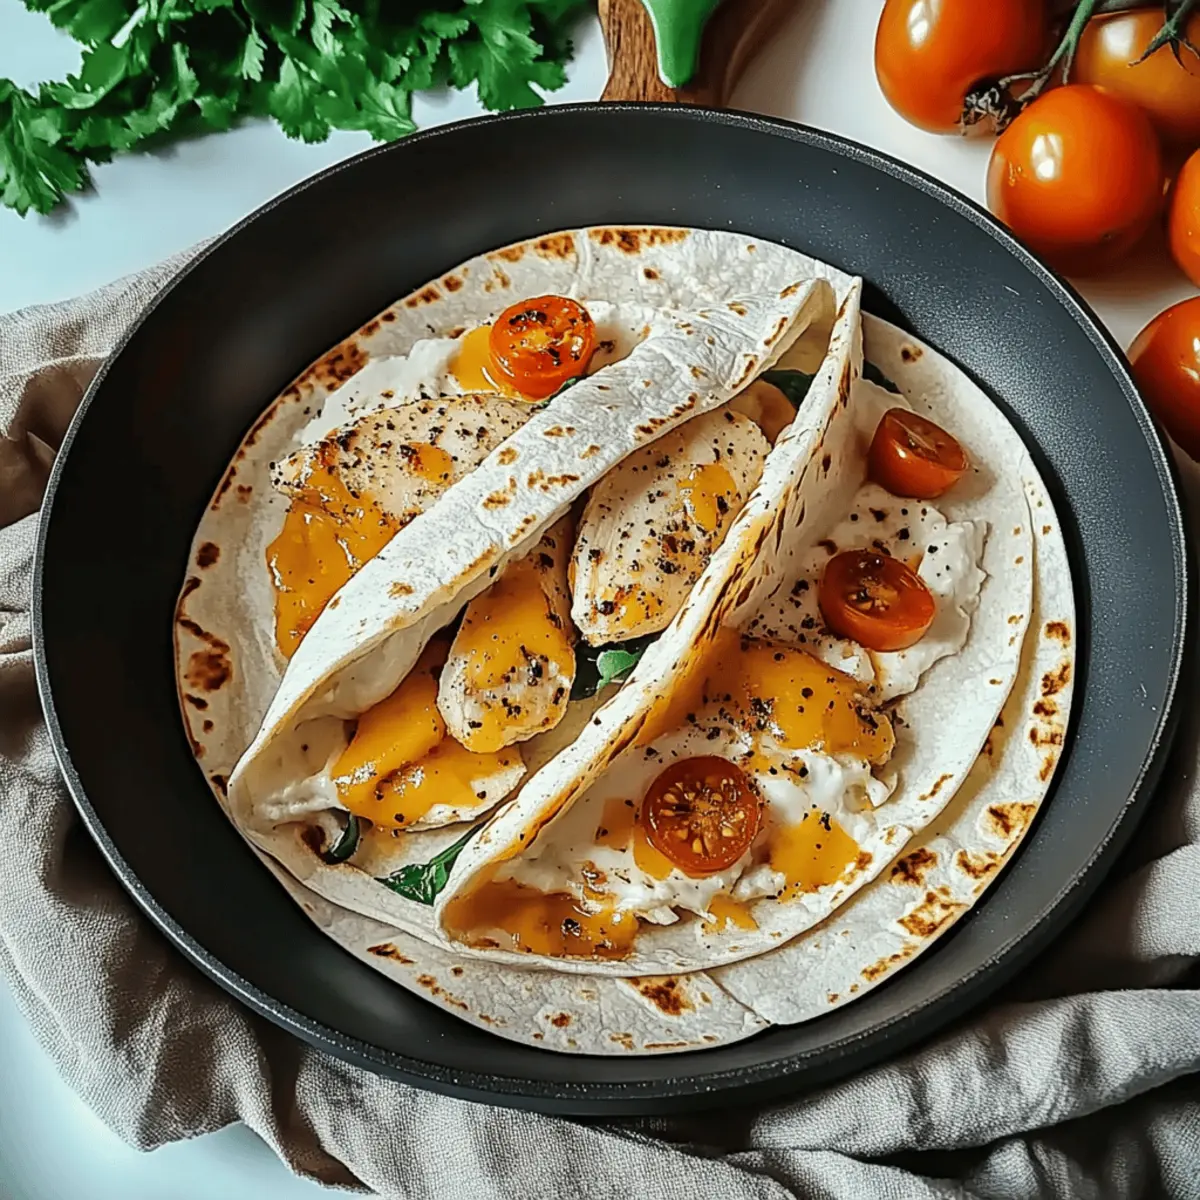
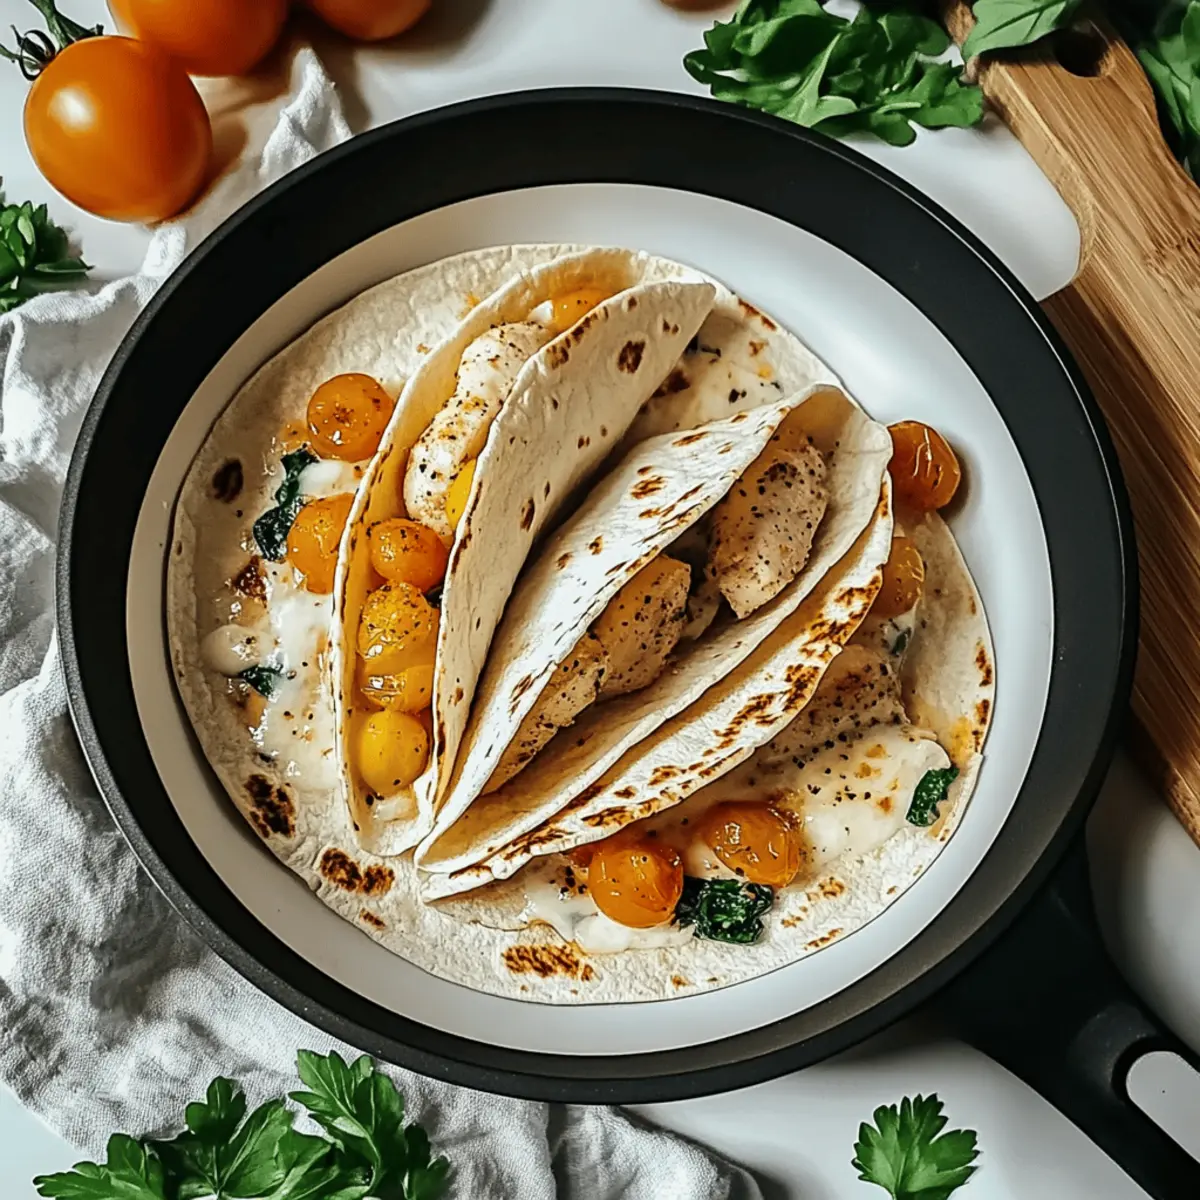
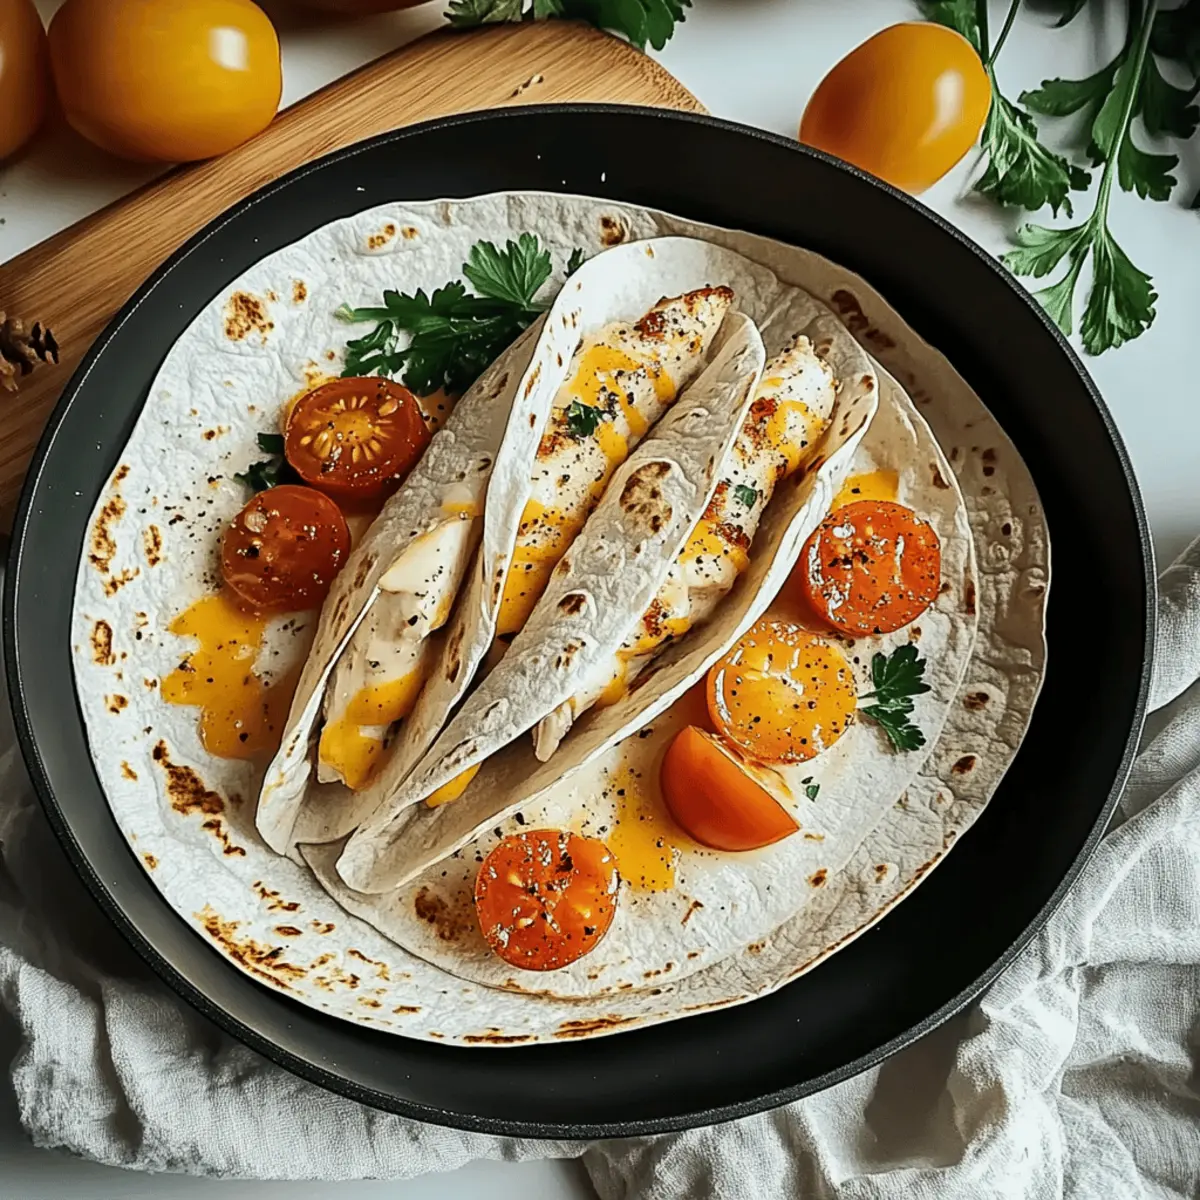
As I flipped through my collection of cherished recipes, a sudden wave of nostalgia hit me—those carefree weeknights when cooking felt more like a joyful art than a chore. This is exactly the kind of vibe you’ll capture with my Cheesy Garlic Chicken Wraps, an easy dinner that brings the comfort of home cooking back into your busy life. Tender chicken, marinated in fragrant garlic-infused olive oil, mingles beautifully with gooey mozzarella and fresh veggies, all enveloped in a warm tortilla. The best part? This dish is quick to prepare and incredibly beginner-friendly, making it perfect for anyone looking to elevate their weeknight meals without fuss. Whether you’re feeding a hungry family or enjoying a cozy solo dinner, these wraps promise to satisfy. Are you ready to roll up your sleeves and indulge in a comforting culinary hug?

Why Are Cheesy Garlic Chicken Wraps a Must-Try?
Comforting Delights: These wraps combine tender chicken and gooey cheese for the ultimate satisfying bite.
Quick & Easy: With straightforward preparation, you’ll have dinner ready in no time, perfect for busy weeknights.
Flavor Explosion: Loaded with garlic flavor and fresh veggies, each wrap is bursting with taste that everyone will adore.
Versatile Options: Customize with turkey or marinated tofu, and mix in your favorite vegetables for a personal twist.
Crowd Pleaser: These Cheesy Garlic Chicken Wraps are sure to please picky eaters and comfort food lovers alike. Serve with a side of Roasted Garlic Aioli for an extra indulgence!
Cheesy Garlic Chicken Wraps Ingredients
For the Chicken Marinade
- Large Chicken Breasts – A robust base for your wraps; swap with turkey breast for a lighter meal.
- Olive Oil – Adds a rich flavor and helps the seasoning stick; avocado oil is a great alternative.
- Garlic (minced) – Infuses the wraps with aromatic goodness; fresh or jarred garlic will work beautifully.
- Salt – Essential for enhancing flavors; opt for kosher or sea salt for the best results.
- Black Pepper – Brings a gentle heat; freshly ground offers the richest flavor.
- Paprika – Provides warmth and a hint of color; smoked paprika can intensify the taste.
- Dried Oregano – Gives an herbaceous kick; Italian seasoning makes a handy substitute.
- Onion Powder – Deepens the savory notes; using fresh onion is perfect if sautéed first.
For the Cheesy Filling
- Shredded Mozzarella Cheese – Melts perfectly to create that gooey texture; cheddar cheese makes it sharper.
- Grated Parmesan Cheese – Adds savory depth; pecorino Romano is a delicious substitute to consider.
For the Wrap Assembly
- Large Flour Tortillas – The foundation of your wraps; choose gluten-free alternatives if needed.
- Baby Spinach Leaves – Freshness and nutrition are key; kale or arugula work wonderfully too.
- Cherry Tomatoes (halved) – Provide a sweet burst of flavor; regular diced tomatoes are a great alternative.
- Fresh Parsley (chopped) – A colorful garnish adding freshness; cilantro can swap in for a different flair.
For Serving
- Sour Cream or Greek Yogurt (optional) – Creamy and tangy; avocado or guacamole can offer a delightful twist.
Dive into these Cheesy Garlic Chicken Wraps—they’re sure to become a heartfelt staple in your dinner repertoire!
Step‑by‑Step Instructions for Cheesy Garlic Chicken Wraps
Step 1: Preheat the Oven
Begin by preheating your oven to 375°F (190°C). This will prepare the perfect baking environment for your Cheesy Garlic Chicken Wraps, ensuring they become golden and crispy. While the oven warms up, gather all your ingredients and have a baking sheet ready to make the assembly process smooth.
Step 2: Prepare the Marinade
In a mixing bowl, combine olive oil, minced garlic, salt, black pepper, paprika, dried oregano, and onion powder. Whisk these ingredients together until they create a fragrant marinade that is both rich and aromatic. This step infuses the chicken with that delightful garlic flavor that makes your wraps irresistibly tasty.
Step 3: Pound the Chicken
Take your large chicken breasts and place them between two sheets of plastic wrap. Use a meat mallet or rolling pin to pound the chicken to a uniform thickness of about ½ inch. This ensures even cooking, leading to tender and juicy chicken pieces for your wraps, satisfying your hunger perfectly.
Step 4: Marinate the Chicken
Transfer the pounded chicken into a shallow dish and pour the prepared marinade over it. Make sure each piece is thoroughly coated. Cover the dish and let it marinate for at least 20 minutes at room temperature or refrigerate for up to 2 hours to deepen the flavors before cooking.
Step 5: Cook the Chicken
Heat a skillet over medium heat and add the marinated chicken breasts to the hot skillet. Cook for 7–8 minutes on each side, checking for a golden-brown exterior and ensuring the internal temperature reaches 165°F (74°C). Once cooked, remove the chicken and allow it to rest for a few minutes before slicing.
Step 6: Assemble the Wraps
Lay the large flour tortillas flat on a clean surface. Evenly distribute the sliced chicken among them, creating a hearty base for your Cheesy Garlic Chicken Wraps. Make sure to leave space around the edges for easier rolling later on, allowing each wrap to stay tightly packed.
Step 7: Add the Cheese
Generously sprinkle shredded mozzarella and grated Parmesan over the chicken slices, covering them with a melty layer of cheese that will create that gooey goodness. This cheesy heart of the wrap is what makes every bite a comforting experience you won’t want to miss.
Step 8: Include the Fresh Elements
Top the cheesy chicken with fresh baby spinach leaves and halved cherry tomatoes. These vibrant vegetables not only add a pop of color but also provide a refreshing crunch that balances the richness of the melted cheese. This combination brings your Cheesy Garlic Chicken Wraps to life with sweetness and texture.
Step 9: Roll the Tortillas
Carefully roll each tortilla tightly around the filling, tucking in the sides as you go to secure the filling. If necessary, you can secure the wraps with toothpicks to hold everything in place. This ensures that your delicious fillings stay wrapped snugly for baking.
Step 10: Bake the Wraps
Place the rolled wraps seam-side down on a baking sheet. Bake in the preheated oven for about 10 minutes, or until the cheese is melted and the tortillas are golden brown. Keep an eye on them to avoid burning, as you’re aiming for that perfect crispy exterior.
Step 11: Garnish and Serve
Once baked, remove the wraps from the oven and let them cool for a minute. Garnish with freshly chopped parsley for an added touch of flavor and color. Serve your Cheesy Garlic Chicken Wraps warm alongside sour cream or Greek yogurt to enhance that comforting experience everyone will love.

What to Serve with Cheesy Garlic Chicken Wraps
Create a delightful dining experience by pairing your wraps with complimentary sides that elevate flavors and textures.
-
Crispy Garden Salad: A fresh salad with crunchy greens and a tangy vinaigrette balances the warm wraps perfectly.
-
Sweet Potato Fries: Crispy outside and fluffy inside, these sweet fries add a delightful contrast to the savory chicken wraps.
-
Roasted Veggies: Seasoned roasted vegetables bring earthy flavors that enhance the garlicky taste, making every bite exciting.
-
Creamy Coleslaw: The cool, creamy slaw provides a refreshing crunch that rounds out the meal, adding a touch of zest.
-
Garlic Breadsticks: Perfect for dipping, these buttery breadsticks echo the garlic theme, creating a comforting and cohesive dining experience.
-
Zesty Lemonade: A glass of refreshing lemonade brightens your palate, cutting through the richness of the wraps and making your meal feel light.
These pairings bring joy and balance that transforms your Cheesy Garlic Chicken Wraps into a cherished meal for any occasion!
Expert Tips for Cheesy Garlic Chicken Wraps
-
Pounding Chicken Matters: Ensure even cooking by pounding the chicken to a uniform thickness of about ½ inch; this key step prevents undercooked or dry spots.
-
Flavorful Marinade: Allow the chicken to marinate for at least 20 minutes, but up to 2 hours is ideal for deeper flavor infusion; don’t rush this step!
-
Warm Tortillas: Prior to rolling, warm your tortillas slightly to avoid cracking. This makes them pliable and easier to handle for those Cheesy Garlic Chicken Wraps.
-
Cheese Choices: Feel free to experiment with different cheeses like cheddar or pepper jack for a bolder flavor; mixing cheeses can bring delightful variety.
-
Storage Tips: If preparing ahead, store cooked chicken separately before assembling wraps. This keeps your tortillas crisp and fresh when you’re ready to enjoy them!
Make Ahead Options
These Cheesy Garlic Chicken Wraps are perfect for busy home cooks looking to save time! You can marinate the chicken up to 24 hours in advance—just cover it in the fridge to keep the flavors fresh and vibrant. Additionally, you can prepare the wraps themselves and refrigerate them for up to 3 days in an airtight container. To maintain that delightful texture, keep the tortillas wrapped tightly to prevent drying out. When you’re ready to enjoy, simply pop them in the oven for about 10 minutes until they’re golden and the cheese is melty. This way, you’ll have a delicious, homemade dinner ready in no time!
Storage Tips for Cheesy Garlic Chicken Wraps
Fridge: Store leftover wraps in an airtight container in the fridge for up to 3 days. This will keep them fresh while maintaining flavor.
Freezer: For longer storage, freeze the assembled wraps (without toppings) wrapped tightly in foil or freezer bags for up to 2 months.
Reheating: When ready to enjoy, reheat from frozen in an oven at 375°F (190°C) for about 15-20 minutes until heated through and crispy.
Serving Tip: Consider serving with a dollop of sour cream or Greek yogurt for an added creamy touch!
Cheesy Garlic Chicken Wraps Variations
Feel free to personalize your Cheesy Garlic Chicken Wraps with these delightful twists that enhance flavor and cater to your taste!
-
Dairy-Free: Swap mozzarella and Parmesan for dairy-free cheese alternatives like cashew or almond cheese to keep it creamy yet plant-based.
-
Vegetarian Option: Substitute chicken with marinated tofu or tempeh for a nutritious vegetarian delight. Enhance it further with a burst of spices or a zesty herb marinade.
-
Spicy Kick: Add sliced jalapeños or a dash of hot sauce to infuse some heat. Pairing this with the creamy cheese provides a fantastic contrast that spice lovers will appreciate.
-
Flavorful Add-ins: Toss in roasted bell peppers or sautéed mushrooms to amp up the umami goodness. These ingredients will introduce new textures and flavors that elevate the wraps.
-
Wrap Variety: Switch up the tortillas by using whole wheat, spinach, or even gluten-free versions for a fresh take. Each type brings its own unique flavor and nutritional benefits.
-
Tropical Twist: Incorporate fresh pineapple chunks or mango for a sweet and tangy surprise that brightens up every bite. This combination harmonizes beautifully with the savory components.
-
Crunch Factor: Add some shredded cabbage or crispy lettuce inside the wraps for an extra crunch. This will also provide a refreshing bite that compliments the richness of cheese.
-
Protein Boost: Mix in some cooked black beans or chickpeas for added protein and a hearty texture. Not only does this make the wraps more filling, but it also contributes a delicious, wholesome flavor.
For a complete meal, consider serving your wraps alongside some crispy onion rings or a comforting bowl of Thai Chicken Soup for a delightful dining experience!

Cheesy Garlic Chicken Wraps Recipe FAQs
How do I choose the best chicken for my wraps?
Absolutely! For the best results, pick large, boneless chicken breasts that are firm and free of any dark spots. If you’re looking for a lighter option, turkey breast is a fantastic substitute that maintains the flavor and texture of the wraps beautifully.
How should I store leftover Cheesy Garlic Chicken Wraps?
Store your leftover wraps in an airtight container in the refrigerator for up to 3 days. To retain their crunch, try to reheat them in the oven at 375°F (190°C) for about 10-15 minutes instead of using the microwave, which can make the tortillas soggy.
Can I freeze Cheesy Garlic Chicken Wraps?
Certainly! To freeze, wrap the assembled, unbaked (without toppings) wraps tightly in aluminum foil or place them in freezer bags. They can be frozen for up to 2 months. When you’re ready to eat, bake from frozen at 375°F (190°C) for about 15-20 minutes or until heated through and deliciously crispy.
What should I do if my wraps are soggy after reheating?
If you discover sogginess, it’s usually because the tortillas absorbed moisture. For perfectly crispy wraps, ensure you’re baking them in the oven and not microwaving. Next time, consider leaving out any ingredients that add moisture, like fresh tomatoes, until serving.
Are there any dietary considerations for this recipe?
Very much so! If you’re concerned about allergies, be mindful of any gluten or dairy intolerances. You can easily substitute gluten-free tortillas and use dairy-free cheese options to cater to those dietary needs. Always check labels to ensure all ingredients meet your requirements!
How can I add more flavor to my Cheesy Garlic Chicken Wraps?
Absolutely! You can experiment with different cheeses, like pepper jack for a spicy kick, or include additional vegetables such as roasted bell peppers or sautéed mushrooms. Adding spices to the marinade, such as chili powder or fresh herbs, can also elevate the flavor profile beautifully.

Cheesy Garlic Chicken Wraps for the Ultimate Comfort Dinner
Ingredients
Equipment
Method
- Preheat the Oven to 375°F (190°C). Gather all ingredients and prepare a baking sheet for assembly.
- Prepare the Marinade by mixing olive oil, minced garlic, salt, black pepper, paprika, dried oregano, and onion powder in a bowl.
- Pound the Chicken between plastic wrap to a uniform thickness of about ½ inch for even cooking.
- Marinate the Chicken in a shallow dish with the marinade for at least 20 minutes.
- Cook the Chicken in a skillet over medium heat for 7–8 minutes on each side until golden brown.
- Assemble the Wraps by laying tortillas flat and distributing sliced chicken evenly.
- Add shredded mozzarella and grated parmesan atop the chicken.
- Top with fresh baby spinach leaves and cherry tomatoes.
- Roll the Tortillas tightly around the filling, securing the sides as you go.
- Bake in the preheated oven for about 10 minutes until the cheese is melted and tortillas are golden.
- Garnish with parsley and serve warm with sour cream or Greek yogurt.

Leave a Reply