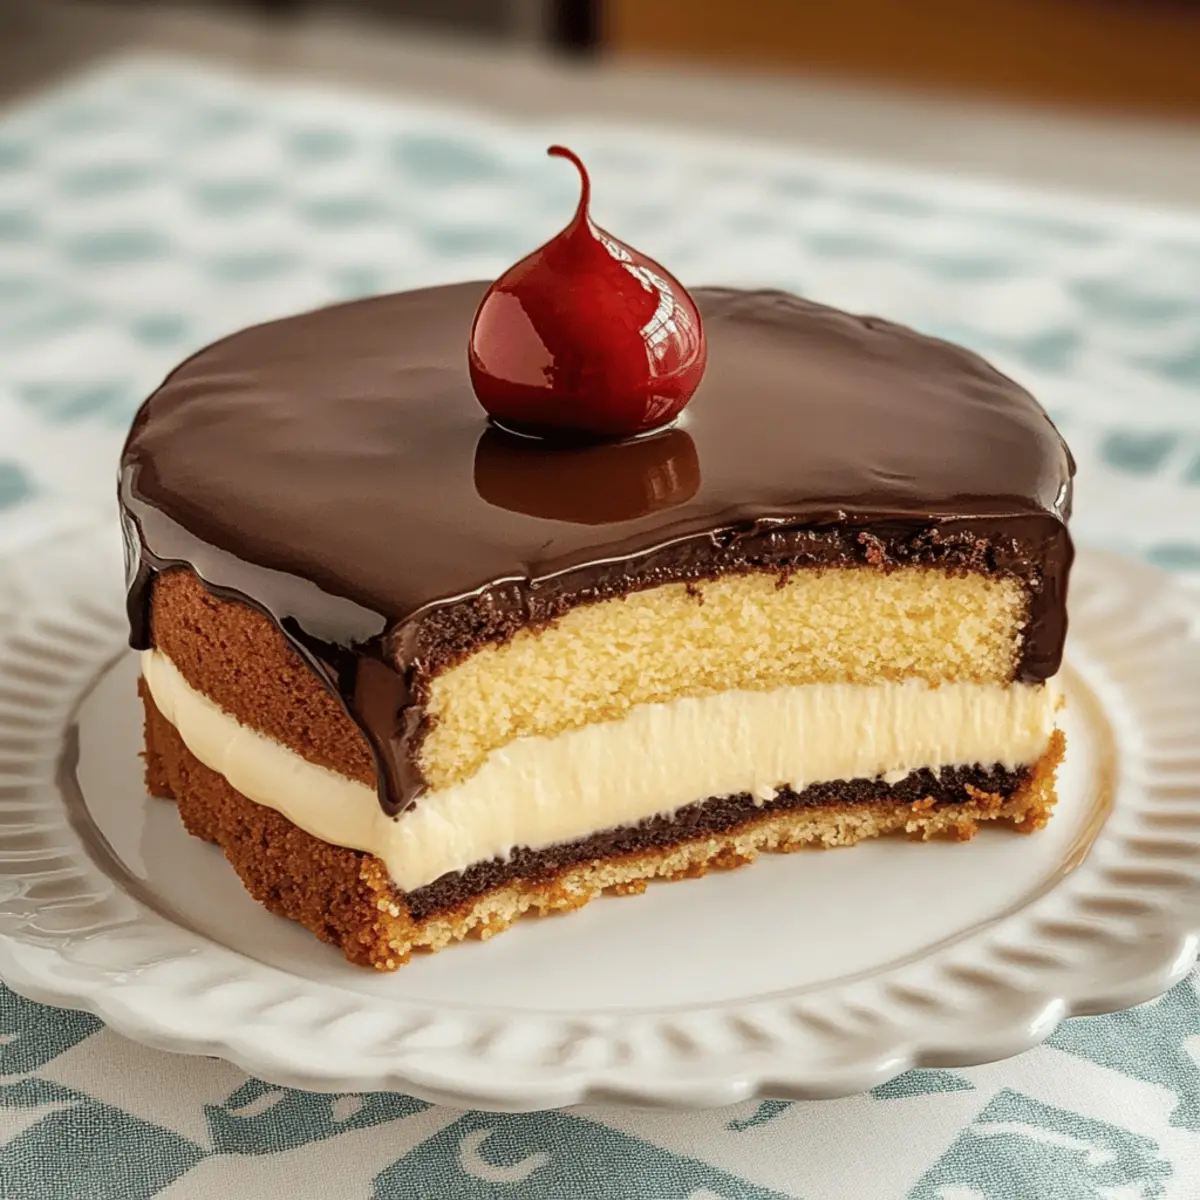
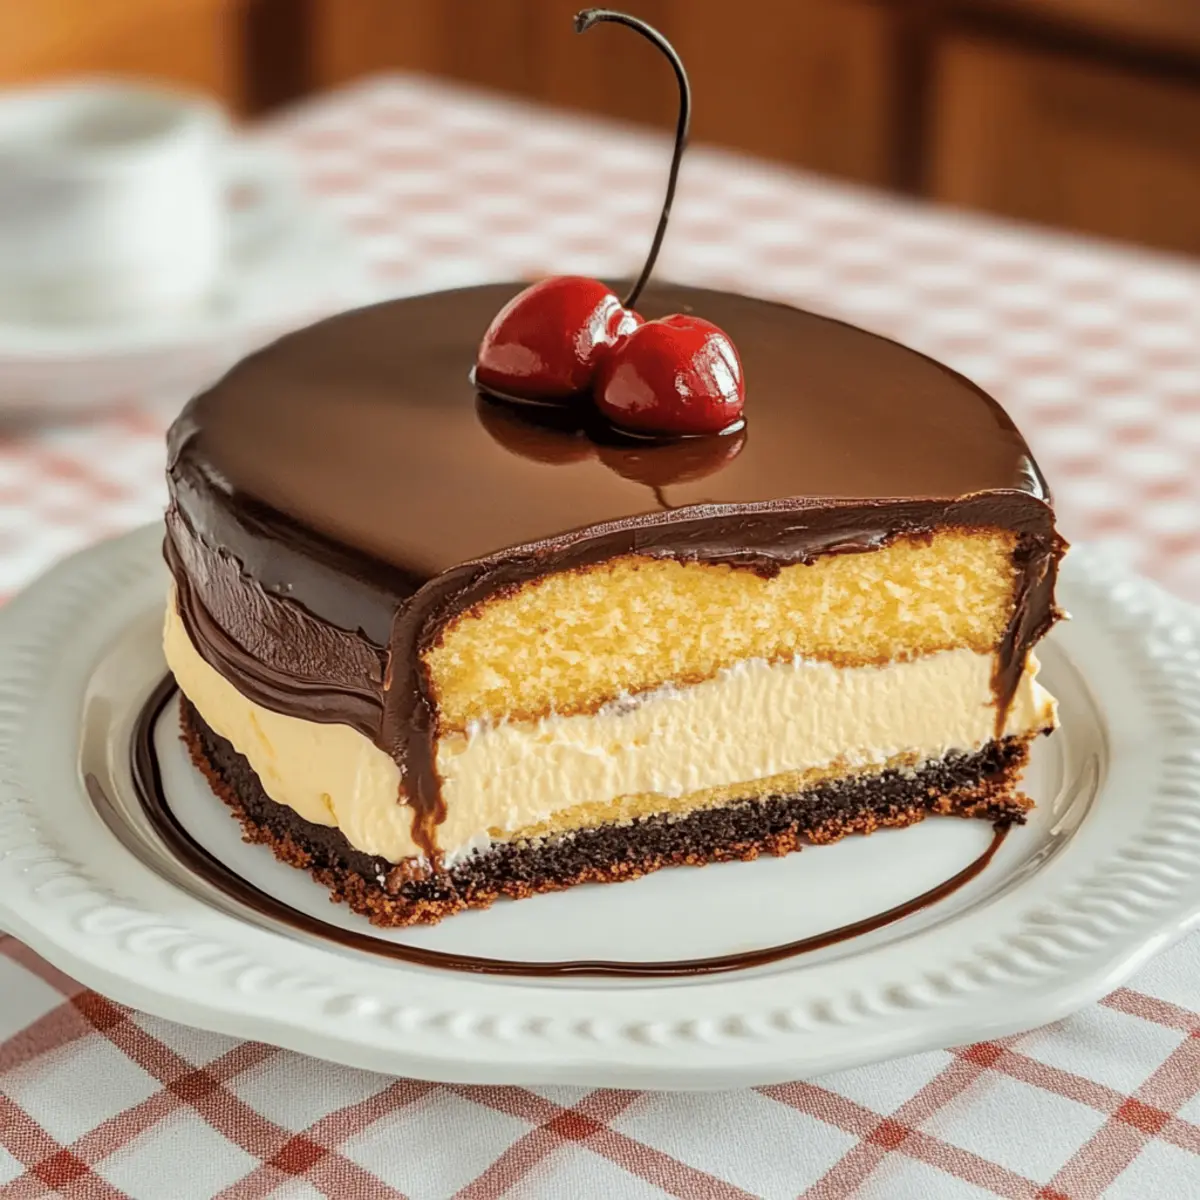
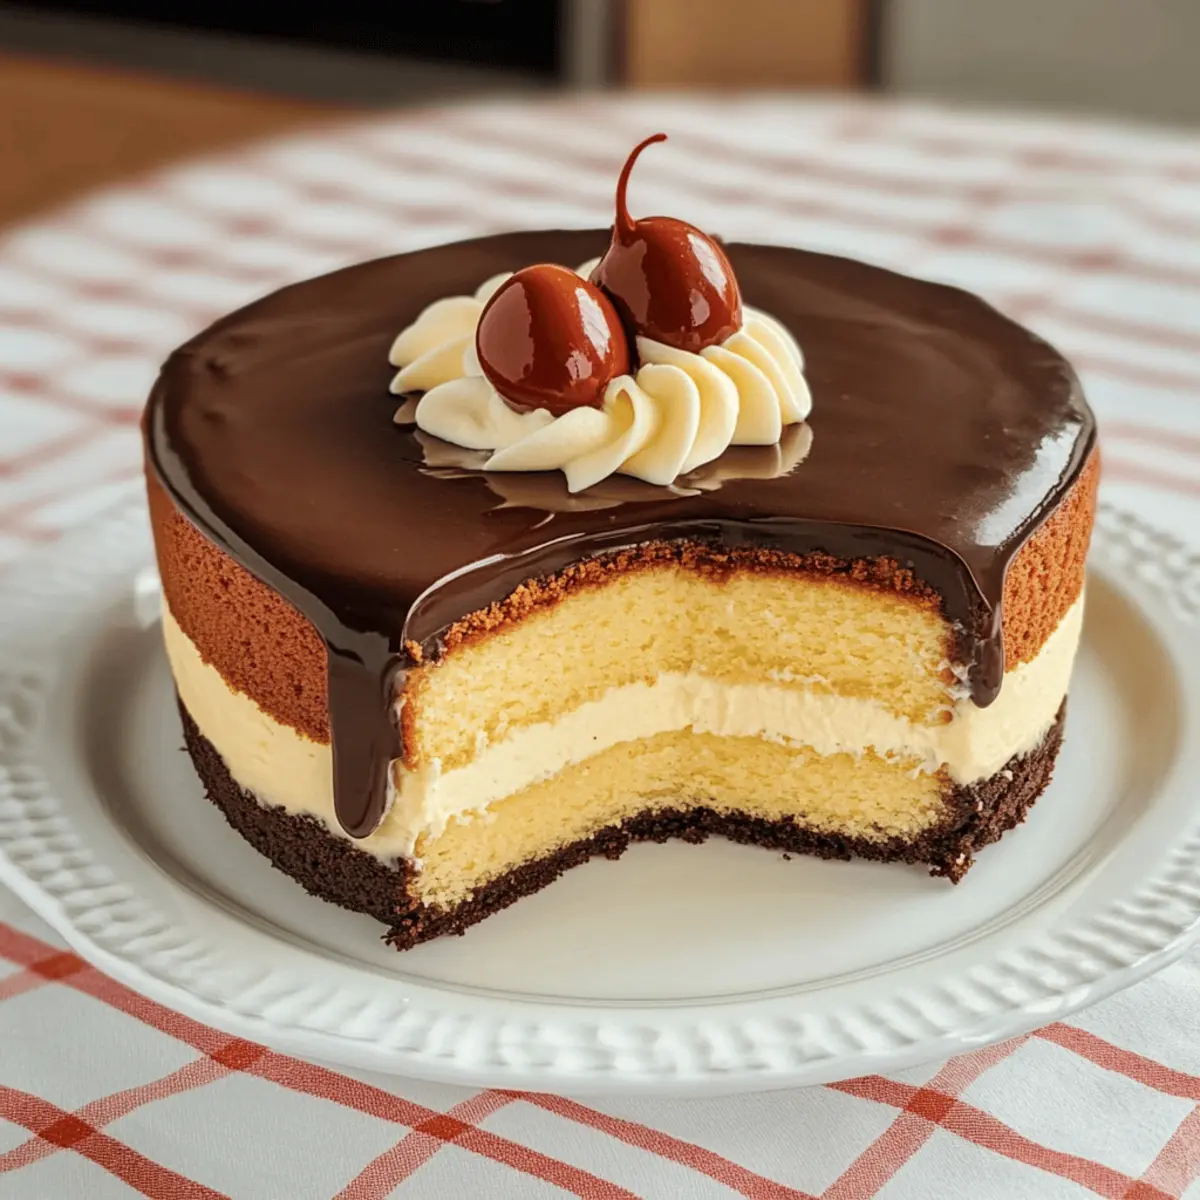
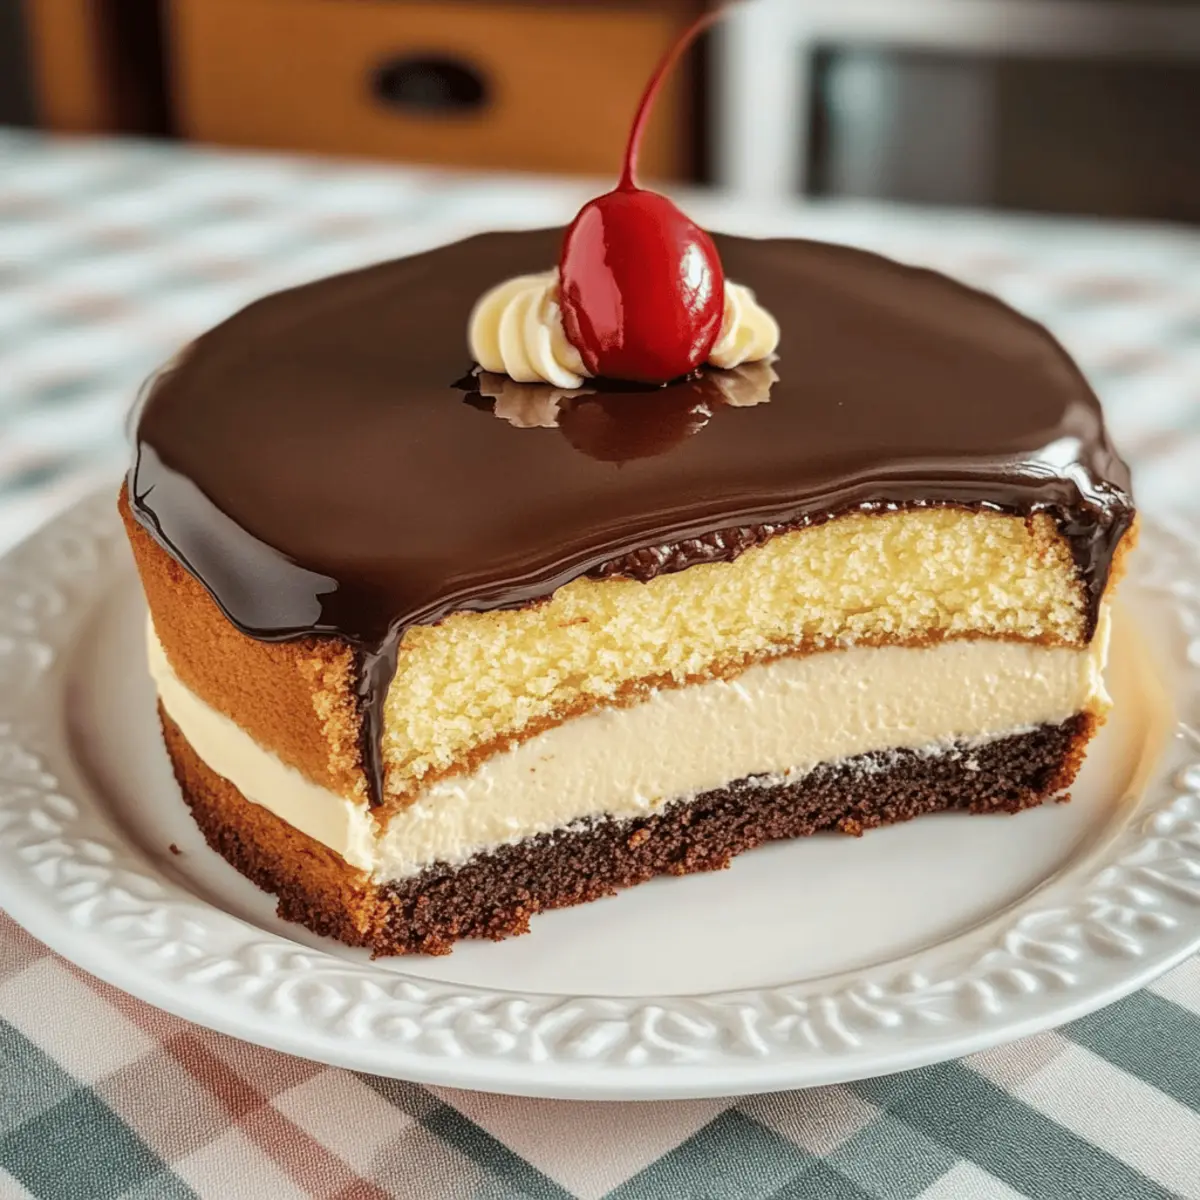
There’s something magical about the aroma of baking cake that transports me back to cherished family gatherings, where laughter and love filled the air. One dessert that captures this nostalgia is the Classic Boston Cream Pie—a masterpiece of soft cake layers, silky vanilla custard, and a glossy chocolate ganache. This traditional dessert not only serves as an irresistible centerpiece for special occasions, but it also brings the comfort of home cooking into your kitchen. What makes it even better? It’s surprisingly straightforward to whip up and can be prepared ahead of time, making entertaining a breeze. So, are you ready to create a dessert that will leave your loved ones asking for seconds? Let’s dive into this delightful journey of flavors together!

Why is Boston Cream Pie so special?
Nostalgia in Every Bite: The Classic Boston Cream Pie brings back fond memories of family celebrations, making it a cherished dessert for many.
Decadent Layers: With fluffy cake layers cradling creamy custard, this dessert is sure to impress at any gathering.
Versatile for All Occasions: Enjoy it for birthdays, holidays, or even a cozy night in—this pie is perfect for every moment.
Simple Yet Elegant: Despite its gourmet appeal, the recipe is straightforward, making it accessible even for novice bakers.
Make-Ahead Magic: Prepare this dessert in advance, allowing the flavors to meld beautifully overnight—ideal for stress-free entertaining! If you love delightful homemade treats, you might also enjoy Italian Sausage Ditalini or a refreshing Cucumber Salad Refresh!
Boston Cream Pie Ingredients
• Here’s everything you need to create this comforting dessert!
For the Cake Layers
- All-Purpose Flour – Provides structure for the cake layers; substitute with gluten-free flour for a gluten-free version.
- Baking Powder – Helps the cake rise, creating a light texture; ensure it’s fresh for optimal results.
- Salt – Enhances the sweetness of the cake; use sea salt for a gourmet touch.
- Sugar – Adds sweetness to the cake batter; can substitute with coconut sugar for a lower glycemic index.
- Eggs – The binding agent that adds moisture and richness; consider using flax eggs for a vegan option.
- Milk – Contributes to the cake’s moisture and custard; almond milk can be a dairy-free alternative.
- Vanilla Extract – Introduces a warm flavor profile; always opt for pure vanilla extract for the best results.
For the Custard
- Egg Yolks – Key for the custard’s creaminess; they can’t be substituted in the traditional recipe, but silken tofu works for a vegan custard.
- Milk (for Custard) – Essential for creating the perfect custard; using whole milk gives it a rich taste.
For the Ganache
- Heavy Cream – Essential for making the chocolate ganache; coconut cream can be a great dairy-free version.
- Semisweet Chocolate – Provides depth and richness to the ganache; dark chocolate can be substituted for a richer taste.
Now that you have all your ingredients ready, you’ll be well on your way to making a delightful Boston Cream Pie that your family will love!
Step‑by‑Step Instructions for Boston Cream Pie
Step 1: Preheat and Prepare Pans
Begin your delicious journey by preheating the oven to 350°F (175°C). While the oven warms up, generously grease two 9-inch round cake pans with butter or cooking spray to ensure the cake layers release easily. Dust them lightly with flour to create an extra layer of protection, setting the stage for your Classic Boston Cream Pie.
Step 2: Make Cake Batter
In a large mixing bowl, sift together the all-purpose flour, baking powder, and salt to create a dry mixture. In another bowl, whisk together the eggs, milk, sugar, and vanilla extract until frothy and smooth. Gradually combine the wet ingredients with the dry ingredients, stirring gently until you have a silky batter that is free of lumps, ensuring a light texture for your Boston Cream Pie.
Step 3: Bake Cake
Evenly pour the rich cake batter into the prepared pans, filling them about two-thirds full. Place the pans in the preheated oven and bake for 25-30 minutes, or until the tops are lightly golden and a toothpick inserted in the center comes out clean. This fragrant aroma will signal that your cake is nearing perfection!
Step 4: Cool Cakes
Once baked, remove the pans from the oven and allow them to cool for about 10-15 minutes. Carefully turn the cakes out onto a wire rack to cool completely. Be patient—letting the layers cool ensures the custard won’t melt when you assemble your Boston Cream Pie later on.
Step 5: Prepare Custard
In a saucepan, heat the milk over medium heat until it’s steaming but not boiling. Meanwhile, whisk the egg yolks and sugar in a bowl until they turn pale and creamy. Gradually pour the hot milk into the egg mixture, whisking constantly to temper the eggs. Return this mixture to the saucepan and cook over low heat, stirring gently until the custard thickens enough to coat the back of a spoon.
Step 6: Make Ganache
In a small saucepan, heat the heavy cream over medium heat until it just begins to bubble around the edges. Remove it from the heat and pour it over the chopped semisweet chocolate in a bowl. Let it sit for a minute to soften the chocolate, then stir until the mixture is smooth and glossy. Your luscious ganache is now ready to elevate your Boston Cream Pie!
Step 7: Assemble
Select one cooled cake layer and place it on a serving plate. Spoon a generous amount of the creamy custard on top, spreading it evenly with a spatula. Carefully place the second cake layer on top of the custard, creating a lovely sandwich of flavors, then drizzle the warm ganache over the entire pie, letting it cascade down the sides.
Step 8: Chill Before Serving
To allow the flavors to meld perfectly, refrigerate your assembled Boston Cream Pie for at least one hour. This chilling time helps set the custard and ganache, making it easier to slice. The anticipation will be worth it when you unveil this delightful dessert at your next gathering!

Boston Cream Pie Variations & Substitutions
Feel free to play around with this classic recipe and make it your own—each twist offers a delightful surprise!
- Chocolate Custard: Swap the vanilla custard for a rich chocolate custard to deepen the flavor profile. Chocolate lovers will rejoice!
- Dairy-Free Delight: Use almond milk and coconut cream for the custard and ganache to create a delicious dairy-free version without sacrificing creaminess.
- Fruit Burst: Add a layer of fresh strawberries or bananas between the cake layers for a refreshing fruity surprise. This creates a beautiful contrast of flavors!
- Nutty Crunch: Fold in crushed nuts like hazelnuts or pecans into the ganache for an added crunch. The texture will elevate each bite to new heights.
- Spiced Custard: Stir in a pinch of cinnamon or nutmeg to the custard for a warm, cozy flavor, perfect for fall or holiday gatherings.
- Caffeine Kick: Incorporate brewed coffee or espresso into the custard for a delightful mocha variation that coffee lovers will adore.
- Miniature Treats: Opt for a cupcake version by baking the batter in muffin tins, then layering custard and ganache for bite-sized delights. Perfect for parties!
- Gluten-Free Version: Replace the all-purpose flour with a gluten-free blend to enjoy this nostalgia without worry. Everyone deserves a taste of this classic!
Don’t forget, if you’re looking for more ways to enjoy comforting sweetness, try out my delicious Ricotta Pomegranate Dip or whip up a luscious bowl of Slow Cooker Tuscan Chicken Orzo. Happy baking!
Make Ahead Options
These Classic Boston Cream Pie components are perfect for busy home cooks looking to save time! You can bake the cake layers up to 2 days in advance; simply allow them to cool completely, then wrap them tightly in plastic wrap and refrigerate. The custard can also be prepared up to 24 hours ahead and stored in the fridge—just cover it with plastic wrap pressed against the surface to prevent a skin from forming. When you’re ready to serve, assemble the pie by layering the cake and custard, then drizzle the ganache over the top. After chilling for at least 1 hour, your Boston Cream Pie will be just as delicious and ready to impress!
What to Serve with Classic Boston Cream Pie
Indulging in a slice of this classic dessert opens the door to a delightful meal experience that can be beautifully complemented by a variety of dishes.
-
Fresh Berries: A medley of strawberries, raspberries, or blueberries adds a vibrant burst of freshness that cuts through the richness of the pie. Their natural sweetness enhances the overall dessert experience.
-
Whipped Cream: Light and airy, a dollop of freshly whipped cream brings an extra layer of indulgence. It’s like a fluffy cloud on top, perfect for balancing the creamy textures below.
-
Coffee: A warm cup of freshly brewed coffee creates an inviting contrast to the sweet layers of the Boston Cream Pie. The caffeine kick and the toasty notes enhance the pie’s flavors.
-
Chocolate Sauce Drizzle: For chocolate lovers, a drizzle of chocolate sauce adds an additional layer of richness. It creates a decadent and luxurious experience with every bite.
-
Vanilla Ice Cream: A scoop of classic vanilla ice cream pairs wonderfully with the pie’s textures. The cold creaminess melting together with the warm ganache is a taste sensation that’s hard to resist.
-
Coconut Macaroons: The chewy, sweet coconut macaroons offer a delightful texture contrast. Their tropical flavor pairs harmoniously with the pie’s creamy components, making for a delightful duo.
-
Mint Tea: A refreshing herbal infusion, mint tea cleanses the palate after enjoying a slice of dessert. The lightness of the tea complements the richness while adding an aromatic experience.
-
Chocolate-Covered Strawberries: Adding elegance to your dessert table, chocolate-covered strawberries make for a luscious pairing. Their juicy sweetness brings a refreshing contrast to the Boston Cream Pie.
Each of these pairing suggestions enhances your Boston Cream Pie experience, making it a truly memorable occasion to share with family and friends!
Expert Tips for Boston Cream Pie
-
Cool Completely: Ensure the cake layers are entirely cooled before assembling. This prevents the custard from melting and maintains the integrity of your Boston Cream Pie.
-
Stir Custard Constantly: While preparing the custard, always stir continuously to avoid curdling. A gentle hand will help achieve that creamy texture.
-
Flavor Enhancement: For a richer taste, let the assembled pie sit in the fridge overnight. This allows the flavors to meld beautifully and makes each bite even more delightful.
-
Perfect Ganache: If the ganache is too thick, gently reheat it with a splash of cream to achieve a pourable consistency. This ensures a smooth and glossy finish.
-
Layering Secrets: When spreading the custard, make sure to leave a little space near the edges of the cake layer. This prevents overflow when you add the top layer and ganache.
Storage Tips for Boston Cream Pie
Fridge: Store the assembled Boston Cream Pie in the refrigerator, covered with plastic wrap or foil, to maintain freshness for up to 3 days.
Freezer: For longer storage, freeze individual slices wrapped in plastic wrap and foil, allowing them to stay fresh for up to 2 months.
Thawing: When ready to enjoy, thaw in the fridge overnight. Avoid using the microwave, as it may affect the texture of the custard and ganache.
Serving Suggestion: Let the pie sit at room temperature for a few minutes before serving to enhance the flavors and texture of the custard and chocolate ganache.

Boston Cream Pie Recipe FAQs
How do I choose ripe ingredients for my Boston Cream Pie?
Absolutely! When selecting your ingredients, look for all-purpose flour that isn’t expired, as stale flour can affect the cake’s texture. For eggs, choose large, fresh eggs with no cracks that are at room temperature for better blending. Fresh whole milk enhances the custard’s creaminess, so opt for whole or 2% without any sour scent. And don’t forget to pick high-quality semisweet or dark chocolate, as the chocolate ganache is the star of this dessert!
How should I store my Boston Cream Pie?
To keep your masterpiece fresh, cover the pie with plastic wrap or aluminum foil and place it in the refrigerator. It will last for about 2-3 days. If you have leftover slices (or just want to make what you can last longer), you can freeze individual slices! Wrap them tightly in plastic wrap, then foil, and store them in an airtight container. They can stay delightful in the freezer for up to 2 months!
Can I freeze Boston Cream Pie?
Absolutely! If you want to prepare ahead, freezing individual slices is a great option. First, allow the pie to set fully in the fridge. Then, after slicing, wrap each slice tightly in plastic wrap, followed by aluminum foil. Place them in a freezer-safe container and they can be frozen for up to 2 months. When you’re ready to enjoy, thaw the slices overnight in the refrigerator to maintain texture and flavor.
What if my custard doesn’t thicken properly?
Very! If your custard is thin and doesn’t coat the back of a spoon, don’t worry. Here’s what you can do: Return the mixture to low heat and add a bit more cornstarch (about 1 tablespoon, mixed with a splash of cold milk) to the custard. Stir constantly until it thickens. If it curdled, strain it through a fine-mesh sieve to salvage the texture. Remember to heat gently and stir continuously to avoid curdling in the first place!
Is Boston Cream Pie safe for people with allergies?
While the Classic Boston Cream Pie is a delectable treat, it contains common allergens such as eggs, milk, and gluten. If you’re accommodating allergies, consider using flax eggs instead of regular eggs for a vegan option and almond milk for a dairy-free alternative. You can also use gluten-free flour for the cake layers. Always be sure to check labels for any cross-contamination warnings for sensitive individuals.

Decadent Boston Cream Pie for Nostalgic Dessert Lovers
Ingredients
Equipment
Method
- Preheat the oven to 350°F (175°C) and grease two 9-inch round cake pans with butter or cooking spray, dusting them with flour.
- Sift together the flour, baking powder, and salt. Whisk the eggs, milk, sugar, and vanilla extract until frothy, then combine wet and dry ingredients until smooth.
- Pour the batter into the prepared pans and bake for 25-30 minutes until golden and a toothpick comes out clean.
- Cool the cakes in the pans for 10-15 minutes, then turn them out onto a wire rack to cool completely.
- Heat milk for custard until steaming. Whisk egg yolks and sugar until pale, then temper with hot milk. Cook until thick enough to coat a spoon.
- Heat the heavy cream for ganache until bubbling, pour over chocolate and stir until smooth.
- Place one cake layer on a plate, spread the custard, add the second layer, and drizzle with ganache.
- Refrigerate for at least one hour before serving to allow flavors to meld.

Leave a Reply