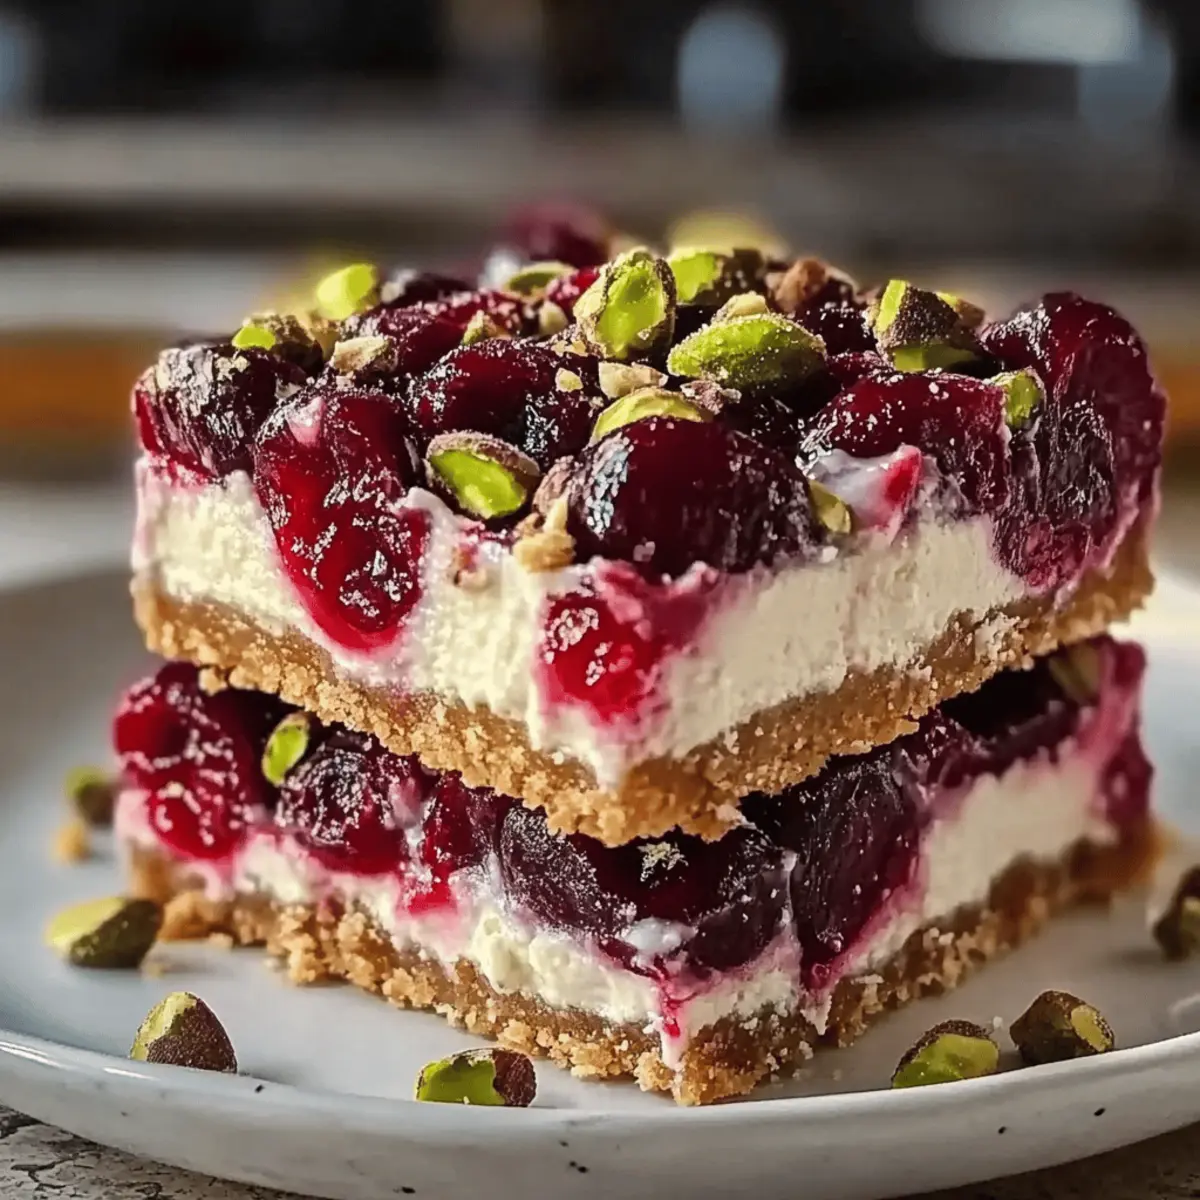
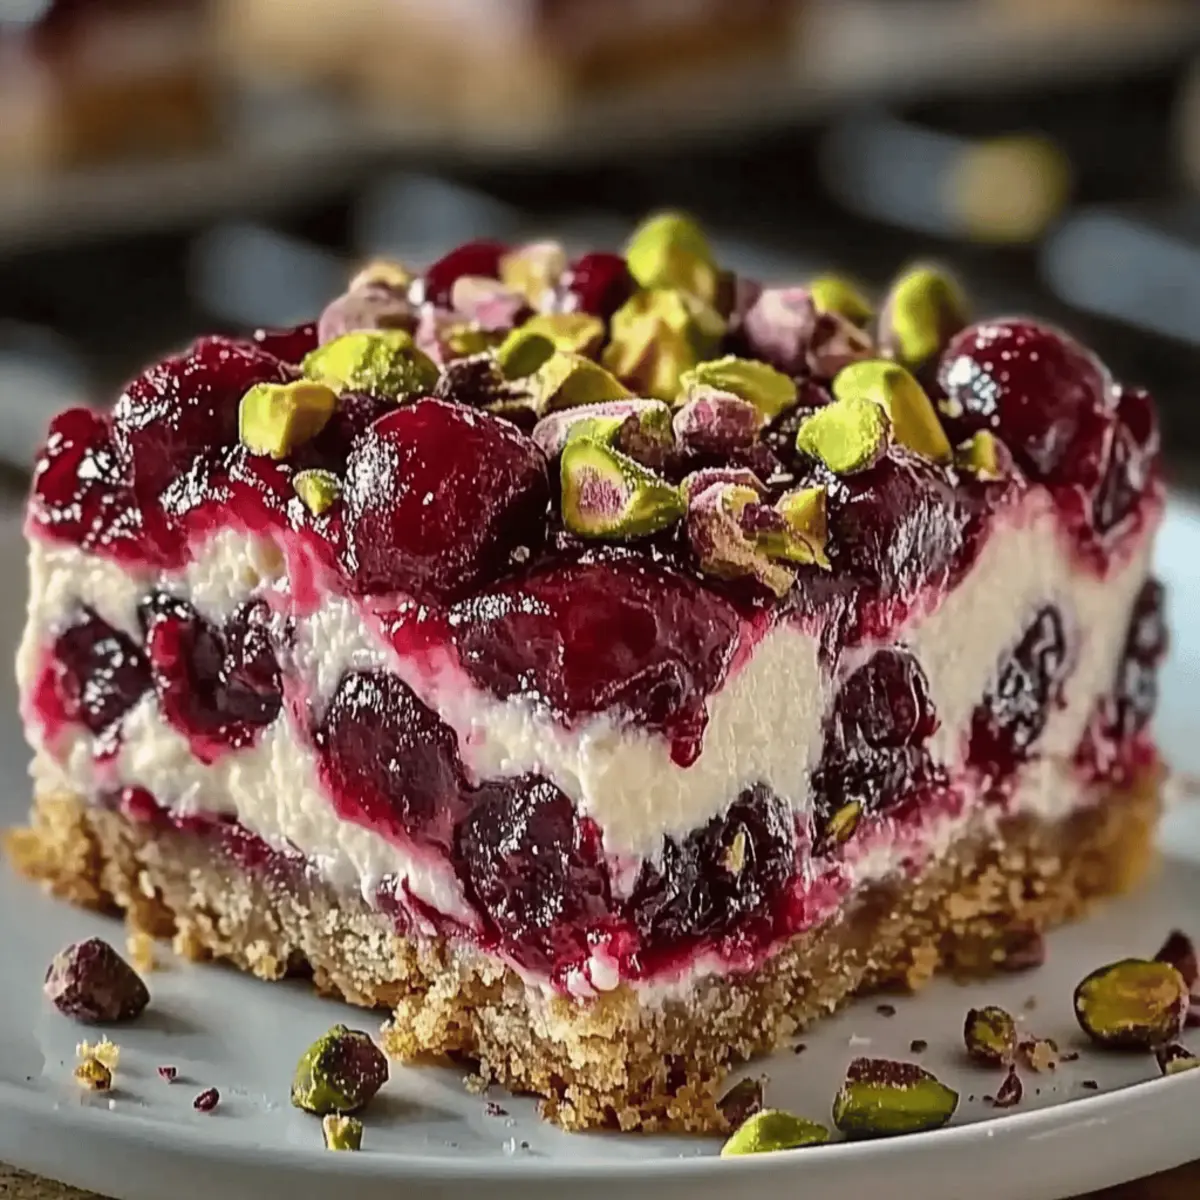
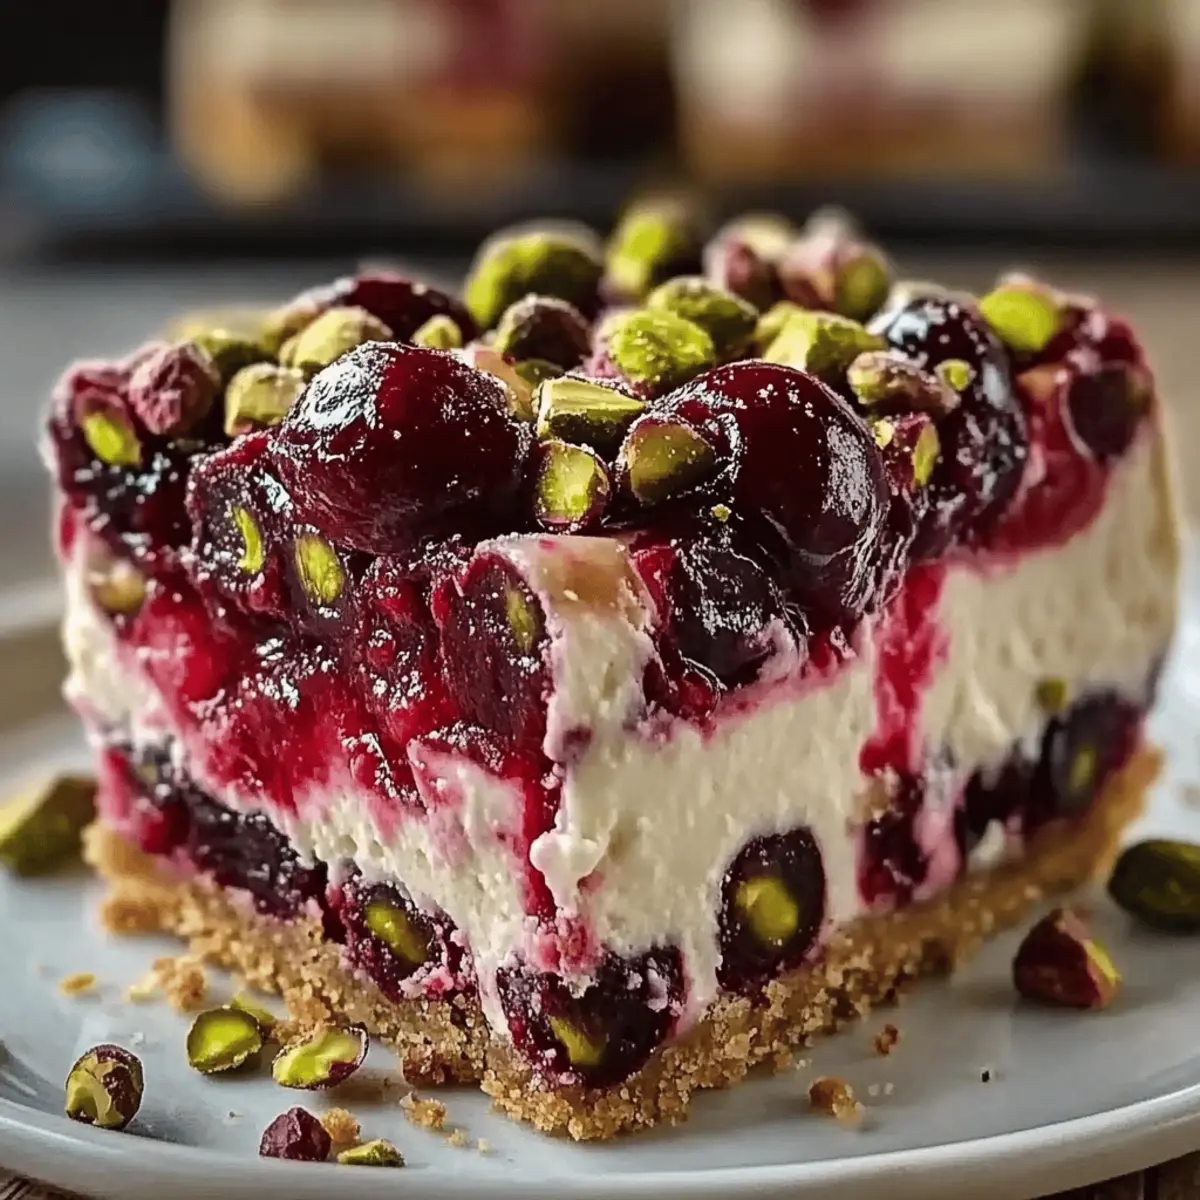
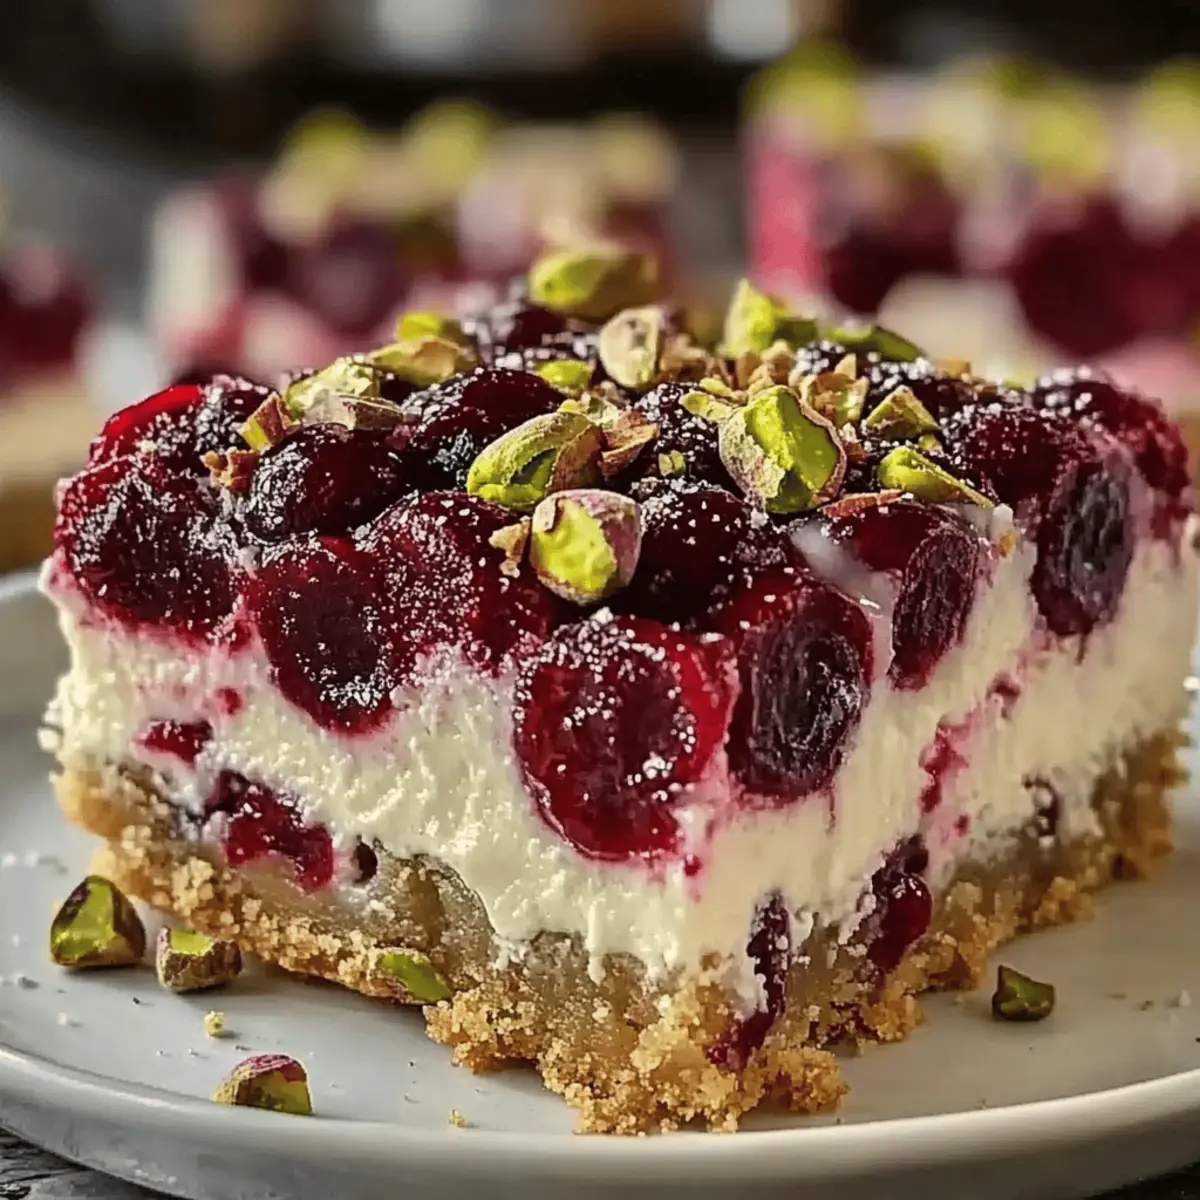
Walking through a local farmers market, I couldn’t resist the vibrant cherries calling out to me, their juicy sweetness promising a delightful treat. That’s how my craving for Cherry Pistachio Cheesecake Bars began—a perfect blend of tart and creamy goodness that transforms any gathering into a special occasion. Not only are these bars a snap to whip up, but their stunning presentation makes them an eye-catching centerpiece on any dessert table. Plus, with optional healthier substitutions like Greek yogurt, they can be a guilt-free indulgence everyone will adore. So, are you ready to elevate your dessert game with this simple yet show-stopping recipe?

Why Are These Bars So Irresistible?
Flavor Explosion: The juicy cherries and crunchy pistachios create a heavenly contrast in every bite.
Easy to Make: This dessert requires minimal effort, making it perfect for both novice bakers and seasoned chefs.
Versatile Options: Feel free to swap in frozen cherries or even different nuts, allowing for creative variations.
Beautiful Presentation: With their vibrant colors, these bars are not only delicious but also visually stunning, sure to impress friends and family alike.
For those craving more unique desserts, don’t miss out on Cherry Cheesecake Puppy or Churro Cheesecake Dive. These will keep your dessert table fresh and exciting!
Cherry Pistachio Cheesecake Bars Ingredients
For the Crust
- Graham Cracker Crumbs – Provides structure for the crust. Substitution: Use crushed Oreo cookies for a chocolatey twist.
- Unsalted Butter (½ cup, melted) – Binds the crust ingredients together.
- Granulated Sugar (¼ cup) – Adds sweetness to the crust.
For the Cheesecake Filling
- Cream Cheese (16 oz, softened) – Forms the creamy filling. Substitution: Use Greek yogurt for a lighter option.
- Granulated Sugar (½ cup) – Sweetens the cheesecake filling.
- Large Eggs (2) – Adds richness and structure to the filling.
- Vanilla Extract (1 teaspoon) – Enhances flavor.
- Fresh Cherries (1 cup, pitted and chopped) – Adds tartness and color to the filling. Substitution: Frozen cherries can be used if fresh ones are unavailable.
- Pistachios (½ cup, chopped) – Provides a crunchy texture and nutty flavor.
Optional Toppings
- Whipped Cream – Adds a light, airy touch when serving.
- Extra Cherries/Pistachios – For garnish, these enhance both flavor and presentation.
Step‑by‑Step Instructions for Cherry Pistachio Cheesecake Bars
Step 1: Preheat the Oven
Begin by preheating your oven to 325°F (160°C). This step is essential to ensure that your Cherry Pistachio Cheesecake Bars bake evenly and thoroughly. While the oven is heating, gather all your ingredients and equipment, including a 9×9 inch baking pan and mixing bowls, to streamline the process ahead.
Step 2: Prepare the Crust
In a mixing bowl, combine graham cracker crumbs, melted butter, and granulated sugar. Stir well until the mixture appears like wet sand. Firmly press this combination into the bottom of your greased 9×9 inch baking pan. Bake for about 10 minutes, or until it turns light golden brown, creating a delicious foundation for your cheesecake filling.
Step 3: Make the Cheesecake Filling
In a large mixing bowl, use an electric mixer to beat the softened cream cheese and granulated sugar until smooth and creamy. Take your time to ensure there are no lumps. Next, add the eggs one at a time, mixing well after each addition to achieve a silky texture, then stir in the vanilla extract for extra flavor.
Step 4: Incorporate Cherries and Pistachios
Gently fold in the chopped fresh cherries and pistachios into your cheesecake mixture with a spatula. This step not only adds flavor but also creates a beautiful look throughout your filling. Be careful not to overmix, as you want those vibrant colors and textures to remain visible in your Cherry Pistachio Cheesecake Bars.
Step 5: Bake Cheesecake Bars
Pour the creamy filling over your pre-baked crust, spreading it out evenly. Place the pan in your preheated oven and bake for about 25-30 minutes. Keep an eye on it: the center should be set with a slight jiggle, indicating a perfectly creamy bar once cooled.
Step 6: Cool and Chill
After baking, remove the pan from the oven and allow the cheesecake bars to cool to room temperature. Once cooled, transfer them to the refrigerator and chill for at least 2 hours. This chilling step is crucial for achieving the ideal texture to cut your Cherry Pistachio Cheesecake Bars neatly.
Step 7: Serve Your Bars
Once chilled, take your Cherry Pistachio Cheesecake Bars out of the refrigerator. Use a sharp knife to cut them into squares. For a delightful finishing touch, garnish with whipped cream, extra cherries, or chopped pistachios. This will not only enhance the presentation but also add layers of flavor!

Expert Tips for Cherry Pistachio Cheesecake Bars
-
Cooling Matters: Allow your cheesecake to cool completely at room temperature before chilling. This helps achieve that perfectly creamy texture without cracks.
-
Gentle Mixing: Be cautious when mixing in the eggs; overmixing can introduce excess air, which causes cracks in your Cherry Pistachio Cheesecake Bars as they bake.
-
Pit Those Cherries: Always ensure your cherries are thoroughly pitted to avoid unpleasant surprises for your guests. No one wants a cherry pit in their dessert!
-
Perfect Baking Time: Keep an eye on the baking time; remember that the center should have a slight jiggle when done. This means it will set perfectly as it cools.
-
Storage Tips: If you have leftovers, store them in an airtight container in the refrigerator to maintain freshness for up to 5 days without losing flavor.
How to Store and Freeze Cherry Pistachio Cheesecake Bars
Room Temperature: For best flavor, serve the bars fresh but store them in an airtight container at room temperature for up to 2 hours.
Fridge: Keep the leftover Cherry Pistachio Cheesecake Bars in an airtight container in the fridge for up to 5 days. This will help maintain their creamy texture and delicious flavor.
Freezer: To freeze, wrap the cheesecake bars tightly in plastic wrap followed by aluminum foil and store in the freezer for up to 2 months. Thaw in the fridge before serving.
Reheating: If desired, enjoy the bars chilled or let them sit at room temperature for about 30 minutes before indulging.
Make Ahead Options
These Cherry Pistachio Cheesecake Bars are perfect for meal prep, enabling you to enjoy a delicious dessert with minimal fuss. You can prepare the crust up to 24 hours in advance; simply mix the graham cracker crumbs, melted butter, and sugar, press into the pan, and refrigerate until ready to bake. The filling can also be made ahead of time up to 3 days—just combine the cream cheese and sugar, then add the eggs, vanilla, cherries, and pistachios right before baking. To maintain their creamy texture, store the bars in the refrigerator after cooling for at least 2 hours. When ready to serve, cut into squares and garnish with whipped cream and additional cherries or pistachios for a lovely presentation, ensuring your Cherry Pistachio Cheesecake Bars taste just as fresh and delightful!
What to Serve with Cherry Pistachio Cheesecake Bars
Imagine the cheerful gathering with laughter and delicious bites, as you create a delightful spread that complements your fabulous dessert.
-
Fresh Fruit Salad: A medley of seasonal fruits adds a refreshing touch, balancing the sweetness of the cheesecake bars with vibrant flavors and colors.
-
Light Sorbet: A scoop of raspberry or lemon sorbet provides a tangy contrast, cleansing the palate between bites of the creamy bars.
-
Coffee or Espresso: Rich, aromatic coffee pairs beautifully, enhancing the dessert experience, especially for those who adore a sweet treat with their morning brew.
-
Whipped Cream Topping: Elevate your serving by adding a fluffy dollop of whipped cream. It adds lightness and a delightful mouthfeel to each bite.
-
Toasted Nuts: Serve with a small bowl of toasted almonds or walnuts to sprinkle on top for added crunch and nutty flavor that enhances the pistachios.
-
Chocolate Drizzle: A simple chocolate drizzle not only adds visual appeal but also introduces a rich, indulgent layer to the overall dessert experience.
Embrace the joy of hosting with these inspired pairings that will surely impress your guests and make every moment memorable!
Cherry Pistachio Cheesecake Bars Variations
Feel free to explore these delightful twists and substitutions to make this recipe your own!
- Dairy-Free: Substitute cream cheese with a non-dairy alternative for a vegan-friendly version. This can open up a world of creamy possibilities!
- Fruit Swap: Experiment with seasonal fruits like raspberries or blueberries instead of cherries for a colorful twist. The options are endless, and each fruit brings its unique flavor profile.
- Nutty Changes: Replace pistachios with almonds or walnuts if you prefer a different nutty taste. This subtle adjustment can enhance your bars’ flavor while still keeping that crunchy texture.
- Sweetener Switch: Use honey or maple syrup in place of granulated sugar for a natural sweetener. This can add a lovely depth of flavor to your cheesecake bars.
- Chocolate Indulgence: Mix in mini chocolate chips or swirl in some melted chocolate to bring a rich, decadent layer to your bars. Who doesn’t love a little chocolatey goodness?
- Texture Twist: Add a sprinkle of crushed graham crackers or nuts on top before serving for an added crunch. This little touch makes each bite even more enjoyable!
- Frozen Delight: For a cool twist, freeze the bars for a refreshing treat on hot days. Simply allow them to thaw slightly before serving for a perfect frozen dessert experience.
- Tropical Flavor: Incorporate shredded coconut or pineapple into the filling for a tropical flair. This fruity combination will transport you to a sunny paradise with every bite.
For more dessert inspirations, try these wonderful recipes: Blackberry Lemon Cheesecake or indulge in the sweet embrace of Fruity Pebbles Cheesecake Tacos. Let your creativity shine!

Cherry Pistachio Cheesecake Bars Recipe FAQs
How do I select the best cherries for the Cheesecake Bars?
Absolutely! When selecting fresh cherries, look for those that are plump, firm, and have a deep, vibrant color. Avoid cherries with dark spots all over, as they may be overripe or spoiled. Ideally, use cherries that are in season for the best flavor, which is typically late spring to early summer.
How should I store leftover Cherry Pistachio Cheesecake Bars?
To keep your bars fresh, store them in an airtight container in the fridge for up to 5 days. This helps maintain their creamy texture and flavor. If you want to serve them later, allow them to come to room temperature for about 30 minutes before indulging for the best taste experience.
Can I freeze these Cheesecake Bars?
Yes! To freeze your Cherry Pistachio Cheesecake Bars, wrap them tightly in plastic wrap followed by aluminum foil. This method prevents freezer burn and will keep them fresh for up to 2 months. When you’re ready to enjoy them, simply thaw them in the fridge for several hours or overnight before serving.
What if my cheesecake filling cracks while baking?
Very! If your cheesecake filling cracks during baking, it could be due to overmixing or baking at too high a temperature. Always mix the filling gently after adding eggs and ensure your oven is at the right temperature. Remember, it’s best if the center has a slight jiggle when it’s done baking, as it will set perfectly while cooling.
Any dietary considerations for pets or allergies?
Absolutely! If preparing these bars for someone with allergies, be mindful of the cream cheese and eggs, which are common allergens. For a nut-free version, simply omit the pistachios or substitute them with sunflowers seeds. And remember, these bars should not be shared with pets, especially dogs, as rich desserts can upset their stomachs!
Can I make healthier substitutions in this recipe?
Yes, I often make healthier substitutions! You can replace cream cheese with Greek yogurt for a lighter filling. Another alternative is to use agave syrup or honey in place of granulated sugar. These tweaks will help enhance the nutritional profile while still keeping the delicious flavors intact.

Delicious Cherry Pistachio Cheesecake Bars for Sweet Moments
Ingredients
Equipment
Method
- Preheat the oven to 325°F (160°C). Gather all ingredients and equipment.
- In a mixing bowl, combine graham cracker crumbs, melted butter, and granulated sugar. Press into the greased baking pan. Bake for about 10 minutes until light golden brown.
- Beat softened cream cheese and granulated sugar until smooth. Add eggs one at a time, mixing well, then stir in vanilla extract.
- Fold in chopped cherries and pistachios gently with a spatula.
- Pour the cheesecake filling over the pre-baked crust. Bake for 25-30 minutes until the center is set with a slight jiggle.
- Let the bars cool to room temperature, then chill in the refrigerator for at least 2 hours.
- Cut into squares and garnish with whipped cream, cherries, or pistachios before serving.

Leave a Reply