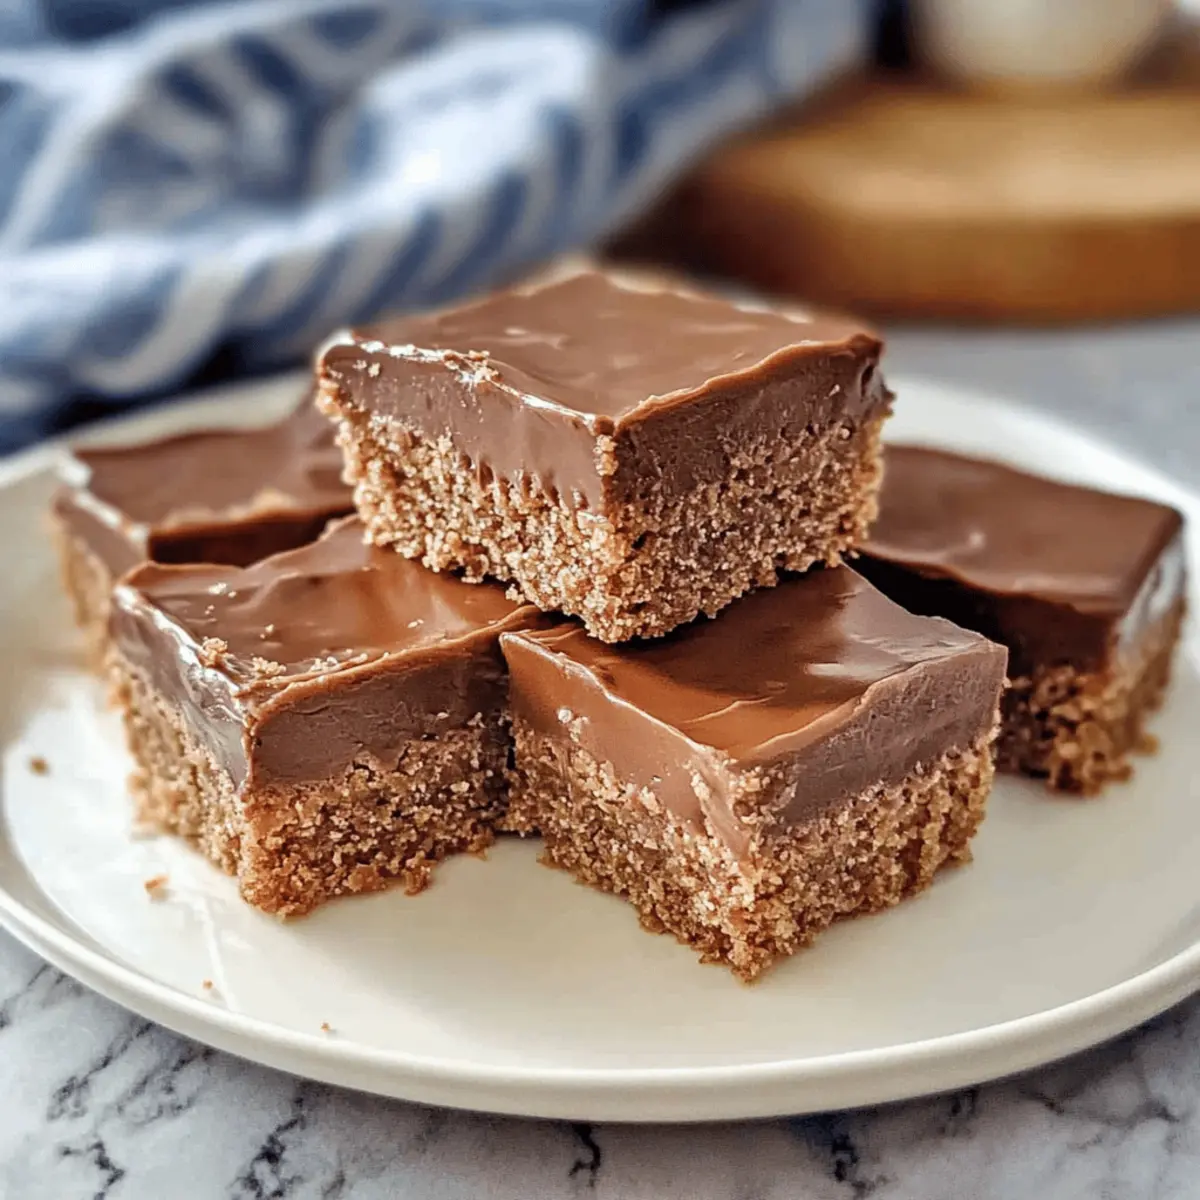
As I savored my morning coffee, a delightful thought crossed my mind: why not combine the rich flavor of coffee with a sweet treat? That’s exactly the inspiration behind this No-Bake Coffee Slice! This easy dessert not only saves you from turning on the oven but also offers a perfect balance of coffee and chocolate flavors that will have your taste buds dancing. Imagine serving this fudgy, biscuit-crumbed slice alongside your favorite cup of joe—it’s the ultimate indulgence, perfect for any coffee lover. Plus, the best part? This recipe takes mere minutes to prep, making it a go-to for those busy days when you want a sweet pick-me-up. Are you ready to dive into a treat that’s as simple as it is delicious? Let’s get started!

Why Is This Coffee Slice So Amazing?
Simplicity: This no-bake coffee slice is incredibly easy to whip up, requiring minimal skills and just a few pantry staples.
Decadent Flavor: With a delightful blend of coffee and chocolate, each bite offers an indulgent taste experience that coffee lovers will adore.
Versatile Enjoyment: Perfect for any occasion, whether you’re hosting friends, enjoying dessert after dinner, or pairing it with your morning brew!
Quick Prep: Ready in minutes, this recipe is ideal for those busy days when you crave something sweet without the fuss.
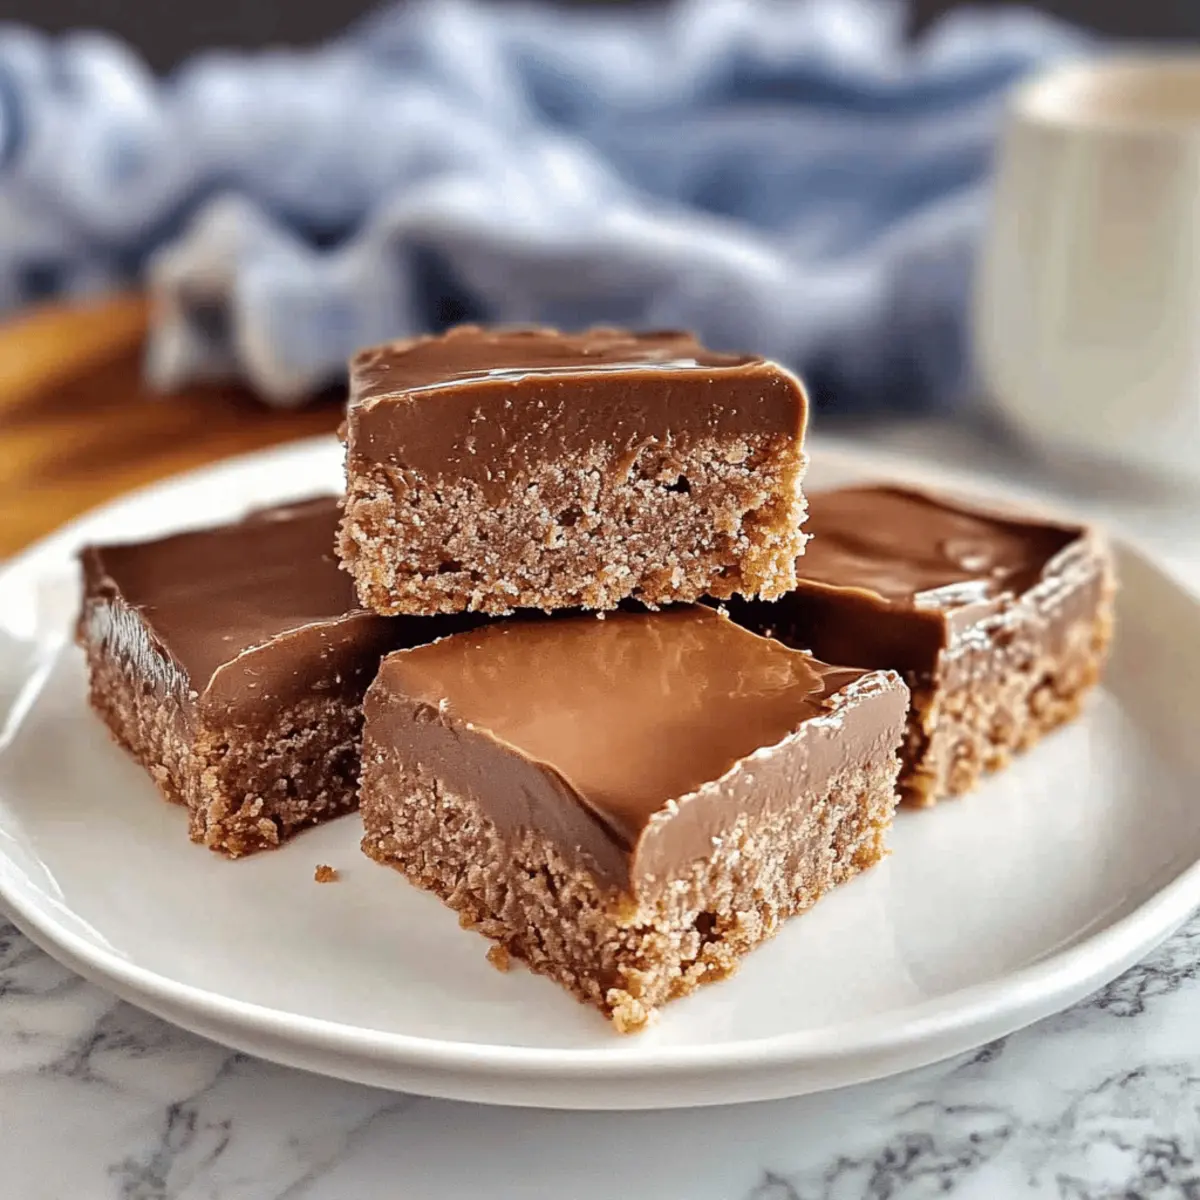
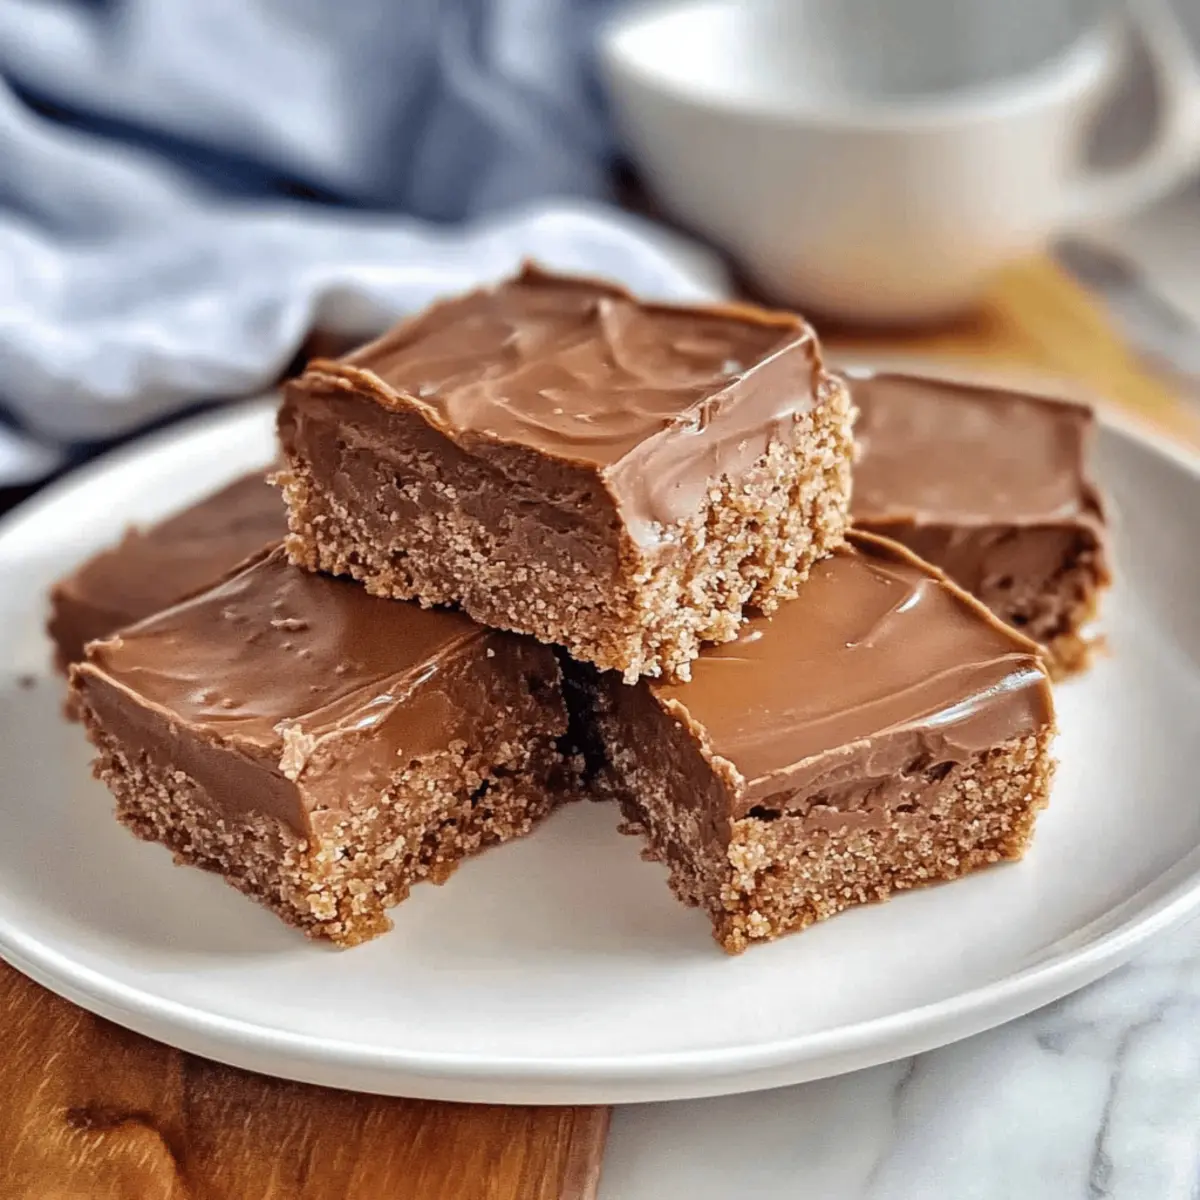
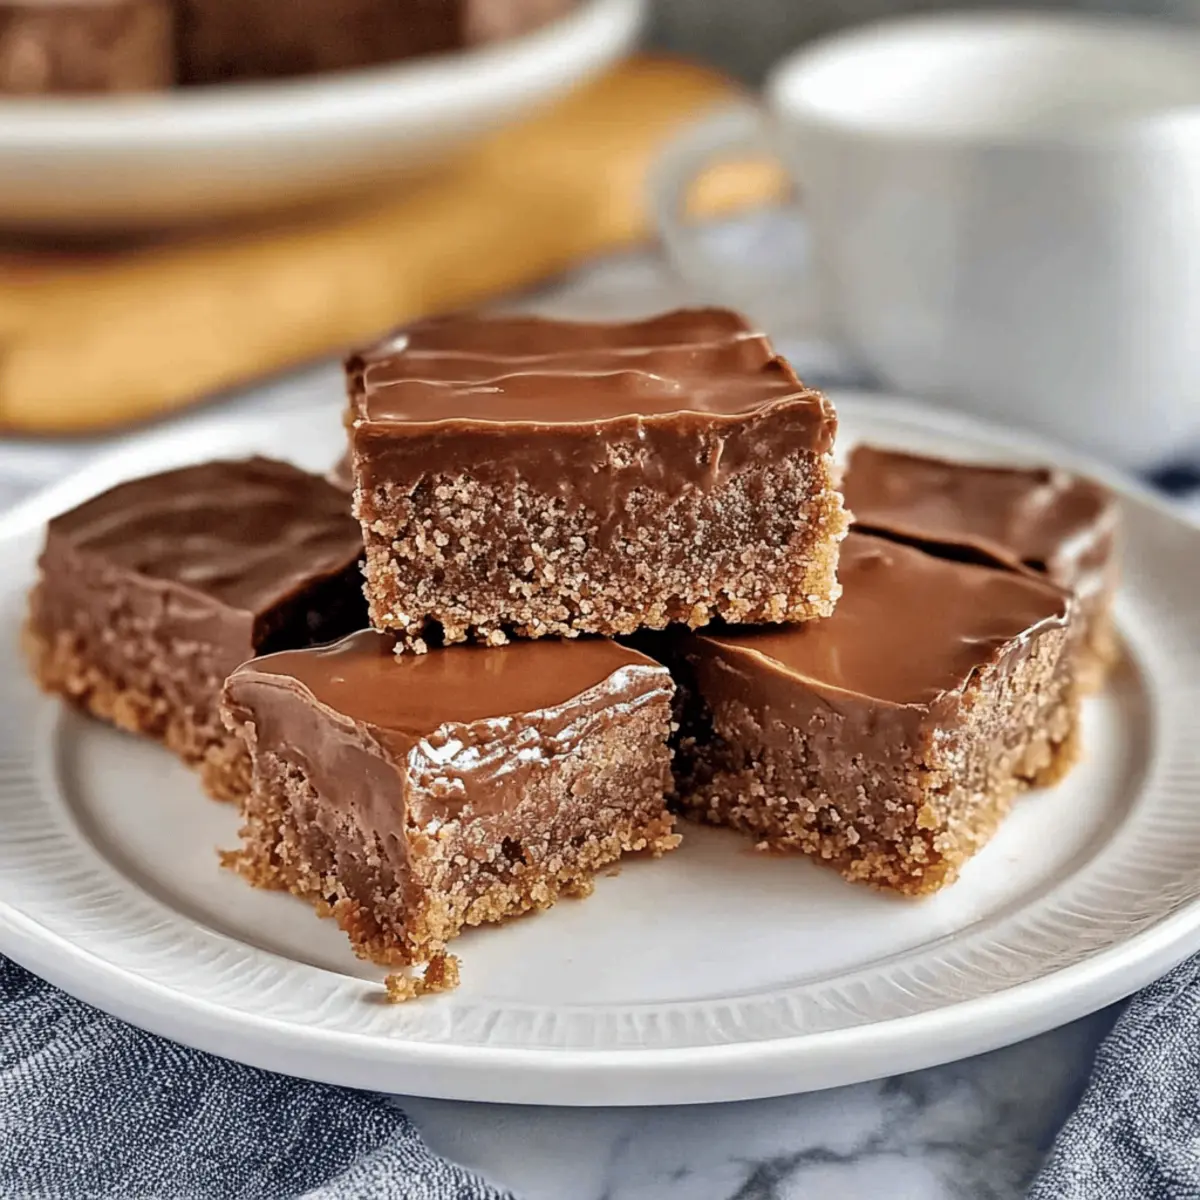
Impressive Presentation: The glossy chocolate icing and rich, fudgy texture make this treat not only delicious but also visually appealing—perfect for impressing guests!
Don’t forget to check out variations, like adding nuts or using dark chocolate if you’re feeling adventurous—we promise you won’t regret it!
Coffee Slice Ingredients
• Here’s what you’ll need for a delicious Coffee Slice!
For the Base
- Arnott’s Marie biscuits – These are the perfect foundation; feel free to swap them with any sweet, plain biscuit if necessary.
- Instant coffee granules – Imparts a robust coffee flavor; espresso powder can be substituted for a deeper taste.
- Cocoa powder – Adds a luxurious chocolate richness; unsweetened cocoa powder is recommended.
- Light brown sugar – Provides sweetness with a hint of caramel; can be substituted with granulated sugar if needed.
- Sweetened condensed milk – Binds the ingredients together while adding creaminess; it’s best not to replace this with evaporated milk.
- Desiccated coconut – Offers delightful texture; omit it if coconut isn’t your thing and add more crushed biscuits instead.
- Salted butter (melted) – Contributes richness; unsalted butter can be used, just adjust the salt amount accordingly.
- Vanilla – Elevates the overall flavors, and pure vanilla extract is the way to go; imitation vanilla will also work if necessary.
- Boiling water – Essential for dissolving the coffee granules; no substitute is needed here.
For the Icing
- Milk chocolate – Creates a sweet and glossy layer on top; dark chocolate can be a delightful change for a richer flavor.
- Salted butter (for icing) – Increases the glossiness and richness of your icing; same substitution options as above apply.
- Instant coffee granules (for icing) – Deepens the flavor profile; stick with the same kind used in the base for consistency.
With these simple ingredients, your Coffee Slice is just a few easy steps away! Enjoy the luscious blend of flavors that this no-bake delight has to offer.
Step‑by‑Step Instructions for Coffee Slice
Step 1: Prepare the Tin
Start by greasing a 20×20 cm baking tin with a little butter to prevent sticking. Then, line the base and sides with baking paper, allowing some overhang. This will make it easier to lift out your Coffee Slice once it’s set. Set the prepared tin aside as you get ready to make the base.
Step 2: Crush the Biscuits
Using a food processor, pulse the Arnott’s Marie biscuits into fine crumbs, achieving a sand-like texture. If you don’t have a food processor, simply place the biscuits in a sealed bag and crush them with a rolling pin until finely crushed. Pour the biscuit crumbs into a large mixing bowl and set aside for the next step.
Step 3: Dissolve the Coffee Mixture
In a small bowl, combine the instant coffee granules, cocoa powder, and light brown sugar. Carefully pour in 100ml of boiling water and stir until the mixture is completely dissolved and smooth. The aroma will be wonderful! This coffee mixture will enhance the flavors of your Coffee Slice, so set it aside to slightly cool.
Step 4: Mix the Base Ingredients
In the large bowl with the biscuit crumbs, add the sweetened condensed milk, desiccated coconut (if using), melted salted butter, vanilla extract, and the cooled coffee mixture. Stir everything together until well combined and you achieve a thick, sticky mixture. This will form the rich base for your Coffee Slice.
Step 5: Press the Mixture into the Tin
Transfer the filling into the prepared tin and use the back of a spatula or your fingers to firmly press the mixture down into an even layer. Ensure it is compacted well to hold its shape when sliced. The top should be smooth and flat, ready for the delicious chocolate icing that will come next.
Step 6: Prepare the Chocolate Icing
For the icing, break the milk chocolate into small pieces and place it in a microwave-safe bowl along with the melted salted butter. Heat in the microwave in 20-second intervals, stirring in between, until the mixture is smooth and glossy. Add in the instant coffee granules and mix well, then let it cool slightly before spreading.
Step 7: Ice the Coffee Slice
Pour the warm chocolate icing over the pressed coffee base. Using a spatula, carefully spread it into an even layer that covers the entire surface. It should be shiny and inviting. Place the tin in the refrigerator to chill and allow the icing to set for at least 2 hours before slicing into squares.
Step 8: Slice and Serve
Once set, use the overhanging baking paper to gently lift the Coffee Slice out of the tin. Place it on a cutting board and slice it into squares with a sharp knife. For the best results, wipe the knife with a warm cloth between cuts. Enjoy your delicious homemade Coffee Slice with a cup of your favorite coffee!

Expert Tips for the Best Coffee Slice
-
Accurate Measurements: Double-check that all ingredients are measured precisely to avoid a gooey texture and ensure the perfect Coffee Slice.
-
Biscuit Selection: Stick to Arnott’s Marie biscuits for the best results. If using a different brand, be aware that the texture may change.
-
Cooling Matters: Let the Coffee Slice cool completely in the fridge before slicing; this ensures cleaner cuts and a better presentation.
-
Grease Well: Make sure to adequately grease and line your tin with baking paper to allow for easy removal after setting.
-
Chill for Flavor: The longer you let the Coffee Slice chill, the more pronounced the flavors will be. Aim for at least two hours before serving!
Make Ahead Options
These No-Bake Coffee Slices are perfect for meal prep enthusiasts! You can prepare the base mixture up to 24 hours in advance by following the first five steps and pressing it into the tin. Just wrap the tin tightly with plastic wrap or cover with foil before refrigerating to maintain freshness and prevent drying out. When you’re ready, simply melt the chocolate icing and pour it over the set base, letting it chill for an additional 2 hours. This way, you’ll save precious time during busy weeknights, and your Coffee Slice will be just as delicious when served fresh!
What to Serve with No-Bake Coffee Slice
Treat yourself and your loved ones to a delightful experience by pairing this indulgent slice with some perfect companions!
-
Fresh Berries: The tartness of strawberries or raspberries cuts through the richness, adding a refreshing contrast that elevates each bite.
-
Vanilla Ice Cream: Creamy and sweet, ice cream presents a delightful balance against the coffee and chocolate flavors, making each bite more decadent. A scoop on the side adds an irresistible touch.
-
Espresso Shot: For the ultimate coffee fix, serve a shot of espresso alongside this slice. This strong brew enhances the coffee flavor and energizes your dessert experience.
-
Nutty Granola: A sprinkle of crunchy granola on top adds a delightful texture and nutty flavor, enhancing the overall experience of the Coffee Slice.
-
Chocolate Ganache Tart: If you’re feeling adventurous, pair it with a rich chocolate tart. The combination of textures and flavors creates a truly decadent dessert platter.
-
Chai Tea: The warm spices of chai tea contrast beautifully with the coffee, providing a soothing and aromatic pairing to enjoy with your slice after a meal.
-
Coconut Macaroons: These sweet, chewy treats echo the coconut in the Coffee Slice and add another layer of flavor, perfect for coconut lovers.
-
Sparkling Water: For a light and refreshing finish, serve sparkling water with a hint of lemon. It cleanses the palate and highlights the rich flavors of the Coffee Slice.
Coffee Slice: Customization Ideas
Feel free to personalize your Coffee Slice to match your taste buds, it can be a delightful journey of flavor!
-
Dairy-Free: Use coconut cream instead of sweetened condensed milk for a creamy texture and delicious coconut flavor.
-
Nutty Delight: Fold in chopped walnuts or hazelnuts into the mixture for a crunchy twist—their earthy notes pair beautifully with the coffee.
-
Decaf Option: Mix regular and decaf coffee granules for a milder flavor if you prefer a gentler sip of coffee.
-
Cinnamon Twist: Add a pinch of ground cinnamon for warmth and spice, creating a cozy vibe perfect for chilly days.
-
Dark Chocolate Icing: Replace milk chocolate with dark chocolate for a richer, more intense cocoa flavor—an excellent choice for chocolate lovers!
-
Berry Boost: For a fruity twist, add dried cherries or cranberries into the base; they add a surprising pop of sweetness and chewiness.
-
Minty Freshness: Stir in a few drops of peppermint extract into the coffee mixture for a refreshing mint-chocolate flavor that’s dynamically festive.
-
Vegan Version: Swap butter for vegan margarine and use maple syrup instead of condensed milk to craft a delightful vegan Coffee Slice.
Embrace these variations and watch your Coffee Slice transform into your own unique creation. If you’re curious about other sweet treats, don’t forget to explore ideas like chocolate fudge or no-bake cheesecakes as well—there’s a whole world of flavors to discover!
How to Store and Freeze Coffee Slice
Fridge: Store your Coffee Slice in an airtight container in the refrigerator for up to 1 week. This keeps it fresh and maintains its delicious fudgy texture.
Freezer: For longer storage, wrap the Coffee Slice tightly in plastic wrap and then in foil. It can be frozen for up to 2 months. Thaw in the fridge before serving.
Reheating: No need to reheat; this treat is best enjoyed chilled! Simply slice and serve it cold alongside your favorite coffee.
Airtight Tips: Always ensure your Coffee Slice is well-wrapped to prevent freezer burn and preserve its incredible flavor.

Coffee Slice Recipe FAQs
What type of biscuits should I use for the Coffee Slice?
I highly recommend using Arnott’s Marie biscuits as the base for this recipe! They provide the perfect texture and flavor. If you can’t find them, any sweet, plain biscuit will work in a pinch, but it may slightly alter the texture.
How long will the Coffee Slice stay fresh in the fridge?
Absolutely! When stored in an airtight container, your Coffee Slice will remain fresh for up to 1 week in the refrigerator. This is perfect for preparing ahead of time for gatherings or just as a sweet treat for yourself!
Can I freeze the Coffee Slice, and if so, how?
Yes, you can! To freeze your Coffee Slice, wrap it tightly in plastic wrap followed by foil to prevent freezer burn. It can be stored in the freezer for up to 2 months. When you’re ready to enjoy, simply thaw it in the fridge overnight before serving.
What should I do if my Coffee Slice is too gooey?
If your Coffee Slice ends up a bit gooey, it might be due to ingredient measurements. Make sure to accurately measure all ingredients, especially the condensed milk. Additionally, if you find it’s still too soft after chilling, you could try adding a bit more biscuit crumbles to absorb the moisture, pressing it back into the tin to set firmly.
Are there any allergens I should be aware of in this recipe?
Certainly! This Coffee Slice contains common allergens including gluten (from biscuits), dairy (butter and sweetened condensed milk), and may also contain nuts if you decide to add them as variations. If you’re serving guests, be sure to ask about any allergies!
Can I substitute any of the ingredients for dietary needs?
The more the merrier! You can use unsalted butter instead of salted and opt for dark chocolate for a richer icing. For a dairy-free version, try coconut cream in place of sweetened condensed milk and dairy-free chocolate for the icing. Just be sure that the biscuits are also dairy-free if needed!

Indulgent Coffee Slice: Easy No-Bake Bliss for Coffee Lovers
Ingredients
Equipment
Method
- Grease a 20x20 cm baking tin with butter and line with baking paper, leaving overhang.
- Crush the Arnott's Marie biscuits into fine crumbs using a food processor or rolling pin.
- In a small bowl, combine instant coffee granules, cocoa powder, and light brown sugar. Add boiling water and stir until smooth.
- In a large bowl, combine biscuit crumbs, sweetened condensed milk, desiccated coconut (if using), melted butter, vanilla extract, and the cooled coffee mixture. Stir well.
- Transfer the mixture into the prepared tin and press down to form an even layer.
- In a microwave-safe bowl, melt milk chocolate and salted butter in 20-second intervals until smooth. Stir in instant coffee granules.
- Pour the icing over the pressed coffee base and spread evenly. Chill in the refrigerator for at least 2 hours.
- Once set, lift the Coffee Slice out using the baking paper, slice into squares, and serve.

Leave a Reply