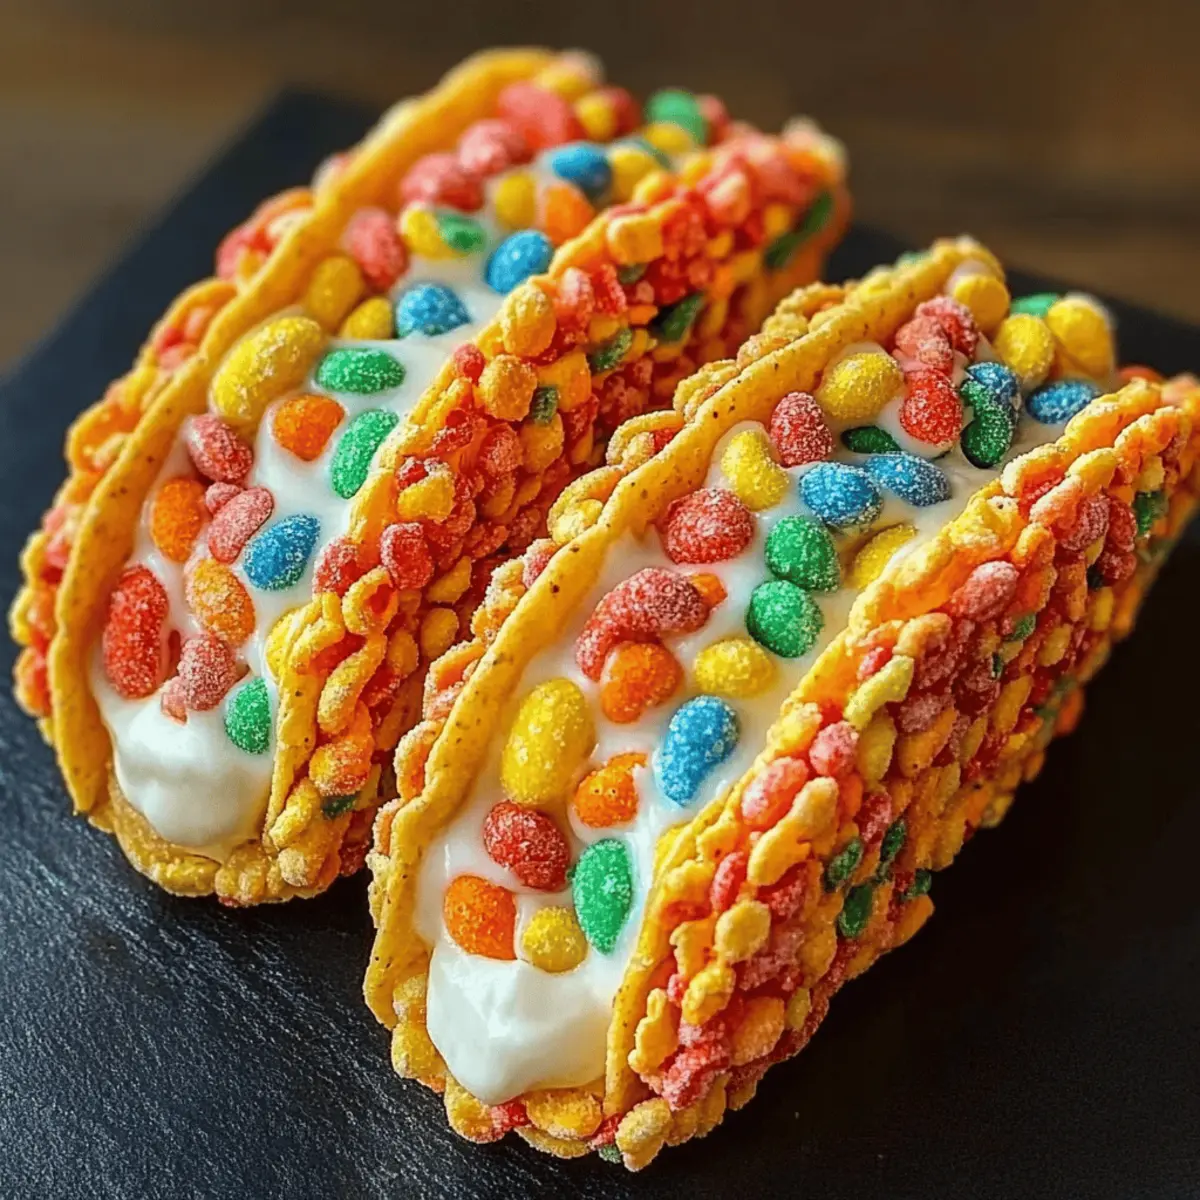
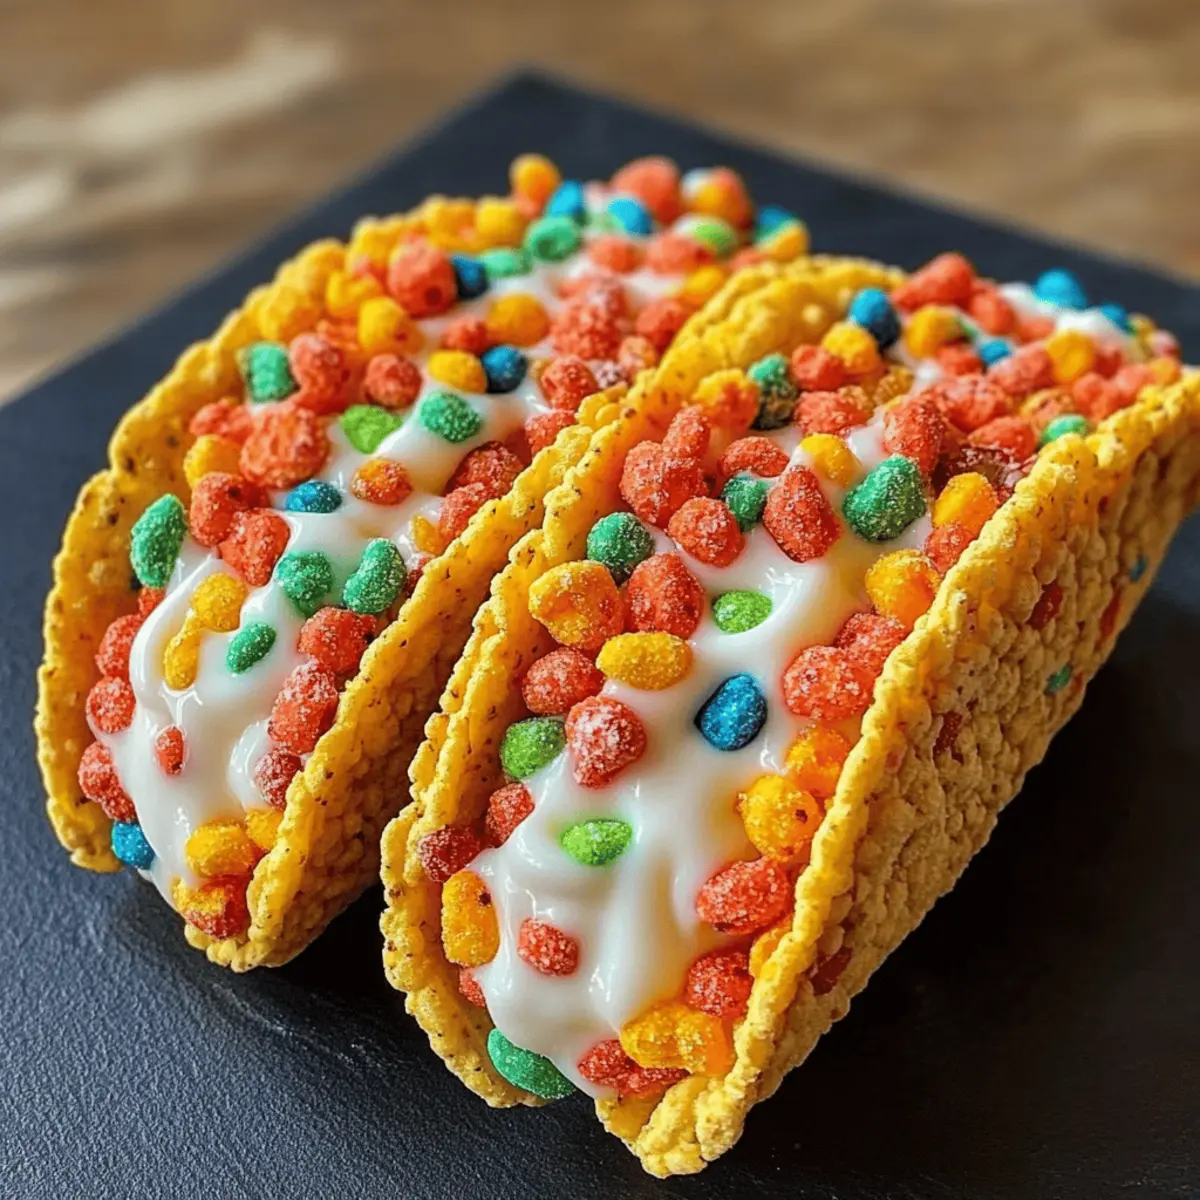
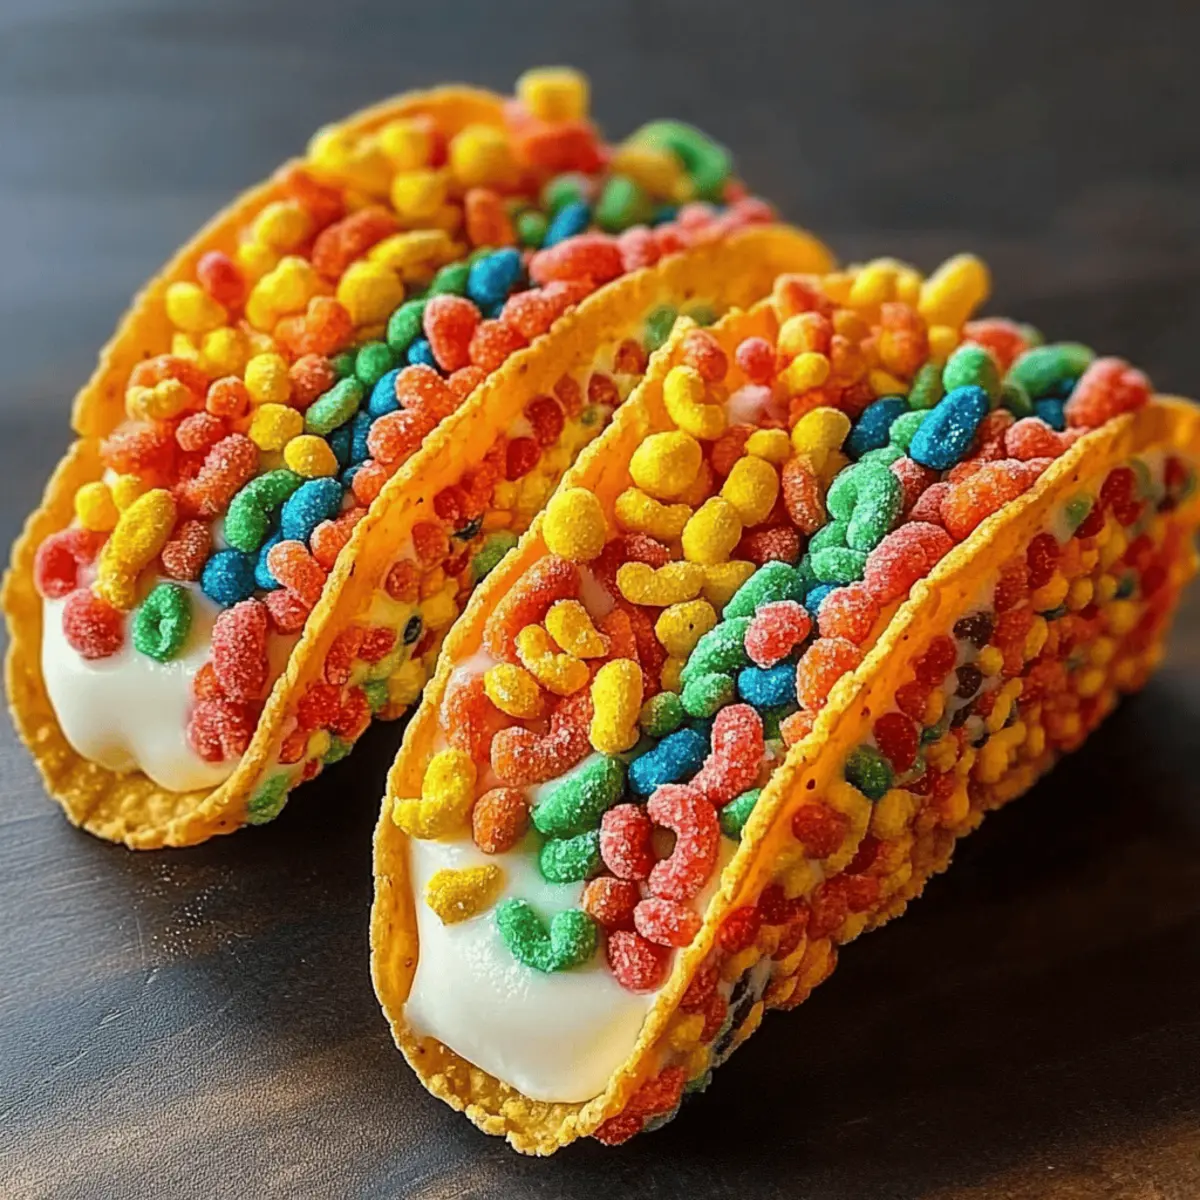
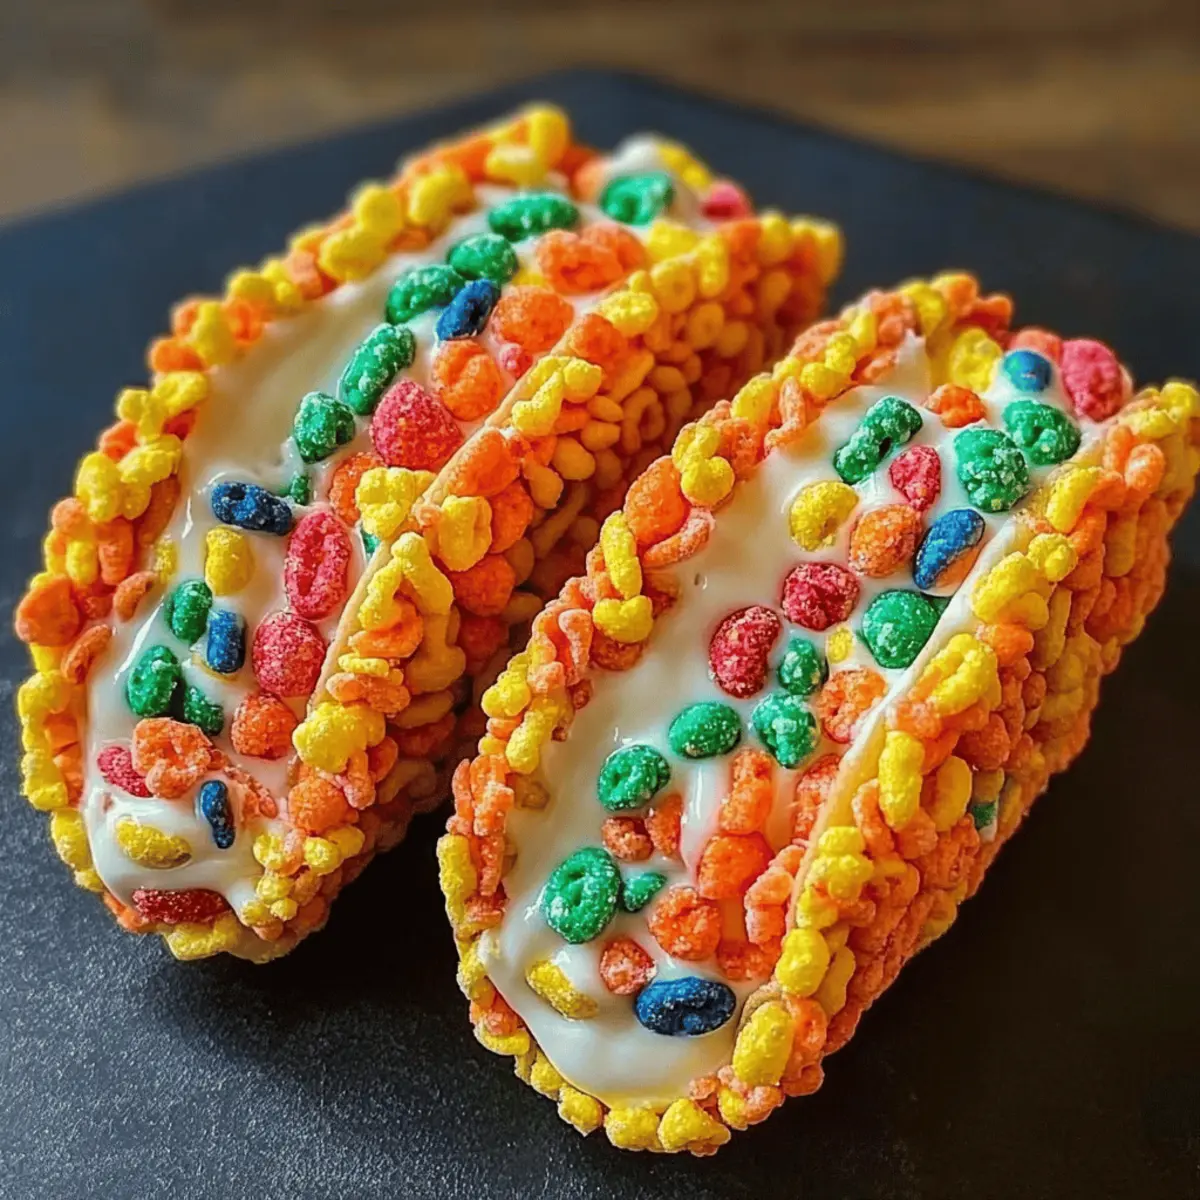
A sudden cheer erupted in the kitchen as I unveiled my latest creation: Fruity Pebbles Cheesecake Tacos. What could be better than a playful twist on a beloved dessert — a combination of crispy, colorful cereal shells filled with velvety cheesecake cream? This fun dessert not only brings smiles but also a vibrant splash of color to any gathering, making it perfect for celebrations or casual get-togethers. Best of all, it’s a no-bake treat, allowing you to whip up this delightful recipe in no time. Intrigued by the idea of a dessert that embodies both nostalgia and creativity? Let’s dive into this colorful culinary adventure and elevate your dessert game!

Why Are These Tacos So Irresistible?
Uniquely Playful: Fruity Pebbles Cheesecake Tacos offer a deliciously fun twist on traditional desserts, guaranteed to pique curiosity.
No-Bake Convenience: This quick recipe means you can whip up these delightful treats without turning on the oven, saving time for other party prep!
Colorful Presentation: Their vibrant hues bring a festive touch to any table, making them a hit at birthdays and celebrations.
Crowd-Pleasing Appeal: Loved by kids and adults alike, you can’t go wrong with this dessert that’s perfect for family gatherings or delightful dinners.
Customizable Flavors: Try using Cocoa Pebbles for a chocolate version or even add a splash of orange liqueur for an adult twist—endless possibilities await!
Serve with Flair: Set up a dessert bar so guests can create their own tacos, just like at a fun taco station. Check out my Blackberry Lemon Cheesecake for more cheesecake inspiration to keep your creativity flowing!
Fruity Pebbles Cheesecake Tacos Ingredients
For the Cereal Shells
• Fruity Cereal – This adds a delightful sweetness and crunch; feel free to experiment with your favorite brands.
• Unsalted Butter – Melting this will help bind the cereal together, ensuring sturdy taco shells.
For the Cheesecake Filling
• Cream Cheese – Make sure it’s at room temperature for a smooth, creamy texture in your filling.
• Powdered Sugar – Sift this to eliminate lumps and achieve a silky-smooth cheesecake filling.
• Vanilla Extract – Pure extract enhances the flavor beautifully; trust me, it makes a difference!
• Whipped Cream – Gently fold this in for a light, fluffy texture that will elevate your cheesecake.
For Garnishing
• Additional Fruity Cereal – Use this for a fun topping; it adds extra crunch and visual appeal to your Fruity Pebbles Cheesecake Tacos.
Step‑by‑Step Instructions for Fruity Pebbles Cheesecake Tacos
Step 1: Prepare Cereal Mixture
Start by melting unsalted butter in a microwave-safe bowl, which should take about 30 seconds. In a large mixing bowl, combine the melted butter with Fruity Pebbles cereal and stir until every piece is well-coated. You want the cereal to glisten with butter; this mixture will form the crunchy taco shell.
Step 2: Mold Shells
Firmly press the buttery Fruity Pebbles mixture into taco-shaped molds or muffin tins to create your shells. Ensure they are packed tightly to hold their shape, leveling off the tops. Place the molds in the refrigerator to chill for at least 30 minutes, allowing them to set up and become crispy.
Step 3: Prepare Cheesecake Filling
While the shells chill, whip room-temperature cream cheese in a mixing bowl until light and fluffy, approximately 2-3 minutes. Gradually add sifted powdered sugar and vanilla extract, blending until smooth and creamy. The filling should be rich and luscious, perfectly complementing the texture of your Fruity Pebbles Cheesecake Tacos.
Step 4: Fold in Whipped Cream
Gently fold whipped cream into the cream cheese mixture using a spatula, being careful not to deflate the mixture. You want it to remain airy and light, creating a luscious texture for your filling. Once combined, the filling should be smooth and slightly fluffy, ready for the taco shells.
Step 5: Assemble Tacos
Remove your chilled taco shells from the refrigerator and carefully fill each shell generously with the cheesecake filling. Use a spoon or piping bag to make filling easier, ensuring each taco is filled to the brim. Allow the colorful mixture to peek out, showcasing the delightful layers within your Fruity Pebbles Cheesecake Tacos.
Step 6: Garnish & Serve
Finally, sprinkle additional Fruity Pebbles on top of each filled taco for an extra crunch and vibrant visual appeal. Serve immediately for the best texture, or chill them for a firmer dessert. Arrange them on a platter for a stunning presentation, ready to delight both kids and adults alike!

How to Store and Freeze Fruity Pebbles Cheesecake Tacos
Room Temperature: These tacos are best enjoyed fresh, so avoid leaving them out at room temperature for more than 2 hours to maintain their quality.
Fridge: Store any assembled tacos in an airtight container in the fridge for up to 2 days. However, the longer they sit, the softer the shells will become.
Freezer: For unassembled cereal shells, freeze them in an airtight container for up to 2 months. When ready to use, allow them to thaw in the fridge before filling.
Reheating: It’s not recommended to reheat the Fruity Pebbles Cheesecake Tacos since they are best served chilled. Enjoy them fresh for optimal texture and flavor!
Expert Tips for Fruity Pebbles Cheesecake Tacos
-
Chill Your Shells: Ensure cereal shells chill for at least 30 minutes before filling to maintain their crunch and structure.
-
Use Room Temperature Cream Cheese: Always soften your cream cheese before mixing; this prevents lumps and achieves a silky cheesecake filling.
-
Gentle Folding Required: When mixing in whipped cream, fold gently to preserve airiness, providing a light texture to your cheesecake filling.
-
Serve Fresh: For the best experience, assemble the Fruity Pebbles Cheesecake Tacos no more than 4 hours before serving to keep the shells crispy.
-
Experiment with Toppings: Consider adding fresh fruit or chocolate drizzle for unique presentations that cater to different tastes.
What to Serve with Fruity Pebbles Cheesecake Tacos
Delight in a colorful culinary experience as you explore perfect pairings that will elevate your dessert table!
- Fresh Fruit Salad: A medley of juicy, seasonal fruits brings brightness to your dessert spread and complements the cheesecake’s sweetness.
- Chocolate Drizzle: Add a rich, melted chocolate sauce over the tacos for an extra layer of indulgence that contrasts beautifully with the creamy filling.
- Sprightly Citrus Sorbet: A refreshing, zesty sorbet cleanses the palate and balances the creamy aspects of the Fruity Pebbles Cheesecake Tacos. Plus, it creates a textural contrast!
- Mini Whipped Cream Cups: Serve extra whipped cream in small cups on the side, allowing guests to customize their tacos to their heart’s content.
- Sparkling Lemonade: Bright, fizzy lemonade will enhance the playful vibe, offering a refreshing sip alongside your delightful dessert.
- Rainbow Sprinkles: For the kids (and the kids at heart!), a sprinkle of colorful toppings adds crunch and fun to each bite, enhancing visual appeal.
Explore these cheerful pairings, and watch your Fruity Pebbles Cheesecake Tacos shine even brighter at your table!
Make Ahead Options
Fruity Pebbles Cheesecake Tacos are perfect for meal prep enthusiasts! You can prepare the cereal shells up to 2 days in advance and store them in an airtight container to keep their crispiness. Meanwhile, the cheesecake filling can be made up to 24 hours ahead; just be sure to refrigerate it in a sealed container. When you’re ready to serve, fill each taco shell with the cheesecake mixture and garnish with additional Fruity Pebbles. This simple make-ahead strategy not only saves you time but also ensures that your dessert remains just as delicious and visually appealing for your guests!
Fruity Pebbles Cheesecake Tacos Variations
Feel free to express your creativity and tailor these delightful tacos to your taste preferences!
-
Cocoa Version: Substitute Cocoa Pebbles for a chocolatey twist that will satisfy your sweet tooth. It’s a great way to explore a different flavor profile while still enjoying the fun taco format.
-
Liqueur Infusion: For an adult-friendly upgrade, add a splash of orange liqueur into the cream cheese filling. It elevates the flavor with a hint of sophistication, perfect for celebrations!
-
Seasonal Colors: Coordinate cereal colors with holidays or events; use red and green cereals during Christmas, or pastels for Easter. This not only enhances the presentation but adds to the festive spirit!
-
Nutty Crunch: Add chopped nuts to the filling for an added crunch and an interesting texture. Almonds or pecans can pair beautifully with the creamy cheesecake, providing a delightful contrast.
-
Fruit Jazz-Up: Top your tacos with fresh fruit like strawberries or raspberries for a burst of natural sweetness and refreshing flavor. Taking this step not only beautifies your tacos but also brightens the taste!
-
Vegan Swap: Use dairy-free cream cheese and coconut whipped cream to create a plant-based version of these fun tacos. Your friends and family won’t even notice they’re missing the traditional dairy!
-
Tropical Delight: Incorporate crushed pineapple into the filling for a sunny flavor adventure. The tropical notes pair wonderfully with the fruity cereal, taking your dessert to a beachy paradise!
-
Theme Ideas: Why not organize a dessert taco party where guests can customize their own? Serve up a spread with different cereal options, filling flavors, and toppings—taking inspiration from my Blackberry Lemon Cheesecake could enhance your dessert bar experience!

Fruity Pebbles Cheesecake Tacos Recipe FAQs
What type of Fruity Cereal should I use?
Absolutely! Any fruity cereal brand will work beautifully here, so feel free to experiment with what you love most. Just make sure it has a vibrant color and a fun crunch!
How should I store leftover Fruity Pebbles Cheesecake Tacos?
For the best results, store any assembled tacos in an airtight container in the fridge for up to 2 days. Keep in mind that the cereal shells will soften over time, so it’s ideal to enjoy them fresh!
Can I freeze the taco shells for later use?
Yes! You can freeze unassembled cereal shells in an airtight container for up to 2 months. To use, simply thaw them in the refrigerator overnight before filling with the cheesecake mixture. This ensures they remain crispy and delicious.
What if my cheesecake filling is lumpy?
If your filling isn’t smooth, it may be due to the cream cheese not being softened enough. Always ensure it’s at room temperature before mixing, and if clumps remain, try beating it for a bit longer until smooth and creamy. For best results, I recommend gradually adding the powdered sugar while mixing.
Are these tacos safe for kids and those with common allergies?
These Fruity Pebbles Cheesecake Tacos are vegetarian-friendly and perfect for a fun dessert! However, keep in mind that they contain dairy. If allergies are a concern, consider using lactose-free cream cheese and ensure the cereal does not contain allergens. Always check labels to be safe!
Can I make these tacos ahead of time?
Certainly! You can prepare the cereal shells up to 2 days in advance and store them in an airtight container. However, I recommend assembling them no more than 4 hours before serving for maximum crunch and freshness. The filling should ideally be used within 24 hours after making it.

Fruity Pebbles Cheesecake Tacos: A Colorful Dessert Delight
Ingredients
Equipment
Method
- Start by melting unsalted butter in a microwave-safe bowl, about 30 seconds. Combine melted butter with Fruity Pebbles cereal until well-coated.
- Firmly press the mixture into taco-shaped molds or muffin tins. Chill in the refrigerator for at least 30 minutes.
- Whip cream cheese in a mixing bowl until light and fluffy. Gradually add sifted powdered sugar and vanilla extract, blending until smooth.
- Gently fold whipped cream into the cream cheese mixture using a spatula until combined.
- Remove taco shells from the refrigerator and fill each shell generously with the cheesecake filling.
- Sprinkle additional Fruity Pebbles on top of each taco and serve immediately or chill for a firmer texture.

Leave a Reply