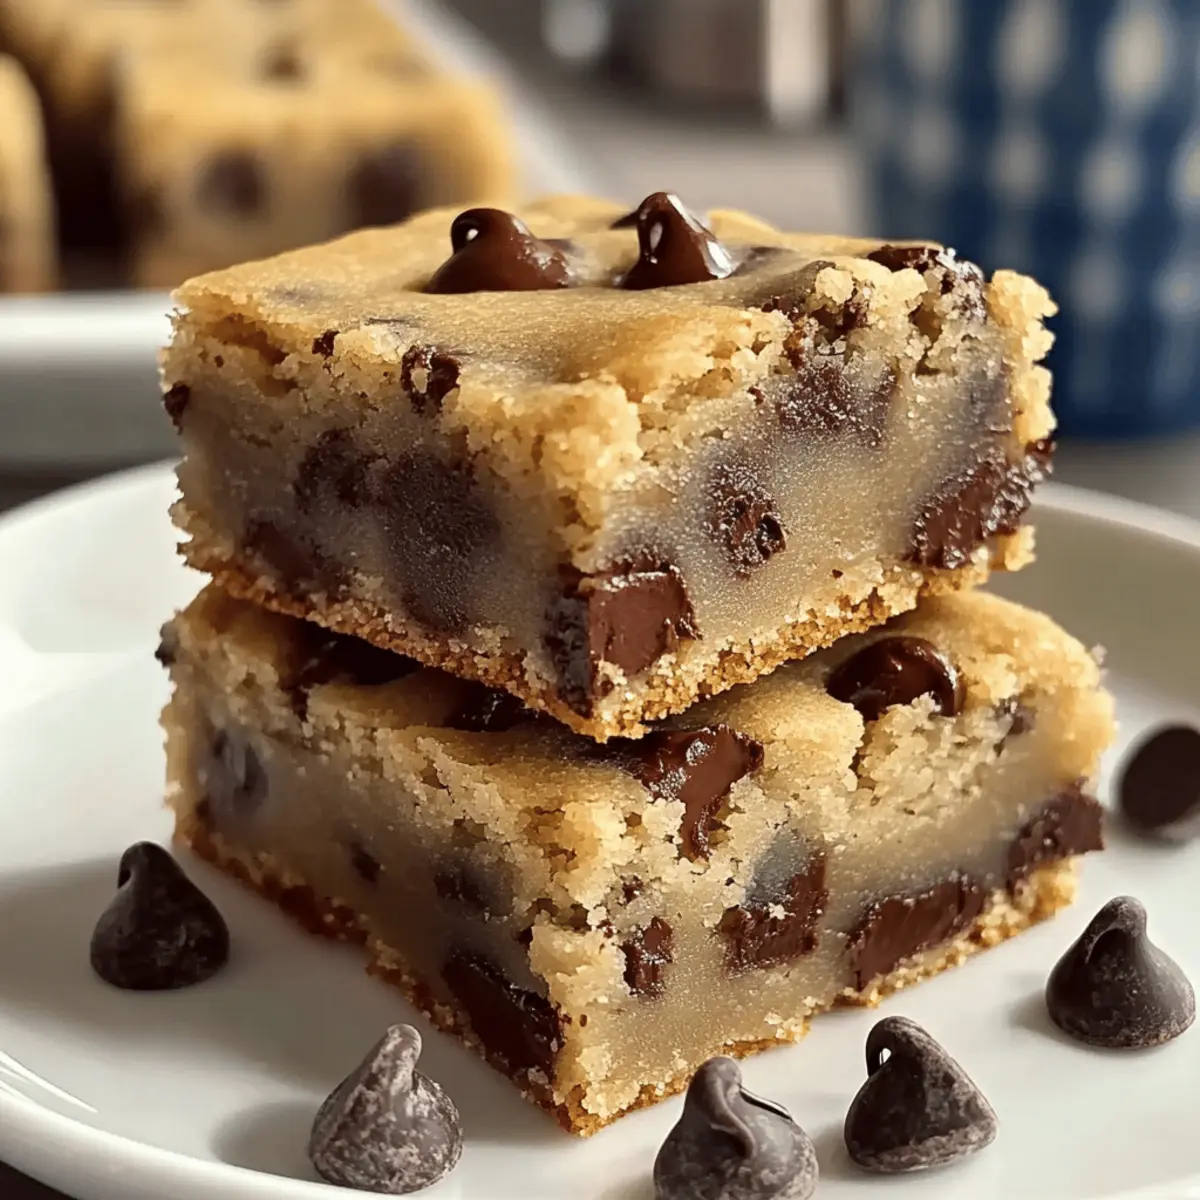
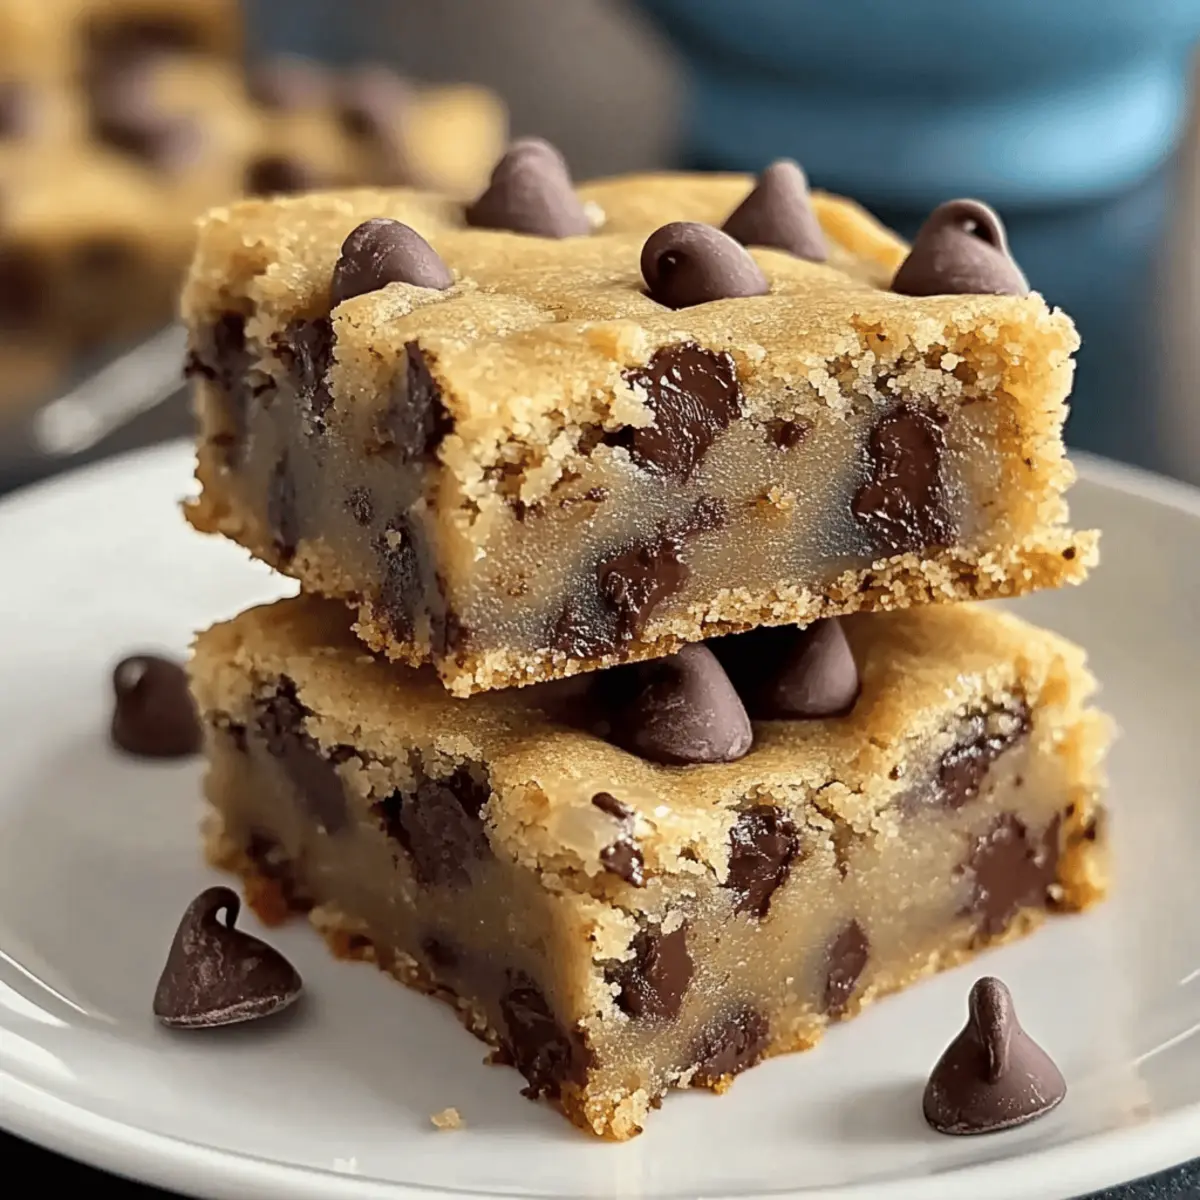
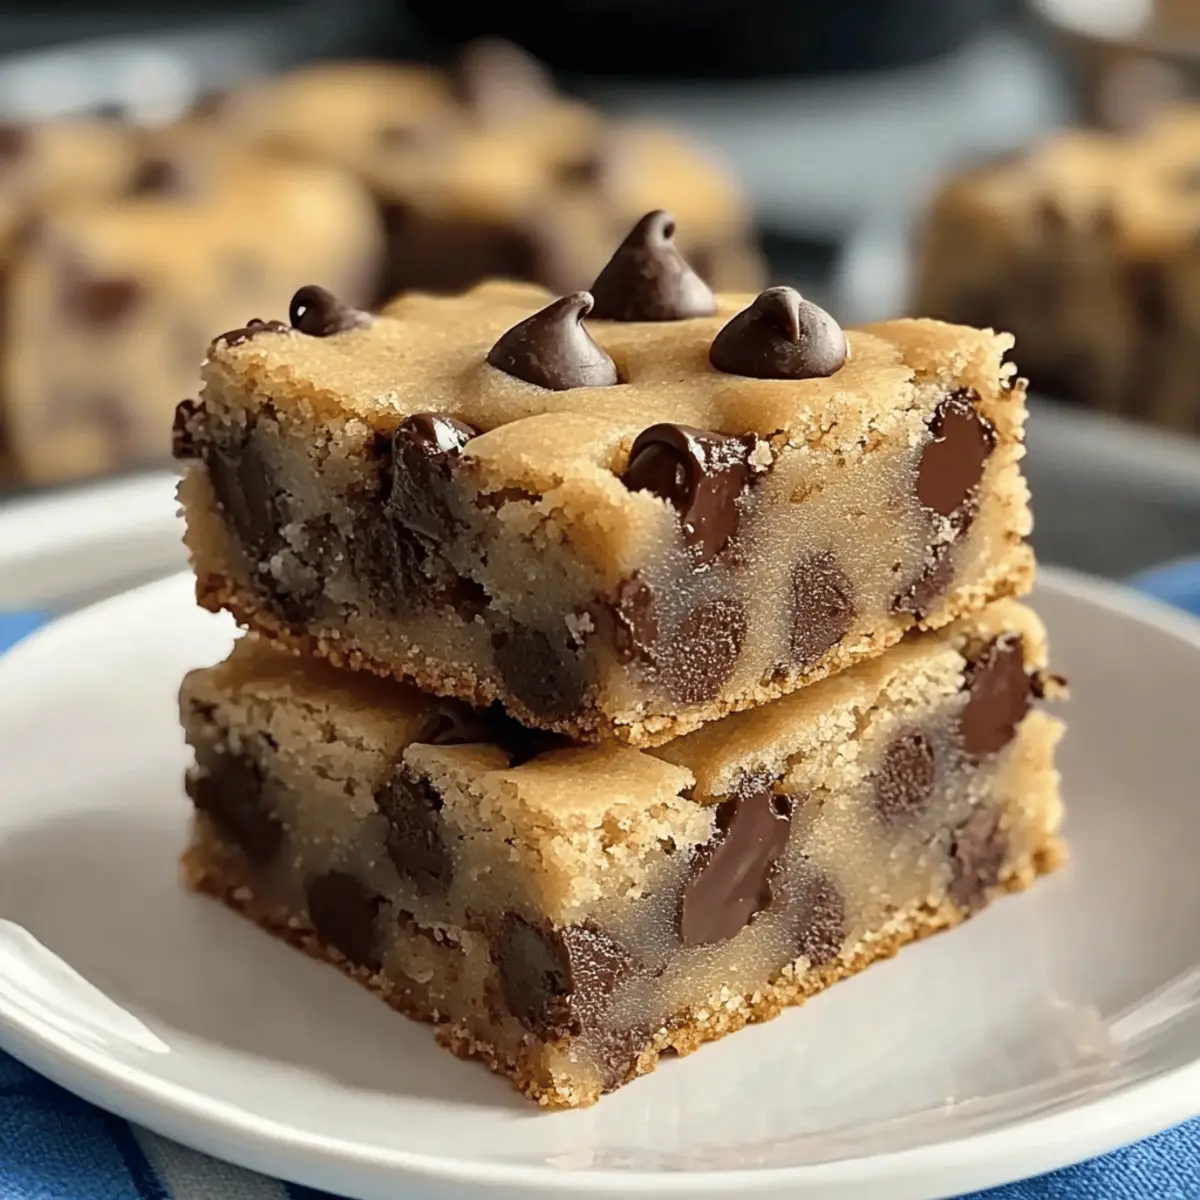
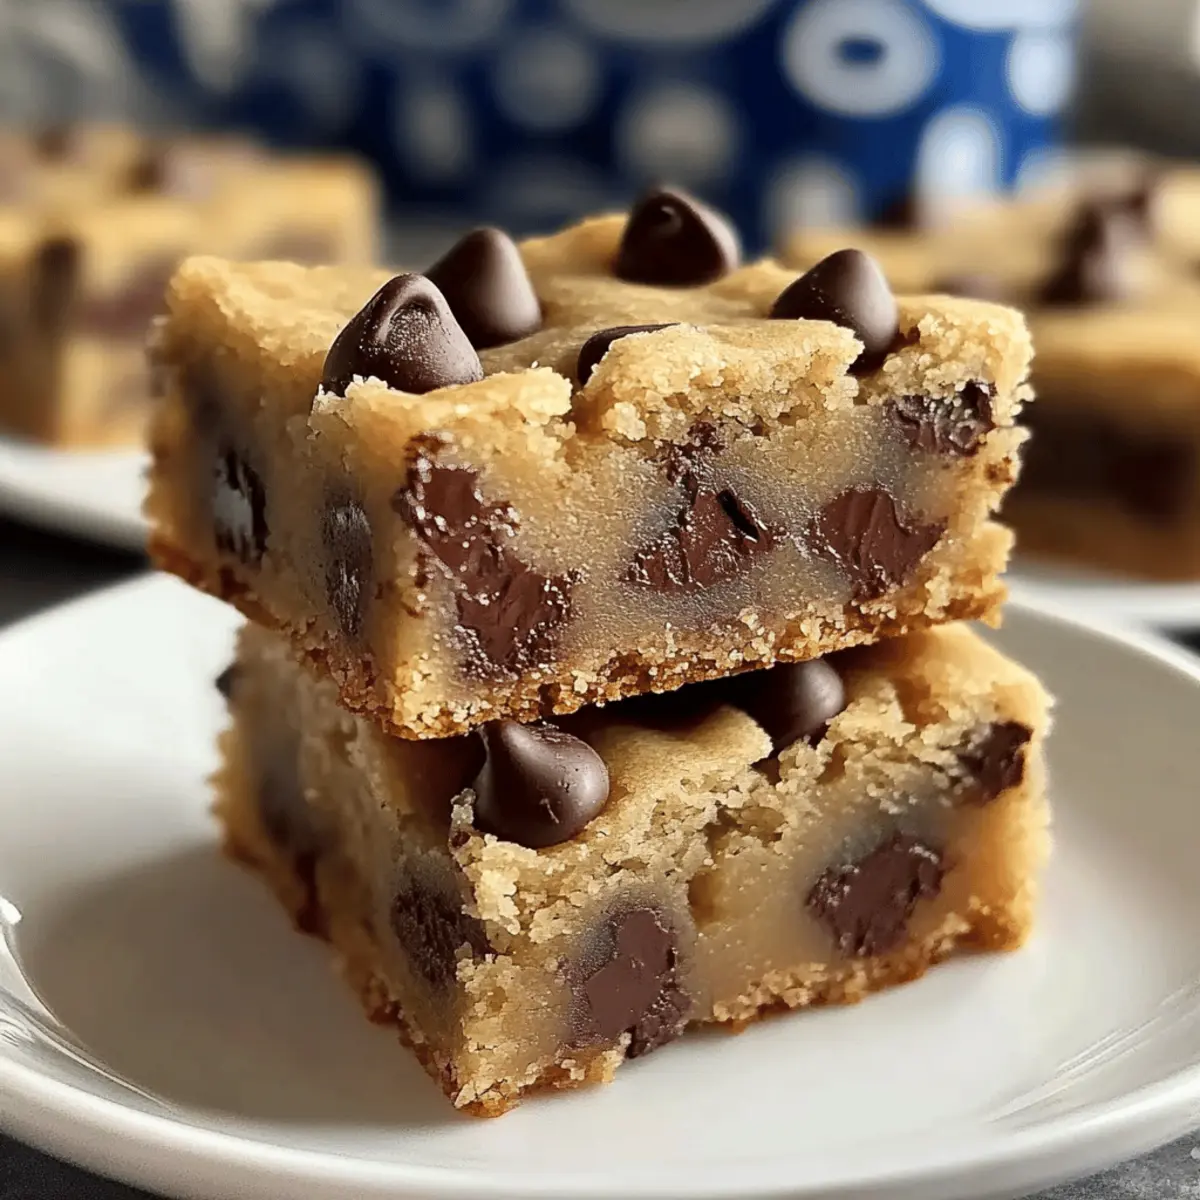
As the sweet smell of warm chocolate wafts through my kitchen, I can’t help but feel a wave of nostalgia wash over me. There’s just something about cookies that transforms any moment into a sweet celebration, and these Melt-in-Your-Mouth Chocolate Chip Cookie Bars do just that! They promise to deliver the classic, gooey indulgence of your favorite chocolate chip cookie, but with the added bonus of simplicity—no scooping required! Perfect for gatherings or a cozy night in, these bars come together in a flash and are sure to satisfy your sweet cravings. What fun twists will you add to your batch?

Why Are These Cookie Bars Irresistible?
Irresistible Taste: Each bite melts in your mouth, boasting a rich chocolate flavor that’s simply unforgettable.
Quick and Easy: With no dough scooping required, you can whip up these bars in no time—perfect for those busy days!
Shareable Delight: Ideal for gatherings or cozy nights, these bars are a crowd-pleaser, making them the perfect treat for any occasion.
Customizable Goodness: Feel free to try different chocolate varieties or add nuts to elevate your baking game! Consider mixing in some Fruity Indulgence as a fresh twist.
Classic Comfort: This recipe brings back the nostalgia of homemade cookies, making your kitchen feel like a warm hug.
Satisfyingly Chewy: Enjoy the balance of a soft center and crisp edges—just like your favorite cookies but in a bar form!
Melt-in-Your-Mouth Chocolate Chip Cookie Ingredients
• Transform your baking with these essential ingredients!
For the Cookie Bars
- Unsalted Butter – Provides richness and moisture; be sure it’s melted and slightly cooled for optimal texture.
- Light Brown Sugar – Adds moisture and a deep caramel flavor; you can vary between light and dark brown sugar for different tastes.
- Granulated Sugar – Perfect for sweetness and contributing to the cookie’s structure.
- Large Eggs – Essential for binding the ingredients together and adding moisture.
- Vanilla Extract – Enhances the overall flavor complexity; opt for pure vanilla for the best results.
- All-Purpose Flour – The main structure-building ingredient; can be swapped with gluten-free flour if needed.
- Salt – Balances out the sweetness and elevates the overall flavor.
- Baking Soda – Acts as a leavening agent, ensuring your bars rise beautifully.
- Semi-Sweet Chocolate Chips – The star ingredient that will create those gooey, melty pockets of chocolate throughout the bars.
Optional Add-Ins
- Chopped Nuts – Consider walnuts or pecans for added crunch and flavor enhancement.
- Different Chocolate Types – Switch up sweet milk or rich dark chocolate chips to customize your bars.
- Spices – A pinch of cinnamon can add warmth, while a swirl of peanut butter will offer delightful creaminess.
These warm, comforting ingredients come together for a melt-in-your-mouth chocolate chip cookie experience that can easily comply with your sweet cravings! Enjoy the journey to cookie bliss!
Step‑by‑Step Instructions for Melt-in-Your-Mouth Chocolate Chip Cookie Bars
Step 1: Preheat and Prepare
Begin your journey to making melt-in-your-mouth chocolate chip cookie bars by preheating your oven to 350°F (175°C). While the oven heats, grab a 9×13-inch baking pan. Grease it with a bit of butter or line it with parchment paper for easy removal. This step sets the stage for a perfectly baked treat!
Step 2: Mix the Wet Ingredients
In a large mixing bowl, whisk together 1 cup of melted unsalted butter, 1 cup of light brown sugar, and ½ cup of granulated sugar until the mixture is smooth and glossy. Follow this by adding in 2 large eggs and 2 teaspoons of vanilla extract, whisking until everything is well combined. The lovely aroma of sweet vanilla will fill your kitchen as you prepare the base for your cookie bars.
Step 3: Combine the Dry Ingredients
In another bowl, mix together 2 ½ cups of all-purpose flour, 1 teaspoon of salt, and 1 teaspoon of baking soda. This mixture will give your melt-in-your-mouth chocolate chip cookie bars their structure. Gradually add the dry ingredients to the wet mixture, gently folding with a spatula until there are no visible flour streaks. Be careful not to overmix; you want your bars to stay light and chewy!
Step 4: Fold in the Chocolate Chips
Once your dough is formed, it’s time to add the stars of the show: 2 cups of semi-sweet chocolate chips. Gently fold them into the dough so that they are evenly distributed throughout. You will be rewarded with pockets of melty chocolate when you bite into these delicious bars!
Step 5: Spread the Dough into the Pan
Transfer the thick dough into the prepared 9×13-inch baking pan, using a spatula or your hands to spread it evenly across the bottom. Make sure to smooth the surface so that the bars bake uniformly. Visualize that beautiful golden crust you will achieve as they bake.
Step 6: Bake to Perfection
Place the baking pan in your preheated oven and bake for 28–32 minutes. You’ll know they’re ready when the edges turn a lovely golden brown and a toothpick inserted in the center comes out clean or with a few moist crumbs. Keep an eye on them so they don’t overbake—remember, they will continue to set as they cool.
Step 7: Cool and Slice
Once baked, remove the pan from the oven and allow the cookie bars to cool in the pan for at least 20 minutes. This step is crucial for achieving clean slices later on. After cooling, you can cut them into squares, revealing the gooey chocolate chip goodness that awaits you in each delightful bite.

Expert Tips for Melt-in-Your-Mouth Cookie Bars
-
Butter Temperature: Use melted, slightly cooled butter for rich flavor and chewy texture; this prevents the bars from being greasy.
-
Avoid Overmixing: Mix just until the flour streaks disappear to keep the cookie bars light and chewy. Overmixing can lead to a dense texture.
-
Proper Baking Time: Check for doneness around 28 minutes. The bars will firm up as they cool, so a toothpick with a few moist crumbs is perfect.
-
Parchment Lining: Line your baking pan with parchment paper for easy removal and clean edges—no more messy slices!
-
Chocolaty Finish: For an extra touch, press a few chocolate chips on top before baking; it gives the bars a beautiful presentation and an indulgent finish.
Melt-in-Your-Mouth Chocolate Chip Cookie Variations
Feel free to let your creativity shine as you elevate these cookie bars with delightful twists and changes!
-
Nut Add-Ins: Add chopped walnuts or pecans to the dough for a delightful crunch. The combination of creamy chocolate and crunchy nuts creates a perfect balance!
-
Different Flavors: Mix in milk or dark chocolate chips instead of semi-sweet for a unique spin. Each flavor brings its own distinct sweetness, making it a fun experience to try different combinations.
-
Spice it Up: Introduce a pinch of cinnamon for a warm, cozy flavor kick. If you love peanut butter, consider swirling in a tablespoon or two for a tasty surprise in every bite.
-
Dried Fruits: Fold in some dried cranberries or raisins for a fruity twist that complements the chocolate beautifully. These add a chewy texture and bright flavor to each square.
-
Caramel Drizzle: Drizzle some caramel sauce over the cooled bars for an extra sweet finish. It not only elevates the flavor but makes for a stunning presentation!
-
Oatmeal Touch: Substitute 1 cup of flour with rolled oats for a heartier version. The chewy oats add a wonderful texture that makes these bars even more satisfying.
-
Chocolate Swirls: For a marbled effect, soften some cream cheese and swirl it into the dough before baking. This adds a creamy tang that’s simply delicious!
-
Coconut Flakes: Add unsweetened shredded coconut for a tropical flair. The coconut pairs wonderfully with chocolate, creating a mouthwatering treat that will impress everyone.
Looking for even more inspiration? Consider incorporating some ideas from Fruity Indulgence to bring a fresh twist to your baking! Happy customizing!
What to Serve with Melt-in-Your-Mouth Chocolate Chip Cookie Bars
Looking to create a delightful spread that elevates your cookie bar experience? Let’s dive into some delicious pairings that will make your taste buds dance!
-
Vanilla Ice Cream: The creamy coldness of vanilla ice cream contrasts perfectly with warm cookie bars, creating a luscious dessert experience.
-
Salted Caramel Sauce: Drizzling a rich salted caramel adds a buttery sweetness that enhances the chocolate flavor. It’s a match made in dessert heaven!
-
Fresh Berries: Serve a colorful medley of raspberries, strawberries, and blueberries for a refreshing pop of flavor that balances the sweetness of the bars. The tartness of the berries provides a lovely contrast.
-
Whipped Cream: A dollop of freshly whipped cream gives a light, airy touch, enhancing the decadent richness of the cookie bars. They complement each other beautifully, offering a heavenly bite.
-
Coffee or Espresso: A warm cup of coffee or espresso brings out the deep, rich flavors of the chocolate. Plus, the caffeine kick makes this pairing perfect for afternoon treats.
-
Milk: Keep it classic with a glass of cold milk that cuts through the sweetness and moist texture of the bars, providing that ultimate nostalgic experience.
-
Chocolate Drizzle: For the chocolate lovers, consider adding an extra layer by drizzling melted chocolate over the cooled bars for an overload of chocolatey goodness.
-
Peanut Butter Spread: A smear of creamy peanut butter on top adds a nutty flavor profile that works harmoniously with chocolate, elevating your cookie enjoyment to new heights.
These pairings not only complement the Melt-in-Your-Mouth Chocolate Chip Cookie Bars but also transform your dessert into a memorable feast!
How to Store and Freeze Melt-in-Your-Mouth Chocolate Chip Cookie Bars
Room Temperature: Store baked bars uncovered at room temperature for 2-3 days for optimal texture and flavor.
Fridge: If you prefer, you can keep them in an airtight container in the fridge for up to a week, although they may become slightly firmer.
Freezer: For longer storage, freeze the bars in an airtight container for up to 3 months. You can layer parchment between bars to prevent sticking.
Reheating: To enjoy a warm treat, simply microwave a bar for 10-15 seconds to restore that melt-in-your-mouth chocolate experience!
Make Ahead Options
These Melt-in-Your-Mouth Chocolate Chip Cookie Bars are perfect for meal prep enthusiasts! You can prepare the dough up to 24 hours in advance by mixing all the wet and dry ingredients, then store it in an airtight container in the refrigerator. Alternatively, you can bake the bars ahead of time and store them in the fridge for up to 3 days. To maintain their delightful texture, keep them covered in a cool place to prevent them from drying out. When you’re ready to serve, simply cut the bars into squares, and feel free to warm them in the microwave for 10-15 seconds for that fresh-out-of-the-oven experience! Enjoy this time-saving tip for busy weeknights or impromptu gatherings!

Melt-in-Your-Mouth Chocolate Chip Cookie Bars Recipe FAQs
How do I choose the right chocolate chips for the cookie bars?
Absolutely! Semi-sweet chocolate chips are the classic choice for these cookie bars as they melt beautifully and provide a delightful balance of sweetness. However, feel free to experiment with milk chocolate for a sweeter taste or dark chocolate for a richer, more intense flavor. You can even mix different types to create your perfect blend of chocolate bliss!
How should I store my cookie bars for freshness?
You can store your baked Melt-in-Your-Mouth Chocolate Chip Cookie Bars uncovered at room temperature for 2 to 3 days. If you want to keep them fresh longer, place them in an airtight container, which will still allow for some pleasant chewiness. If you opt for the fridge, keep them in an airtight container for up to a week – but note they’ll be firmer in texture!
Can I freeze these cookie bars? How do I do it?
Yes, you can freeze these delicious cookie bars! To freeze, first, allow them to cool completely then cut them into squares. Place them in an airtight container or freezer bag with parchment paper between layers to prevent sticking. They’ll last for up to 3 months in the freezer. When you’re ready to enjoy, just microwave one for 10-15 seconds, and you’ll experience that melt-in-your-mouth goodness again!
What should I do if my cookie bars turn out too dry?
If your cookie bars turn out too dry, it may be due to overbaking or using too much flour. Always check for doneness at 28 minutes by inserting a toothpick—remove them as soon as the edges are golden and the center is just set. To amend overbaked bars, try serving them with a scoop of ice cream or a drizzle of warm chocolate sauce to add moisture back into that indulgent experience!
Are these cookie bars safe for people with nut allergies?
It’s important to be cautious. The base recipe for these Melt-in-Your-Mouth Chocolate Chip Cookie Bars is nut-free, but if you choose to add nuts (like walnuts or pecans, as suggested), it would not be suitable for those with nut allergies. You can easily omit any nut add-ins to make them safe for everyone to enjoy!
How can I make these cookie bars gluten-free?
To explore a gluten-free version of these mouthwatering cookie bars, you can substitute the all-purpose flour with a gluten-free flour blend. If you’re using a blend that includes a binding agent, no other adaptations are usually necessary. Just be sure to check that all your other ingredients (like baking soda and chocolate chips) are also gluten-free to maintain that lovely texture and flavor!

Melt-in-Your-Mouth Chocolate Chip Cookie Bliss Awaits
Ingredients
Equipment
Method
- Preheat your oven to 350°F (175°C) and prepare a 9x13-inch pan by greasing or lining it.
- In a large bowl, whisk melted butter with light brown sugar and granulated sugar until smooth. Add eggs and vanilla extract, whisk until combined.
- In another bowl, mix flour, salt, and baking soda. Gradually add dry ingredients to the wet mixture, folding gently until combined.
- Fold in the chocolate chips until evenly distributed.
- Spread the dough evenly in the prepared baking pan.
- Bake for 28-32 minutes until edges are golden and a toothpick comes out with a few moist crumbs.
- Cool in the pan for at least 20 minutes before slicing into squares.

Leave a Reply