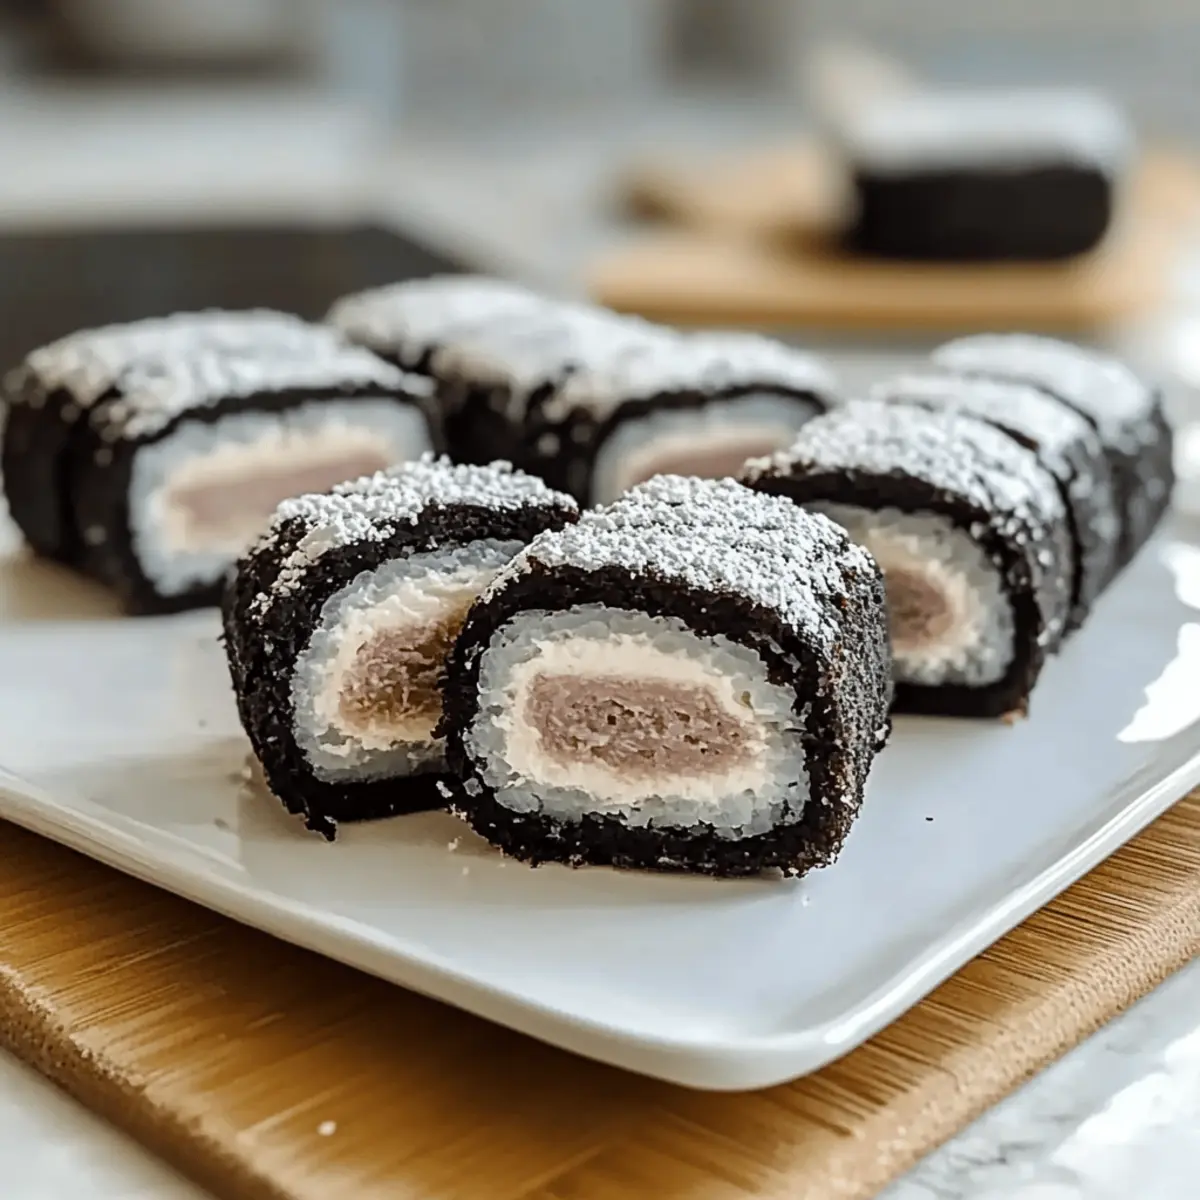
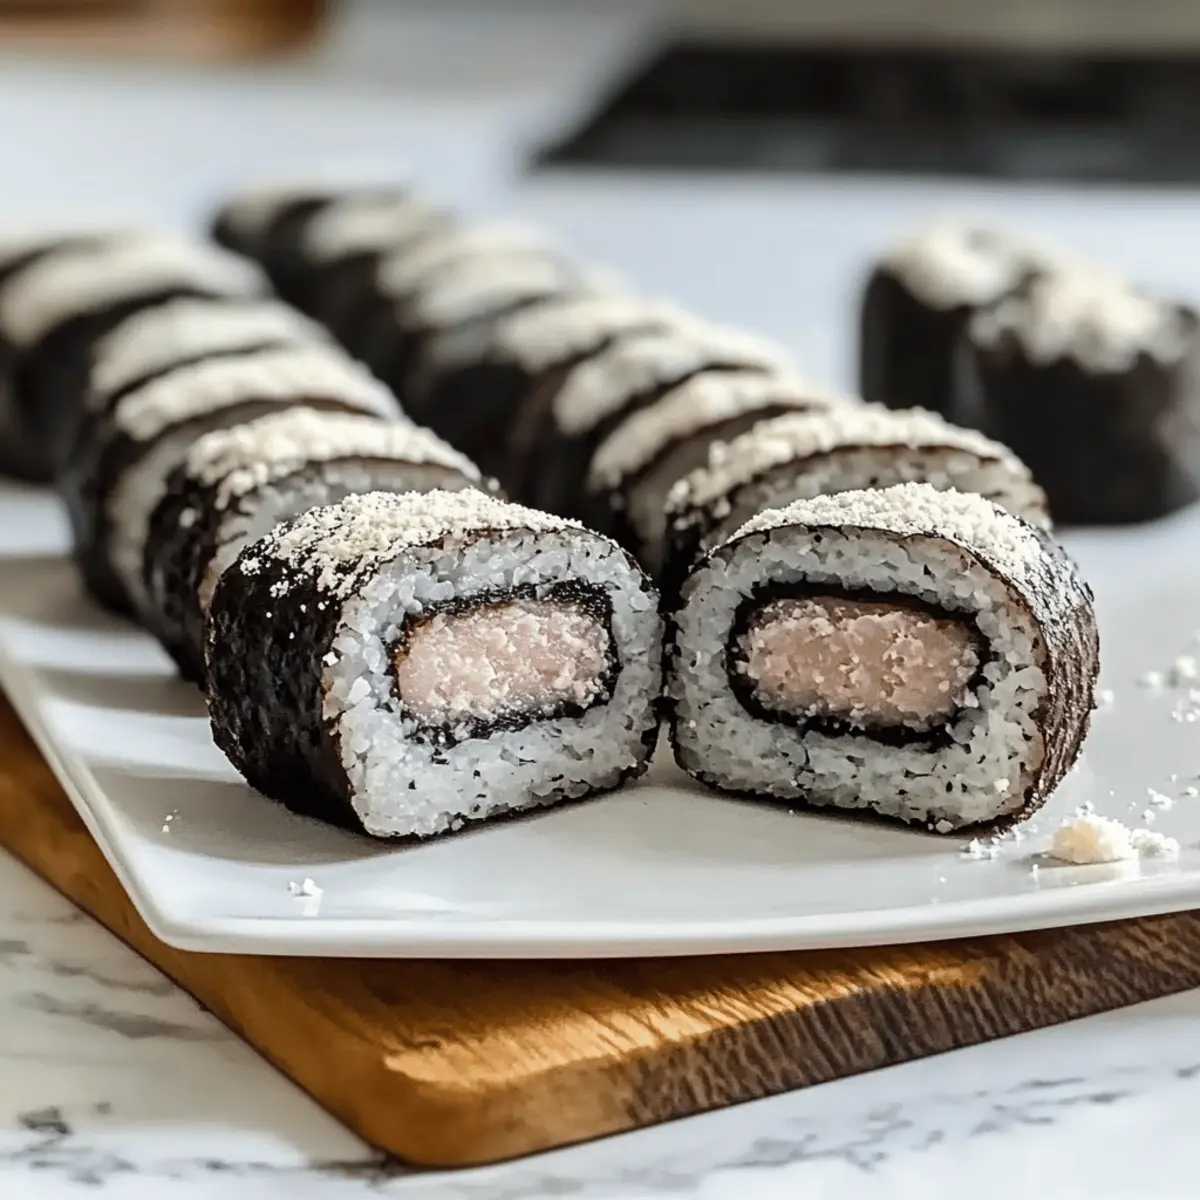
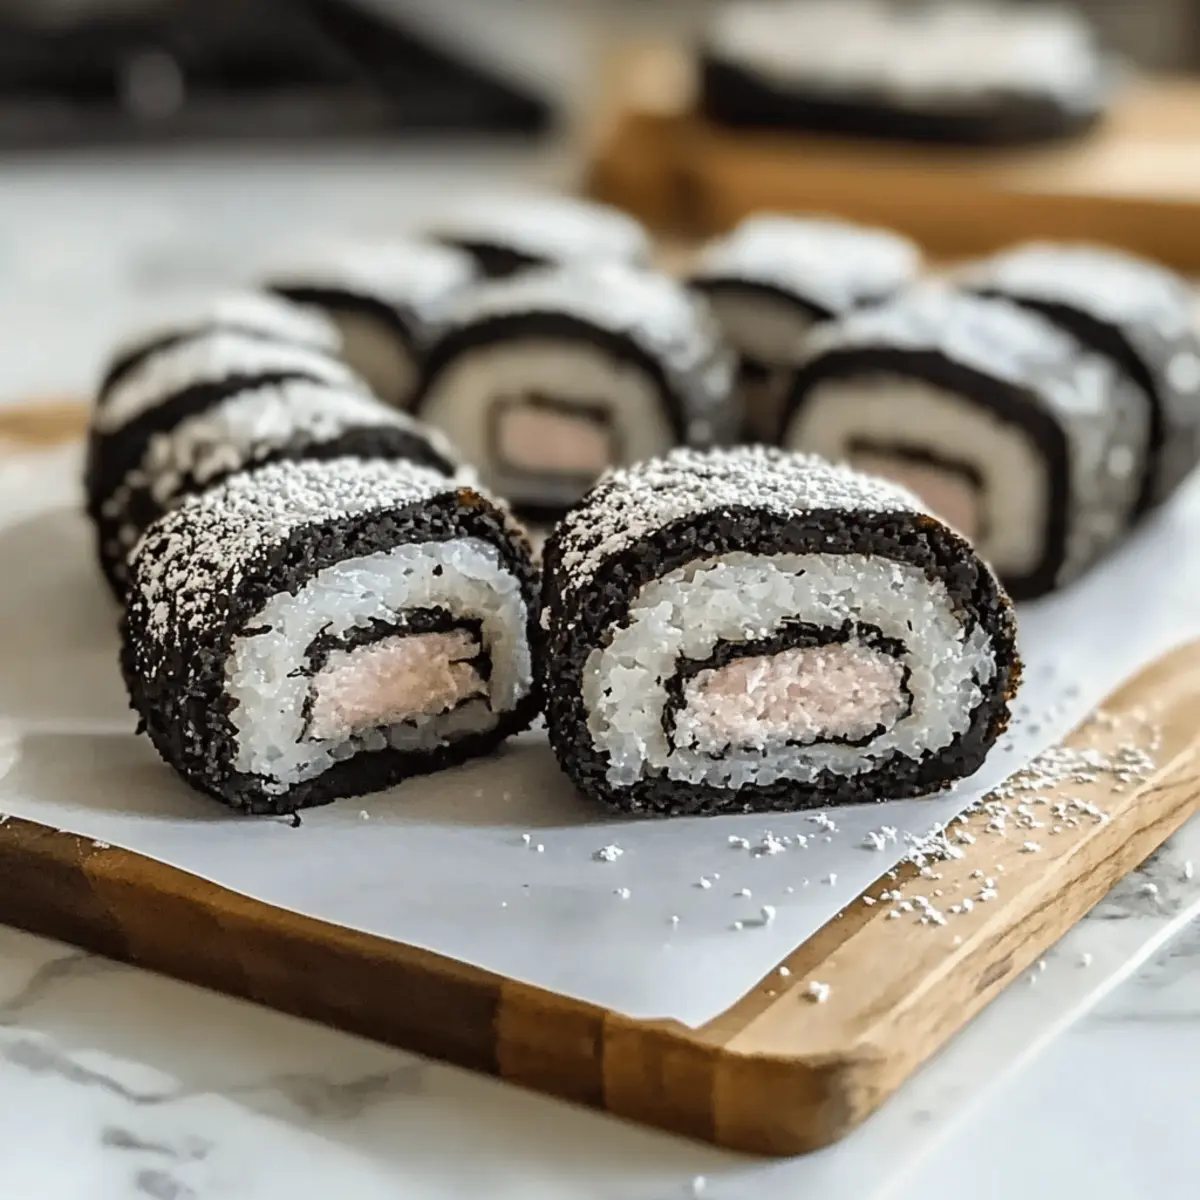
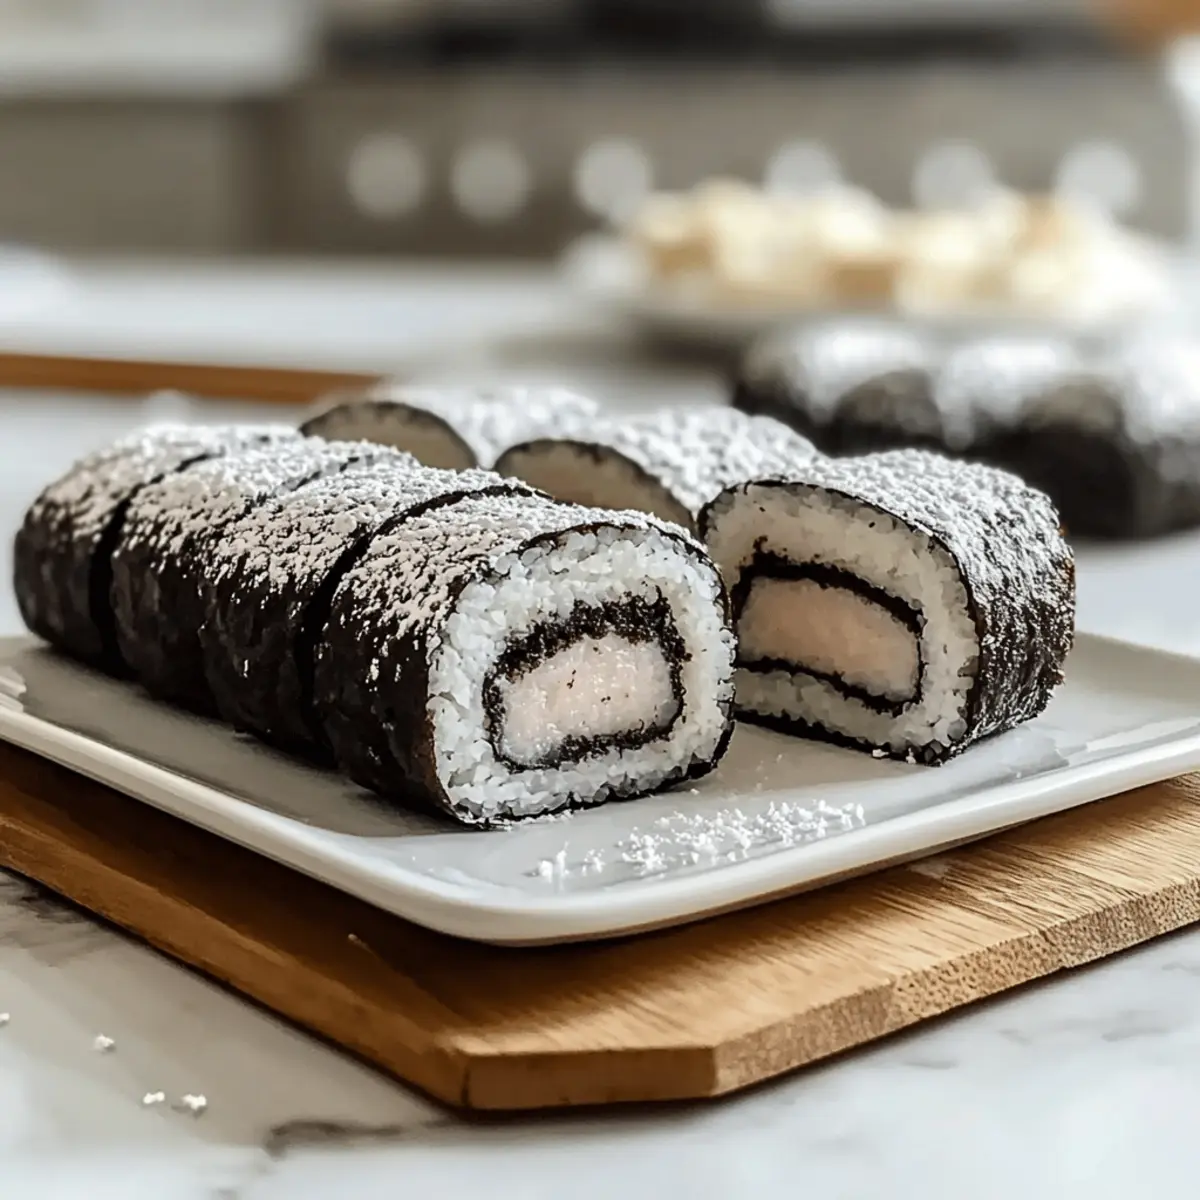
As I quietly munched on my favorite Oreo cookie, a delightful idea struck me: why not transform the classic treat into something whimsically unexpected? Enter Oreo Sushi, a playful dessert that takes the beloved chocolate and cream combo and wraps it in an imaginative sushi-style roll. With just two simple ingredients, this no-bake creation is not only a quick fix for sweet cravings but also a guaranteed crowd-pleaser, perfect for both kids and the young-at-heart. The delightful contrast between the crunchy exterior and creamy filling will make your taste buds dance with joy. Curious about how to roll up this fun dessert? Let’s dive in!

Why is Oreo Sushi So Fun?
Simplicity: This recipe is as easy as it gets—just two ingredients, making it accessible for all skill levels.
Playful Presentation: The sushi-style roll adds a creative twist that’ll impress your guests and make snack time fun for kids.
Versatility: Change things up by using different Oreo flavors or adding fresh fruit for a unique spin on each batch.
No Baking Needed: Perfect for those warmer days or when you just don’t feel like turning on the oven! You can even try some delightful variations like Fruity Pebbles Sushi for another playful dessert!
Crowd-Pleaser: Whether it’s for a party or a casual family gathering, Oreo Sushi is bound to delight everyone!
Oreo Sushi Ingredients
For the Base
• Oreo Cookies – Essential for that iconic flavor; feel free to use any variety, from classic to seasonal!
• Milk – Binds the crushed cookies into a dough-like consistency; any type of milk, including plant-based options, works beautifully.
For Optional Variations
• Fresh Fruit – Slices of strawberries, bananas, or kiwi add a fresh twist and bright color!
• Toppings – Melted chocolate, caramel drizzle, or crushed nuts enhance both flavor and texture for your Oreo Sushi.
Step‑by‑Step Instructions for Oreo Sushi
Step 1: Separate the Oreos
Start by twisting apart each Oreo cookie to separate the creamy filling from the chocolate wafers. Place the cream filling into a medium-sized bowl, as it will be used later. Keep the cookies aside, ensuring no crumbs fall, as they will ultimately form the base for your fun Oreo Sushi.
Step 2: Create the Cookie Base
Next, place the Oreo wafers into a zip-top bag and seal it tightly. Use a rolling pin or a sturdy object to crush the cookies into fine crumbs, which should take about 2-3 minutes. Once crushed, transfer the crumbs into a bowl and gradually mix in milk, stirring until you reach a thick, dough-like consistency that holds its shape well.
Step 3: Prepare the Rolling Surface
Lay a large piece of plastic wrap flat on your clean countertop or cutting board. Make sure it’s wide enough to accommodate the entire cookie mixture. This will serve as your platform for creating the Oreo Sushi, allowing for easy rolling without mess or sticking.
Step 4: Assemble the Oreo Roll
Spread the thick cookie paste evenly over the plastic wrap using a spatula, creating a rectangle that is about ½ inch thick. Next, take the reserved cream filling and layer it evenly over the cookie base. This step adds a delightful creaminess to your Oreo Sushi, enhancing the overall flavor profile.
Step 5: Roll and Slice the Sushi
Using the plastic wrap, carefully lift one edge and begin to roll the mixture tightly into a log shape. Seal the ends of the plastic wrap to keep it secure. Once rolled, place it in the refrigerator for about 15-20 minutes to firm up, making it easier to slice into perfect bite-sized pieces resembling sushi.
Step 6: Serve Your Oreo Sushi
After chilling, unwrap the log and lay it on a cutting board. Using a sharp knife, slice the log into pieces that mimic sushi rolls, aiming for about 1-inch widths. Arrange your Oreo Sushi on a serving platter, and consider serving them with fun dipping sauces like chocolate or whipped cream for an extra treat!

Make Ahead Options
These Oreo Sushi are perfect for meal prep enthusiasts! You can prepare the cookie base and cream filling up to 24 hours in advance, allowing for stress-free entertaining or family snacking. Simply crush the Oreo cookies and mix them with milk to create the dough, then refrigerate the mixture in an airtight container. When you’re ready to assemble, spread the cookie paste over plastic wrap, layer with the cream filling, and roll it up. Chill the sushi roll in the fridge for 15-20 minutes before slicing into bite-sized pieces. This way, you’ll have a whimsical and delicious treat ready to go, just as delightful as if freshly made!
Expert Tips for Making Oreo Sushi
- Crush Thoroughly: Ensure cookies are crushed into fine crumbs for an even mixture; this helps prevent any chunks when rolling.
- Milk Consistency: Be careful not to add too much milk; too much liquid can lead to a soggy Oreo Sushi that won’t hold its shape.
- Chill for Texture: Refrigerating the rolled log for 15-20 minutes makes slicing easier and enhances the texture of your Oreo Sushi.
- Experiment with Flavors: Don’t hesitate to try different Oreo varieties—seasonal flavors can bring exciting twists to your fun dessert!
- Presentation Matters: Arrange the sliced pieces in a colorful manner and serve with dipping sauces to elevate your dessert table!
What to Serve with Oreo Sushi
Elevate your dining experience with delightful pairings that complement this playful dessert perfectly!
- Creamy Whipped Cream: A dollop on the side enhances the Oreo flavors, bringing a light, airy touch to each bite.
- Chocolate Dipping Sauce: Rich and indulgent, it creates an exciting contrast of flavors and adds a deliciously gooey element to the presentation.
Serve your Oreo Sushi with toppings to let everyone customize their experience. The joy lies in the creativity!
- Fresh Strawberries: Their natural sweetness and slight tartness brighten up the dessert and balance the richness of the Oreos.
- Peanut Butter Drizzle: This adds a savory note that pairs beautifully with the sweet cookies, creating an unforgettable flavor fusion.
For drinks, consider:
- Chilled Milk: A classic pairing that’s always nostalgic, it perfectly complements the cookie’s flavor, making every bite even more satisfying.
- Sparkling Water with Lime: Offers a refreshing contrast to the sweetness while cleansing the palate and enhancing the overall experience.
Lastly, a fun twist for dessert:
- Mini Cupcakes: Add another layer of sweetness and texture to your dessert spread, ensuring there’s something for every sweet tooth at the table.
Oreo Sushi Variations & Substitutions
Get ready to unleash your creativity with these fun and delightful twists on the classic Oreo Sushi!
-
Fruity Twist: Add layers of fresh fruit, like sliced strawberries, bananas, or kiwi, for a burst of flavor and color. The juicy fruit complements the creaminess beautifully.
-
Nutty Crunch: Incorporate crushed nuts into the cookie mixture for an added crunch. Almonds, walnuts, or pecans can elevate the overall texture and taste experience.
-
Seasonal Oreos: Experiment with different Oreo flavors to create themed sushi rolls. Think Pumpkin Spice for fall or Peppermint for Christmas—your guests will be impressed by these creative combinations!
-
Chocolate Dipped: For a richer treat, dip sliced Oreo Sushi in melted chocolate for an indulgent twist. This extra chocolate adds a touch of decadence that chocolate lovers will adore.
-
Caramel Drizzle: A light drizzle of caramel sauce over your Oreo Sushi can sweeten the deal. Just a few drops transform this treat into a dessert fit for special occasions!
-
Frozen Delight: Freeze the rolls before slicing for a refreshing summertime dessert. The icy texture makes for a different yet delicious way to enjoy Oreo Sushi on a hot day.
-
Sprinkle Magic: Add colorful sprinkles on top of your slices for a festive look that’s especially great for birthday parties or celebrations. The sprinkles add both sweetness and a joyful pop of color!
-
Creamy Alternatives: Swap out regular milk for almond or coconut milk for a delightful twist. This change can enhance the flavor while offering a dairy-free option for those with dietary restrictions.
Feel free to mix and match these variations to light up your dessert table! Want to try more playful treats? Check out my delightful Fruity Pebbles Sushi for another fun and easy recipe that every kid (and kid-at-heart) will love!
How to Store and Freeze Oreo Sushi
Fridge: Store your Oreo Sushi in an airtight container in the refrigerator for up to 3 days to maintain freshness and texture.
Freezer: For longer storage, wrap slices individually in plastic wrap and place them in a freezer-safe container. They can be frozen for up to a month.
Thawing: To enjoy, simply thaw the Oreo Sushi in the fridge for about an hour before serving; avoid microwaving to retain the desired texture.
Serving Cold: Frozen Oreo Sushi makes for a refreshing treat during hot days; serve directly from the freezer for a cool twist!

Oreo Sushi Recipe FAQs
What type of Oreos should I use for Oreo Sushi?
Absolutely! You can use any variety of Oreos, from the classic chocolate to seasonal flavors like pumpkin spice or mint. The unique flavors can add an exciting twist to your sushi rolls, making for a fun surprise!
How should I store Oreo Sushi for freshness?
To maintain the deliciousness of your Oreo Sushi, store it in an airtight container in the refrigerator. It will stay fresh for about 3 days. If you want to enjoy them later, consider freezing the slices for longer storage.
Can I freeze Oreo Sushi, and if so, how?
Yes! To freeze your Oreo Sushi, wrap each sliced piece individually in plastic wrap and place them into a freezer-safe container. They can be kept in the freezer for up to a month. When you’re ready to enjoy them, simply thaw them in the refrigerator for about an hour; this keeps them from losing their enjoyable texture.
What should I do if my Oreo cookie mixture is too wet?
No worries! If your mixture becomes too wet, you can mix in a few extra crushed Oreo crumbs to absorb the excess moisture. Start by adding a tablespoon of crumbs at a time until you achieve a dough-like consistency that holds its shape when rolled.
Are there any dietary considerations I should be aware of?
Definitely! If you have party guests with allergies, keep in mind that Oreos contain wheat and may have traces of milk or nuts, depending on the flavor. Also, for those requiring gluten-free options, you can check for gluten-free cream-filled cookies as an alternative. Enjoying this dessert with care ensures everyone can indulge!

Oreo Sushi: Fun No-Bake Treat for All Ages
Ingredients
Equipment
Method
- Step 1: Separate the Oreos. Twist apart each Oreo cookie to separate the creamy filling from the chocolate wafers. Place the cream filling in a medium-sized bowl.
- Step 2: Create the Cookie Base. Crush the Oreo wafers in a zip-top bag for 2-3 minutes and mix in milk until a thick, dough-like consistency is achieved.
- Step 3: Prepare the Rolling Surface. Lay a piece of plastic wrap flat on your countertop, wide enough for the cookie mixture.
- Step 4: Assemble the Oreo Roll. Spread the cookie paste on the plastic wrap and layer the cream filling evenly on top.
- Step 5: Roll and Slice the Sushi. Roll the mixture tightly using the plastic wrap, then refrigerate for 15-20 minutes before slicing.
- Step 6: Serve Your Oreo Sushi. Unwrap and cut into pieces, serving on a platter with dipping sauces like chocolate or whipped cream.

Leave a Reply