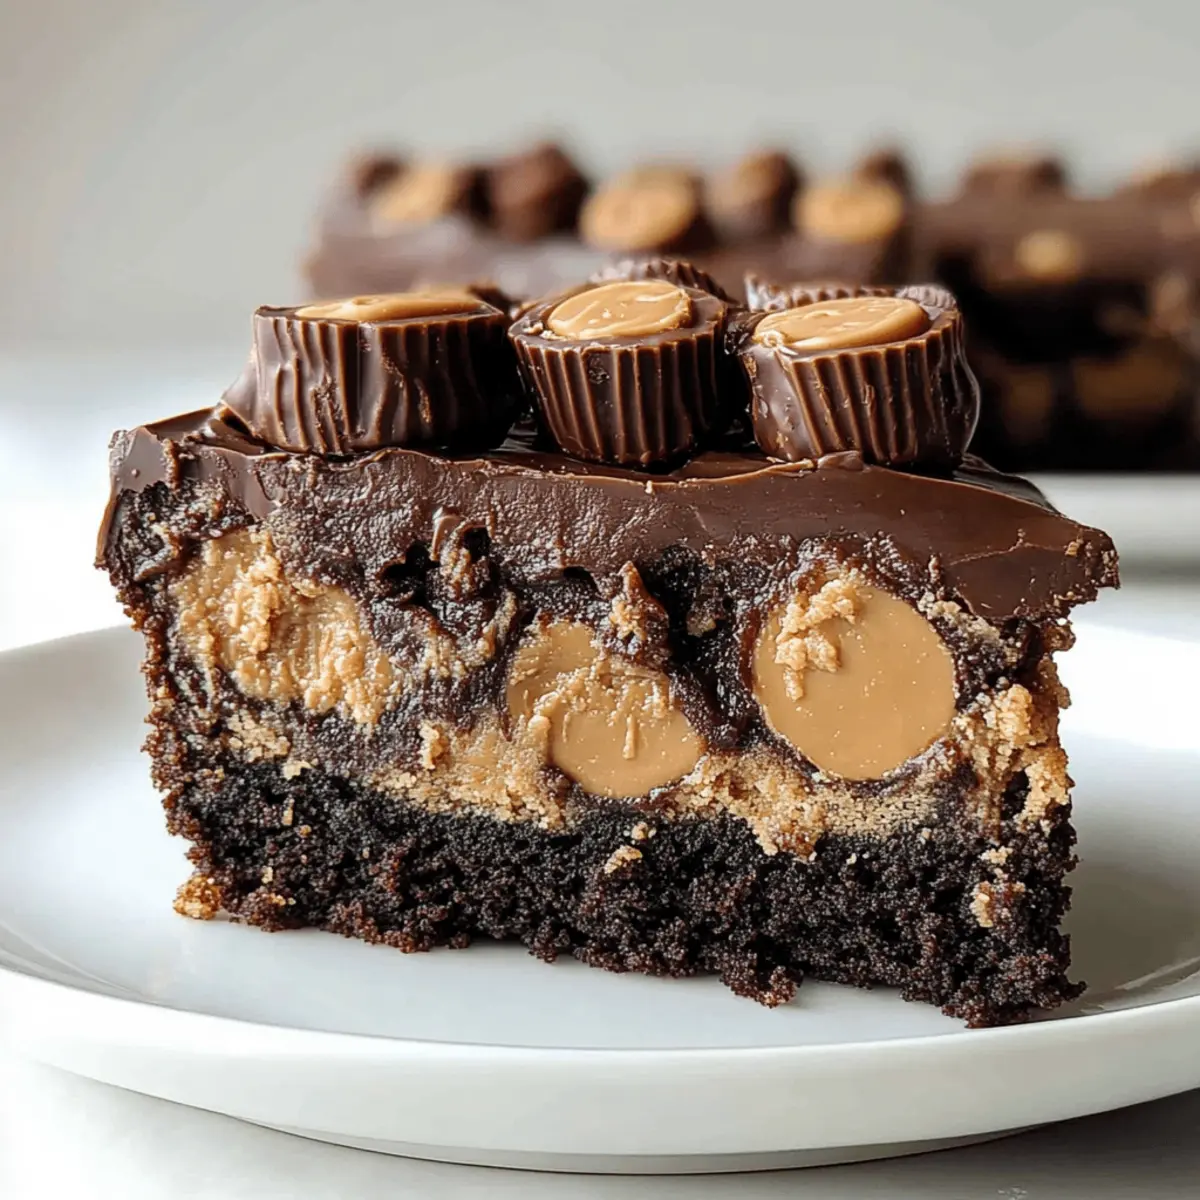
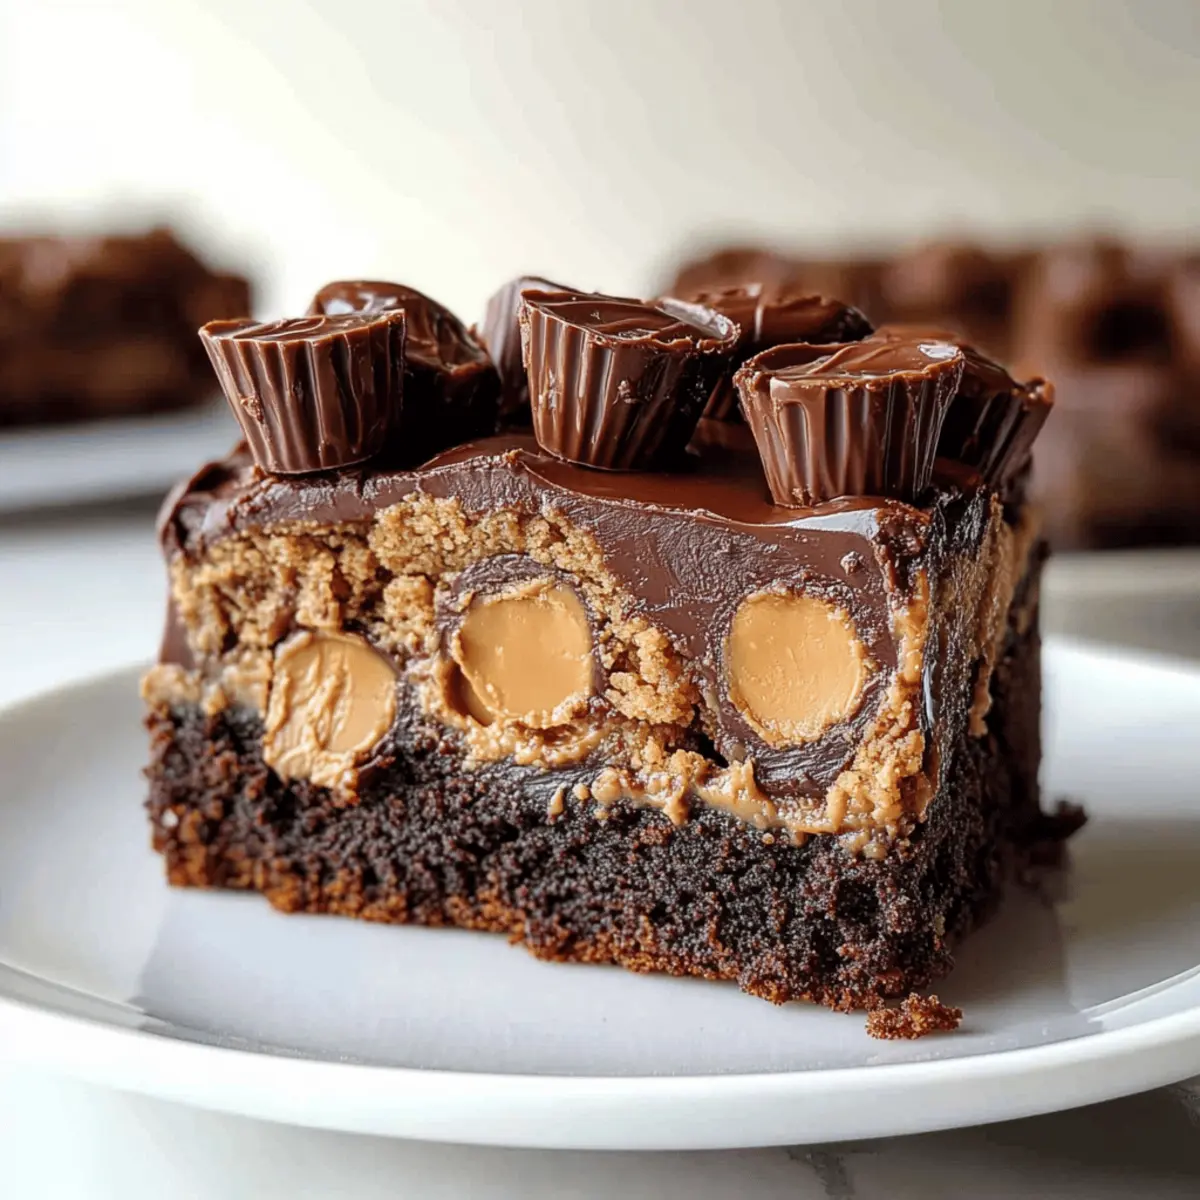
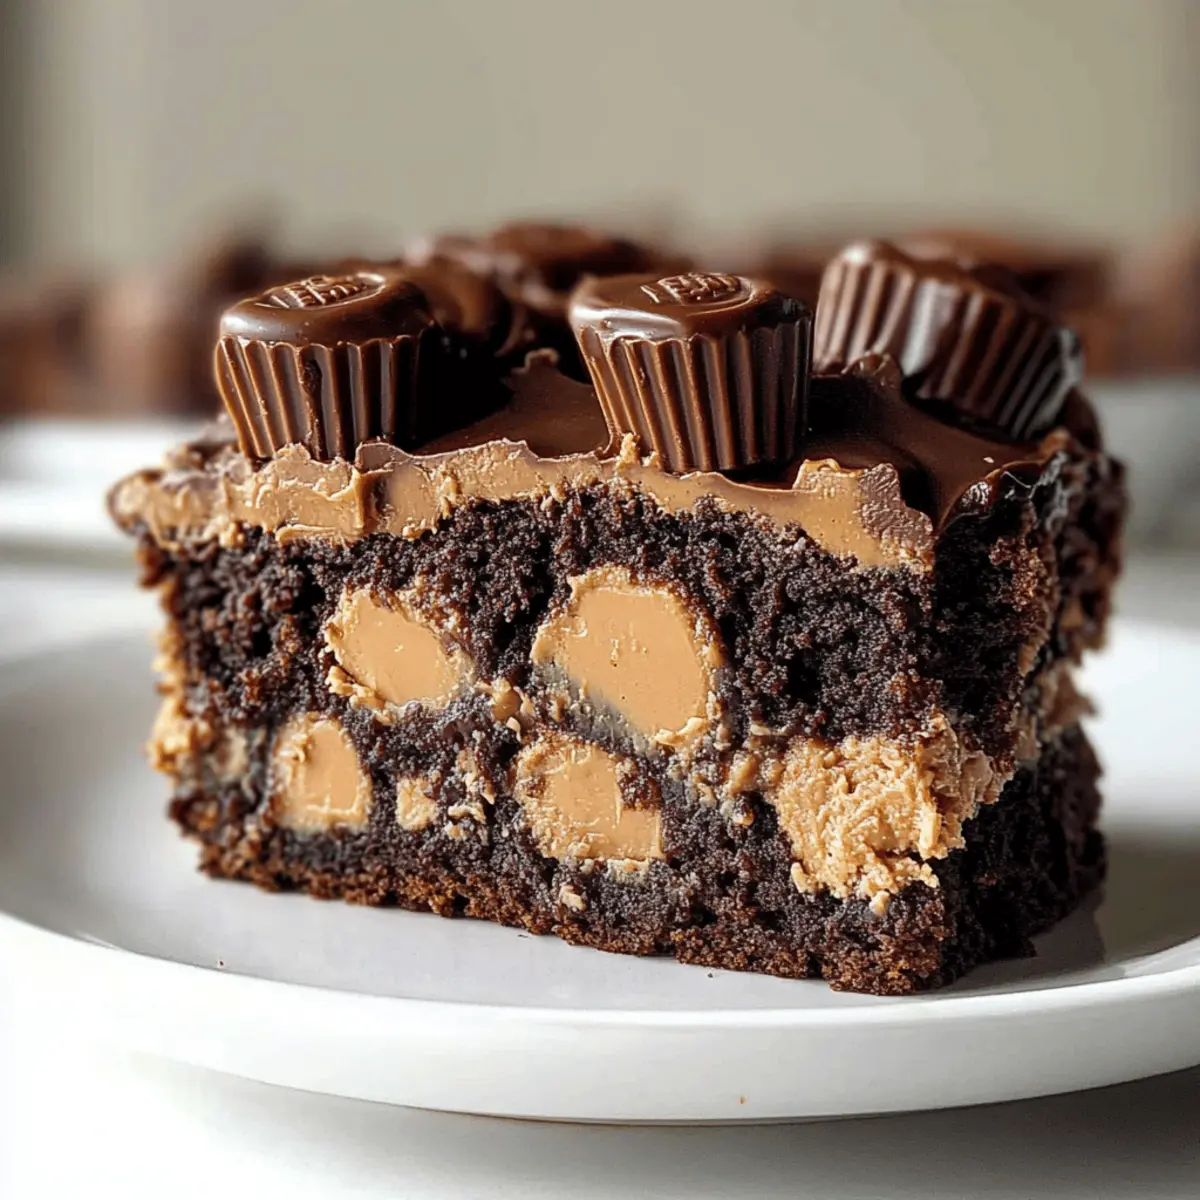
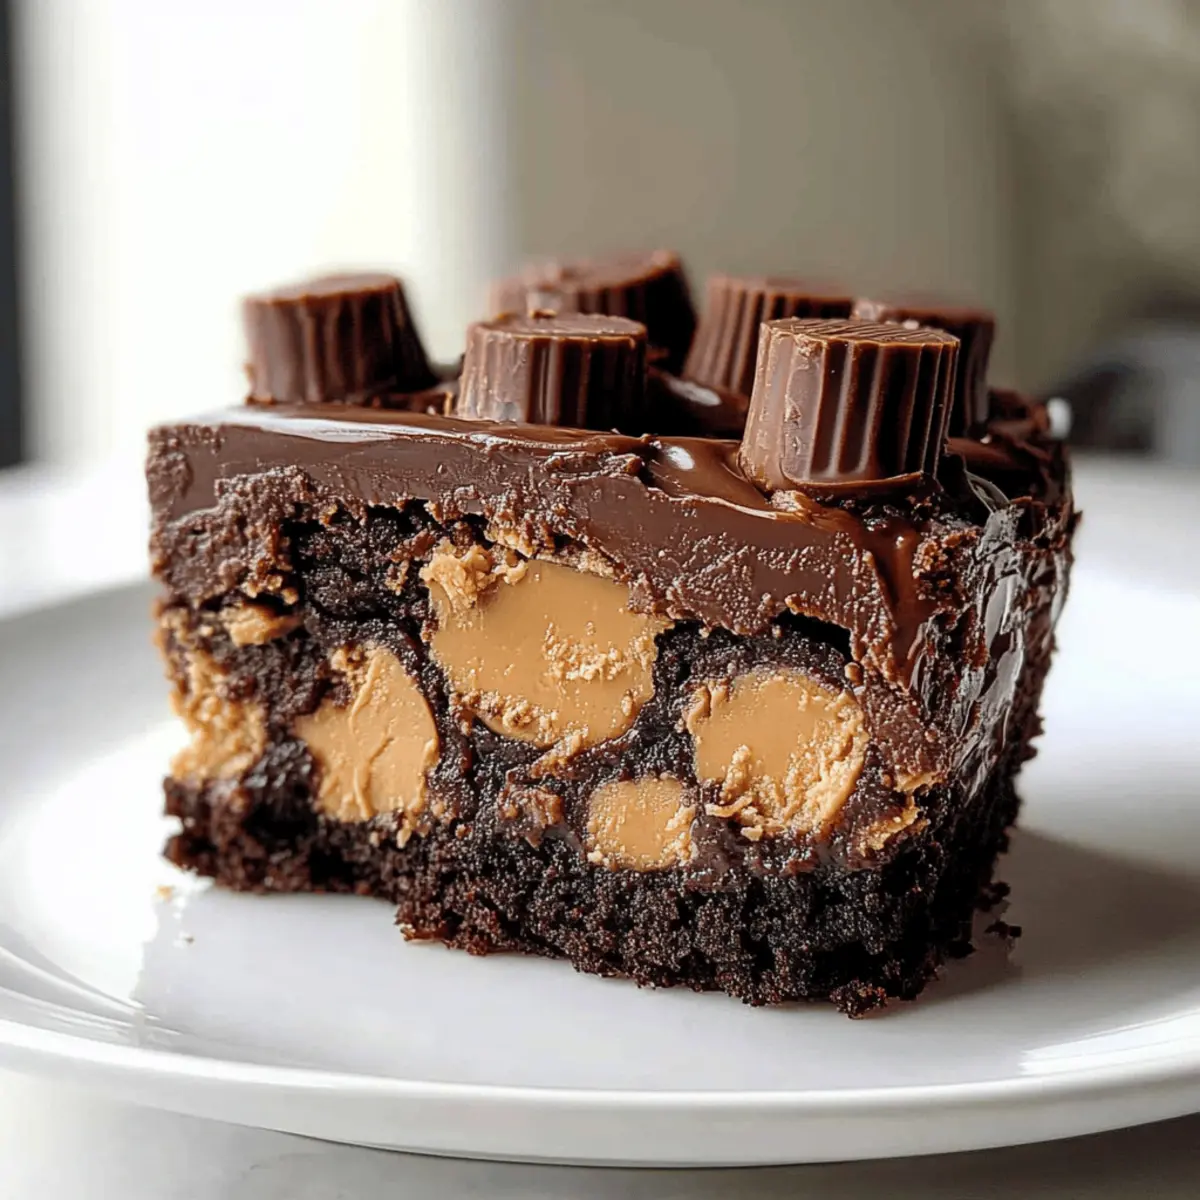
As I stirred the vibrant, velvety batter in my kitchen, the delightful aroma of chocolate and peanut butter wafted through the air, instantly taking me back to childhood treats and joyful family gatherings. This 5-Ingredient Peanut Butter Cup Dump Cake is not only a nostalgic indulgence but also a quick and easy dessert that can be whipped up in no time. Perfect for anyone tired of fast food, this recipe elevates comfort food with just five ingredients and one pan, making it a true crowd-pleaser. Plus, with minimal prep work, you can enjoy a deliciously gooey cake without the fuss. Are you ready to dive into this decadent dessert that’s bound to become a new favorite?

Why is This Cake So Irresistible?
Simplicity: You only need five ingredients to create this dessert, making it perfect for busy days when you want something special without the hassle.
Rich Flavor: The combination of creamy peanut butter and chocolate cake creates an irresistible taste that will have your taste buds dancing.
Versatile Options: Easily swap ingredients like using vanilla cake mix or adding crushed nuts for unique variations, perfect for any occasion.
Crowd-Pleaser: Whether it’s a family gathering or a casual dinner with friends, this cake is sure to impress both kids and adults alike!
Quick Bake: In just 35-40 minutes, you can have a warm, delectable dessert ready to serve, ideal for those moments when you need a sweet fix fast.
Pair this with a scoop of vanilla ice cream for an extra indulgent experience, or check out my Copycat Birthday Cake for another delightful treat!
Peanut Butter Cup Dump Cake Ingredients
• Create this indulgent dessert with just five ingredients!
For the Cake
- Peanut Butter – Adds a creamy richness; for a lighter version, choose reduced-fat peanut butter.
- Chocolate Cake Mix – Forms the base for this delightful cake; you can swap for vanilla or funfetti cake mix, just be aware of the flavor change.
- Melted Butter – Enhances moisture and richness; vegetable or coconut oil are great substitutes if preferred.
- Milk – Contributes to a smooth batter; feel free to use any milk, whether dairy or plant-based, as they all work beautifully here.
- Mini Peanut Butter Cups – These little treats bring bursts of chocolatey goodness; chocolate chips can be used instead if desired.
Enjoy the ease of whipping up this peanut butter cup dump cake with these simple ingredients!
Step‑by‑Step Instructions for Peanut Butter Cup Dump Cake
Step 1: Preheat the Oven
Begin by preheating your oven to 350°F (175°C). As it heats, prepare a 9×13-inch baking dish by greasing it with cooking spray or butter. This will ensure your cake releases easily after baking, allowing for that delicious peanut butter cup dump cake to shine when served.
Step 2: Spread the Peanut Butter
Next, take room-temperature peanut butter and spread it evenly across the bottom of the prepared baking dish. The smooth layer of peanut butter sets a creamy foundation for the cake, creating a delightful surprise of flavor once baked. Ensure it covers the pan well to access that rich taste in every bite.
Step 3: Mix the Batter
In a mixing bowl, combine your chocolate cake mix, melted butter, and milk. Use a whisk or spatula to mix until the batter is smooth, making sure not to overmix. This step is crucial for achieving that fudgy texture characteristic of the peanut butter cup dump cake. Aim for about 1-2 minutes of mixing to combine well.
Step 4: Pour the Batter
Carefully pour the chocolate batter over the peanut butter layer in the baking dish. Allow the batter to spread naturally across the peanut butter base, taking care not to disturb the layer underneath. This will create distinct layers that add flavor and texture to your delicious dessert as it bakes.
Step 5: Add the Mini Peanut Butter Cups
Now it’s time to sprinkle mini peanut butter cups generously on top of the chocolate batter. If you like, toss in some chocolate chips for an extra boost of sweetness. This will create a luscious, gooey topping that melts into the cake as it bakes, ensuring that every slice is packed with deliciousness.
Step 6: Bake the Cake
Place the dish in the preheated oven and bake for 35-40 minutes. Keep an eye on it; the edges should begin to pull away from the pan, and a toothpick inserted into the center should come out with moist crumbs. This visual cue is your sign that the peanut butter cup dump cake is perfectly baked and ready for the next step.
Step 7: Cool Before Serving
Once baked, remove the baking dish from the oven and let the cake cool for at least 15 minutes. This cooling time allows the layers to set and enhances the flavors. As the warmth fills your kitchen, prepare to cut into your magnificent peanut butter cup dump cake, revealing the luscious layered masterpiece inside.

What to Serve with Peanut Butter Cup Dump Cake Delight
Elevate your dessert experience by pairing this indulgent treat with delightful accompaniments that complement its rich flavors.
- Vanilla Ice Cream: This classic pairing enhances the warm, gooey cake with a creamy, cold contrast that is simply divine.
- Whipped Cream: A fluffy dollop of freshly whipped cream adds lightness, balancing the cake’s richness for a perfectly sweet bite.
- Fresh Berries: Juicy raspberries or strawberries provide a bright tartness that cuts through the sweetness, adding a refreshing touch.
- Chocolate Drizzle: A drizzle of melted chocolate enhances the dessert’s decadence, perfect for those who can’t resist an extra chocolate fix.
- Nutty Trail Mix: A sprinkle of nutty trail mix adds crunch and texture, making each bite an adventure through varied flavors. Enjoy a mix of sweet and savory!
- Coffee: A warm cup of coffee rounds off the meal beautifully, with its bitterness balancing the cake’s sweetness for a coffeehouse-inspired treat.
Pairing this peanut butter cup dump cake with these delicious options will create a memorable experience that’s bound to satisfy any sweet tooth!
Expert Tips for Peanut Butter Cup Dump Cake
• Room Temperature Peanut Butter: Allow the peanut butter to sit at room temperature for easier spreading, ensuring a smooth layer at the bottom.
• Avoid Overmixing: Mix the batter just until smooth to maintain a light and airy texture in your peanut butter cup dump cake; overmixing can lead to a dense result.
• Watch the Bake Time: Keep an eye on the cake as it bakes; overbaking can dry it out. Look for edges pulling away and a toothpick test for success.
• Cool Before Cutting: Let the cake cool for at least 15 minutes before slicing. This helps the layers set, making it easier to serve and enjoy every decadent bite.
• Custom Toppings: Consider serving with a scoop of vanilla ice cream or whipped cream to elevate your dessert experience, adding delightful creaminess to each slice!
Peanut Butter Cup Dump Cake Variations
Feel free to switch things up and make this dessert your own with these fun and delightful variations!
- Dairy-Free: Substitute regular milk with your favorite plant-based milk like almond or oat for a creamy, dairy-free version.
- Flavored Cake Mix: Swap chocolate cake mix for yellow, vanilla, or funfetti for a delightful twist that brings a new flavor profile to life. Each variation gives the cake its unique charm!
- Nutty Crunch: Add crushed nuts, such as pecans or walnuts, to the batter for an exciting crunch that pairs beautifully with creamy textures. Just a handful can elevate every slice!
- Extra Chocolate: Enhance the chocolatey goodness by mixing in chocolate chips along with the mini peanut butter cups. This way, each bite is deliciously loaded with sweet, melty surprises.
- Spicy Kick: For those who enjoy a bit of heat, sprinkle in a pinch of cayenne or chili powder for a surprising twist that complements the sweetness beautifully!
- Fruity Surprise: Add a layer of sliced strawberries or raspberries on top of the peanut butter before pouring in the batter for a fruity flavor boost that’s fresh and exciting.
- Frozen Delight: Freeze your cake in individual portions for a quick dessert treat whenever the craving strikes; just reheat for a warm, gooey experience!
- Mini-Cakes: Divide the batter into a muffin tin for adorable mini peanut butter cup dump cakes; these bite-sized treats are perfect for sharing or packed lunches!
And if you’re looking for other delightful desserts, why not try my Blackberry Lemon Cheesecake or even the colorful Fruity Pebbles Cheesecake? Each offers a unique flavor experience that’s sure to impress!
Make Ahead Options
These Peanut Butter Cup Dump Cake Delights are perfect for meal prep enthusiasts! You can prepare the peanut butter layer and the chocolate batter up to 24 hours in advance—simply refrigerate them separately in airtight containers. When you’re ready to serve, spread the peanut butter in the baking dish, pour the prepared chocolate batter over it, and sprinkle with mini peanut butter cups before baking. This method not only saves time but ensures your cake maintains its delicious flavor and texture. Remember to let it cool for about 15 minutes after baking, and you’ll be ready to enjoy a delectable dessert with minimal effort!
How to Store and Freeze Peanut Butter Cup Dump Cake
Room Temperature: Store leftover cake in an airtight container at room temperature for up to 3 days. This cake tastes even better the next day as flavors meld beautifully.
Fridge: For longer freshness, you can refrigerate the cake in an airtight container for up to 5 days. Be sure to let it come to room temperature before serving for the best taste.
Freezer: To freeze, wrap individual slices or the whole cake tightly in plastic wrap and then in foil. It will keep for up to 3 months. Thaw overnight in the fridge before enjoying.
Reheating: For a warm treat, reheat individual slices in the microwave for about 15-20 seconds. This revives the gooey texture of the peanut butter cup dump cake, making it just as delicious as when it was freshly baked!

Peanut Butter Cup Dump Cake Recipe FAQs
What type of peanut butter should I use?
I recommend using creamy peanut butter for this recipe as it spreads easily across the baking dish. If you prefer a lighter option, reduced-fat peanut butter can also work well without sacrificing flavor. Just avoid natural peanut butter, as it tends to be too runny.
How should I store leftover peanut butter cup dump cake?
Store any leftovers in an airtight container at room temperature for up to 3 days. This cake actually tends to taste even better the next day as the flavors meld. If you prefer it colder or want to store it longer, you can keep it in the refrigerator for up to 5 days. Just let it come back to room temperature before enjoying each slice!
Can I freeze peanut butter cup dump cake?
Absolutely! To freeze, wrap the entire cake or individual slices tightly in plastic wrap and then in aluminum foil for extra protection. It will keep well in the freezer for up to 3 months. When you’re ready to enjoy, thaw it overnight in the refrigerator. For a warm treat, simply reheat a slice in the microwave for about 15-20 seconds.
What if my cake is too dry after baking?
If you find your cake is dry, it may have been overbaked. A good rule of thumb is to check for doneness at around 35 minutes; when the edges start to pull away and a toothpick comes out with moist crumbs, it’s time to take it out. Remember, every oven is slightly different, so keep an eye on your cake as it bakes to avoid dryness.
Can this recipe be made gluten-free?
Yes! To make a gluten-free version of the peanut butter cup dump cake, simply use a gluten-free chocolate cake mix. Many brands offer delightful gluten-free alternatives that do not compromise on flavor or texture. Just check the label to ensure it suits your dietary needs!
Are there any allergy considerations I should know about?
If you’re making this cake for someone with allergies, be mindful of the ingredients. The primary allergens include peanut butter, which can be a concern for those with nut allergies. Consider using a sunflower seed butter instead as a safe alternative, and always check labels for cross-contamination, especially with packaged cake mixes and mini peanut butter cups.

Peanut Butter Cup Dump Cake: Effortless Indulgence Awaits
Ingredients
Equipment
Method
- Preheat your oven to 350°F (175°C) and grease a 9x13-inch baking dish.
- Spread the room-temperature peanut butter evenly across the bottom of the prepared baking dish.
- In a mixing bowl, combine the chocolate cake mix, melted butter, and milk. Mix until smooth for about 1-2 minutes.
- Pour the chocolate batter over the peanut butter layer in the baking dish.
- Sprinkle mini peanut butter cups on top of the chocolate batter.
- Bake for 35-40 minutes or until edges pull away from the pan and a toothpick comes out with moist crumbs.
- Let the cake cool for at least 15 minutes before serving.

Leave a Reply