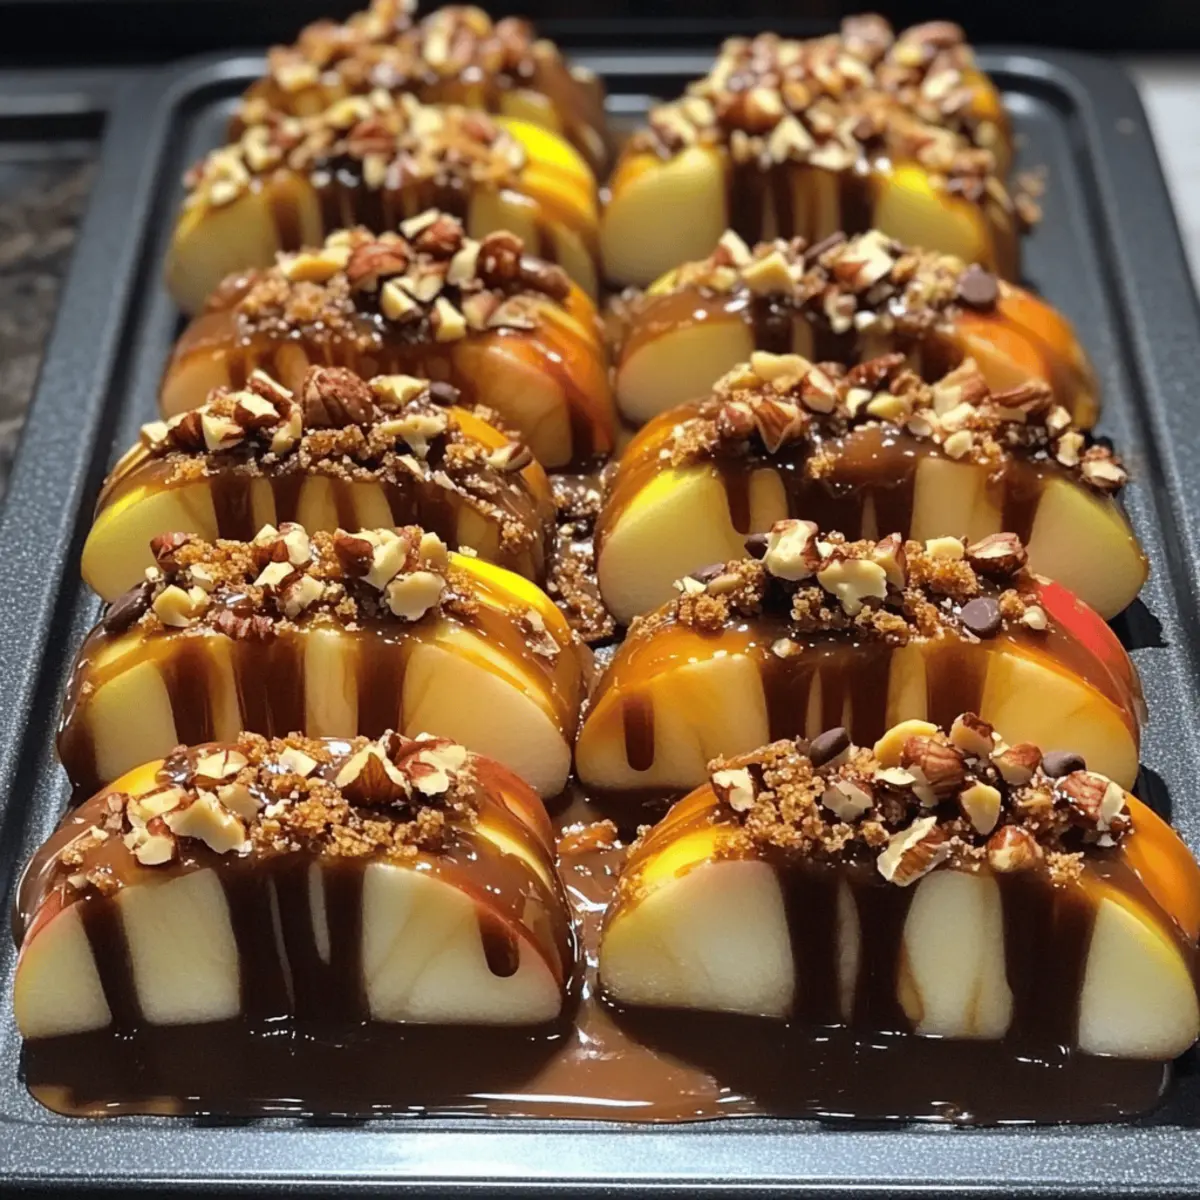
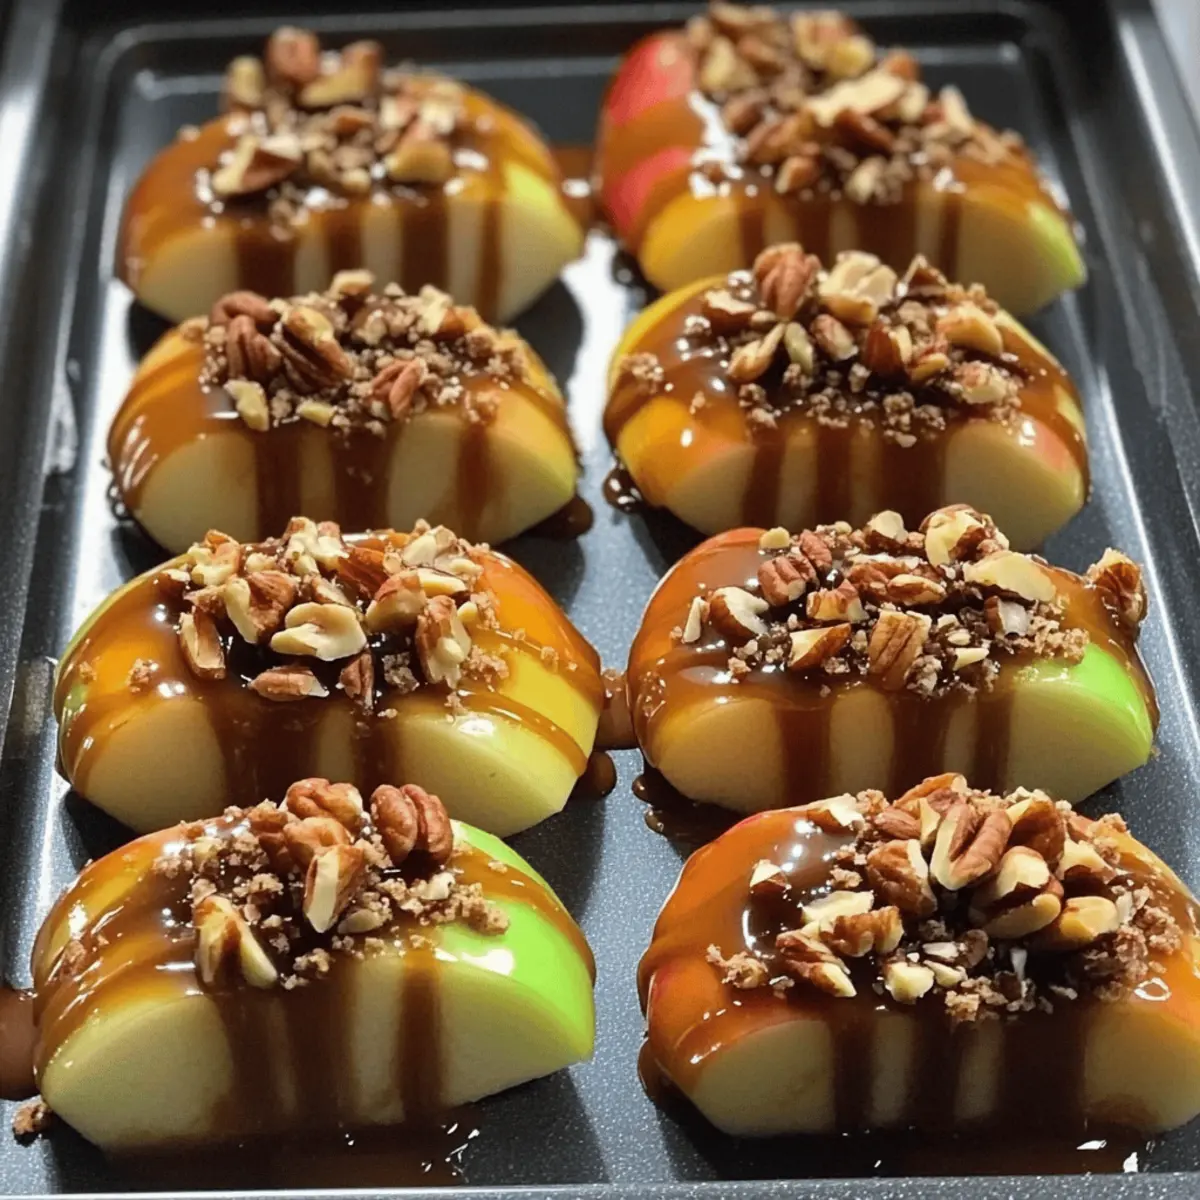
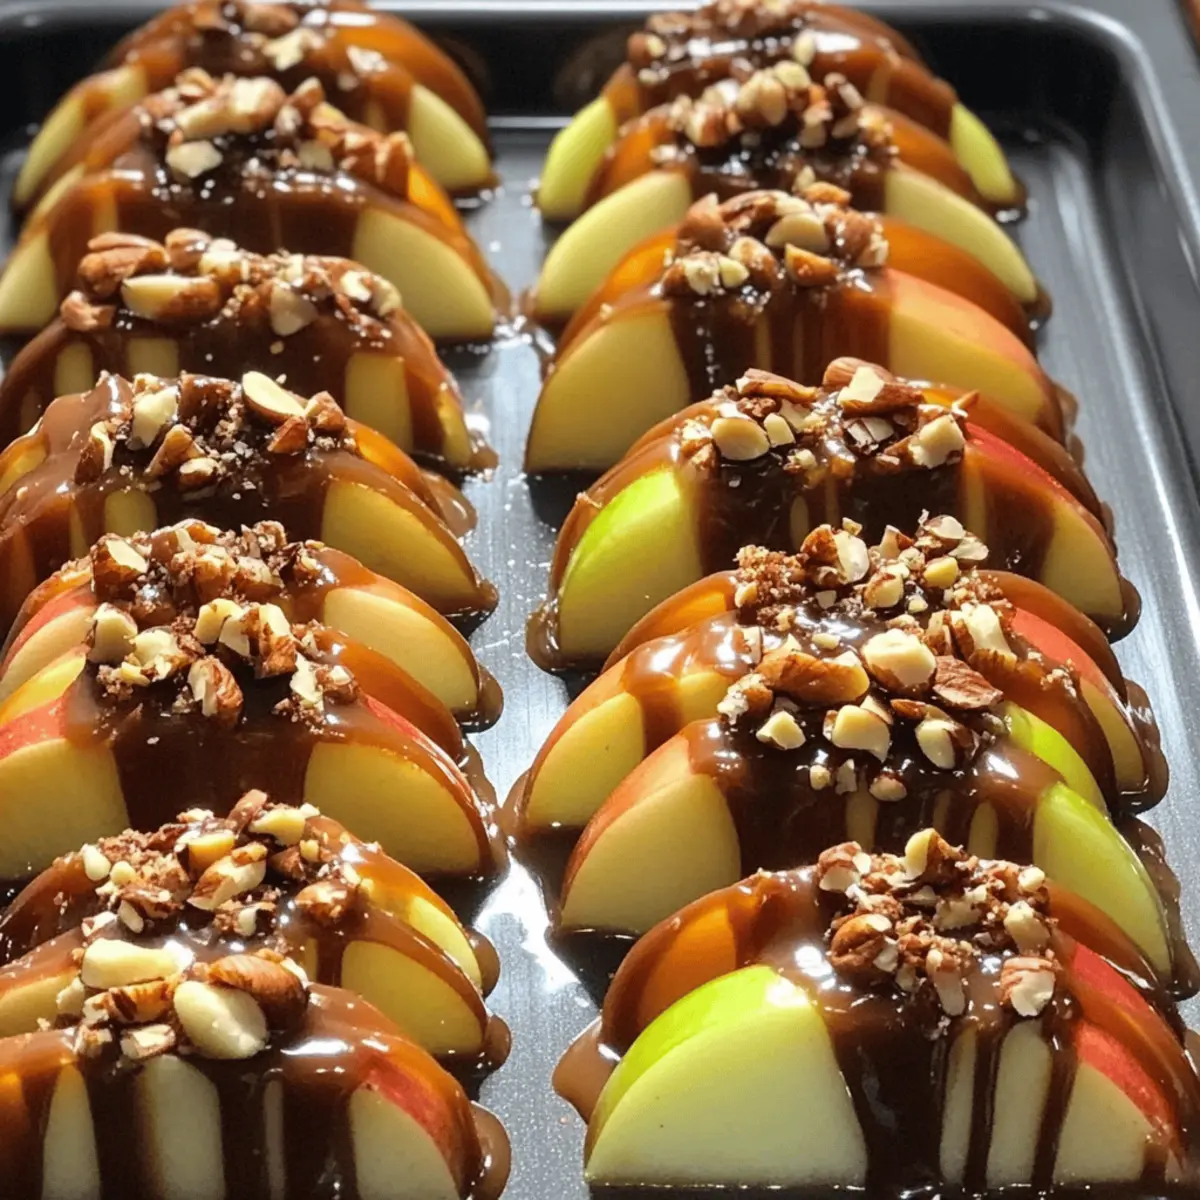
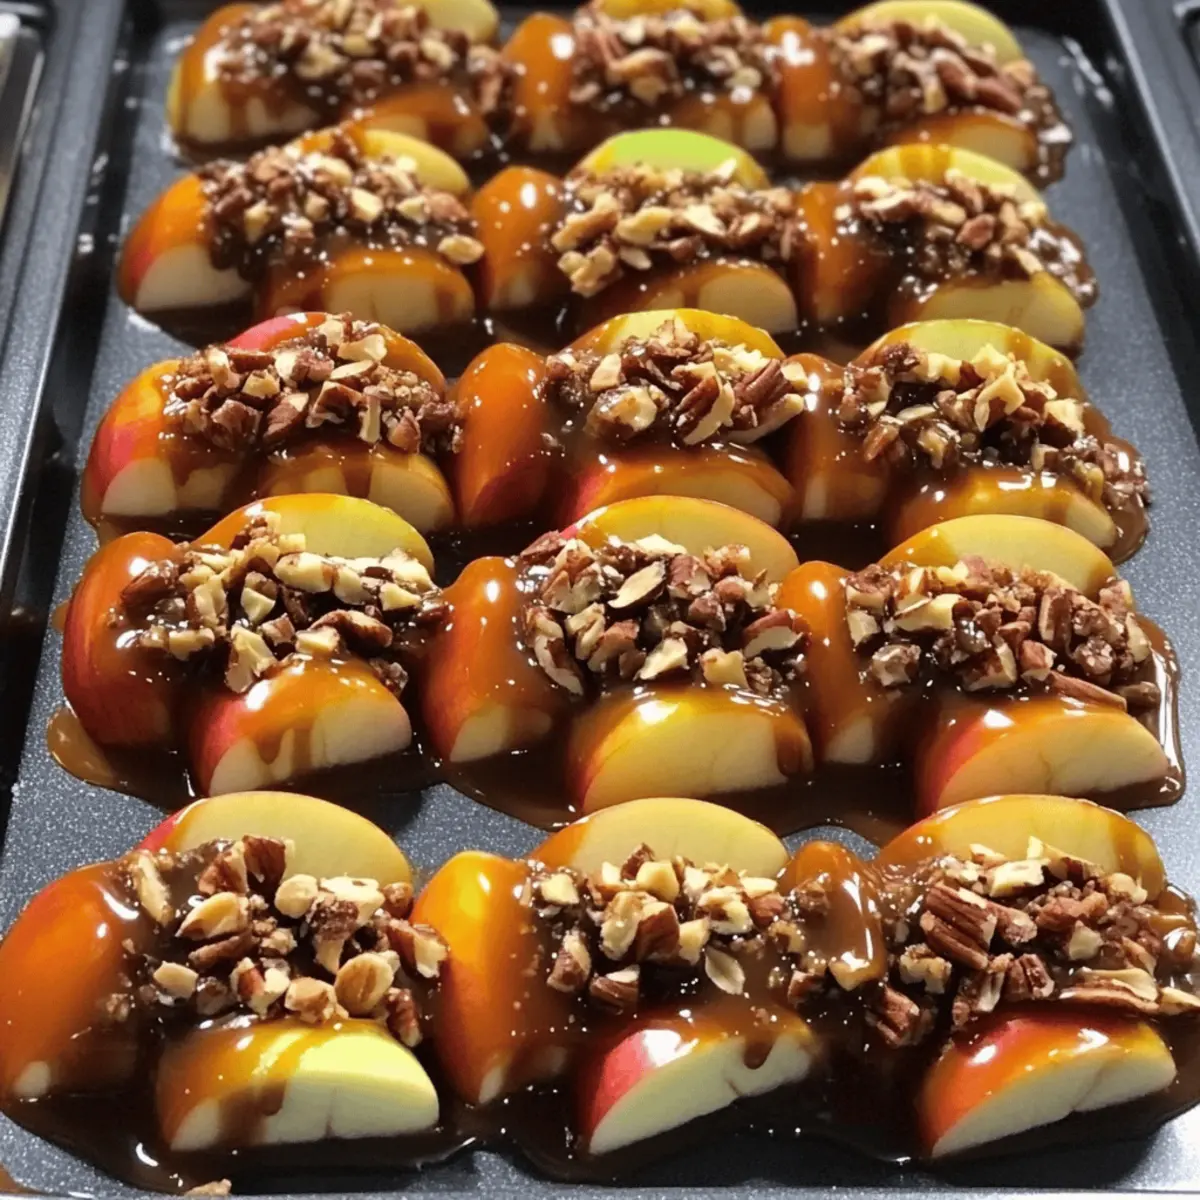
As the cool breeze of autumn settles in, I find myself daydreaming about the warmth of freshly baked treats. That’s when I stumbled upon my new favorite: Easy Sheet Pan Caramel Apples. These delightful slices of apple are not only drenched in creamy caramel but are also topped with a crunchy medley of graham cracker crumbs, nuts, and chocolate chips. What I love most is how hassle-free this recipe is—perfect for family gatherings or a cozy night indulging in a sweet treat. This fall dessert captures the essence of the season while offering a simpler way to enjoy classic caramel apples without the fuss. Ready to bring a little autumn magic to your kitchen? Let’s dive into this sweet adventure!

Why Make Sheet Pan Caramel Apples?
Simplicity at Its Best: This recipe is incredibly easy to whip up, making it perfect for any skill level in the kitchen.
Flavor Explosion: The sweet and salty blend of caramel, apples, and crispy toppings is sure to tantalize your taste buds.
Crowd-Pleasing Dessert: Great for gatherings, this autumn treat is sure to delight friends and family, just like my German Potato Pancakes do!
Texture Contrast: Imagine biting into soft, caramel-coated apples, balanced by the crunch of graham cracker crumbs and nuts.
Versatile Changes: Feel free to swap ingredients, like using butterscotch to change it up or adding your favorite toppings for a personal touch—similar to the toppings of my Blueberry Buttermilk Pancake!
Quick Bake Time: In just 10-15 minutes, you’ll have a warm dessert ready, perfect for those late-night cravings.
Sheet Pan Caramel Apples Ingredients
-
For the Apples
-
Firm Apples – Choose varieties like Granny Smith or Honeycrisp for the best sweet-tart balance.
-
For the Caramel
-
Caramel Sauce – Use store-bought or homemade; ensure it’s warm and pourable for easy coverage.
-
For the Crunchy Topping
-
Graham Cracker Crumbs – Add a delightful crunch; can swap with crushed cookies or gluten-free crumbs if desired.
-
Nuts (optional) – Pecans or walnuts enhance flavor; omit for a nut-free dessert.
-
Chocolate Chips – Semi-sweet or dark chocolate compliments the caramel beautifully; consider dairy-free options for a vegan twist.
These ingredients create a comforting and quick autumn dessert featuring Sheet Pan Caramel Apples that will be loved by all!
Step‑by‑Step Instructions for Sheet Pan Caramel Apples
Step 1: Preheat the Oven
Start by preheating your oven to 350°F (175°C). This will ensure that when you’re ready to bake your Sheet Pan Caramel Apples, they’ll cook evenly. While the oven is warming up, gather your baking sheet and line it with parchment paper for easier cleanup later.
Step 2: Prepare the Apples
Once the oven is preheated, take your firm apples—Granny Smith or Honeycrisp work beautifully—and slice them into even wedges. Arrange the apple slices in a single layer on the prepared sheet pan, making sure they are not overlapping. This allows each slice to get the perfect amount of caramel and toppings.
Step 3: Add the Caramel Sauce
Next, pour your warm caramel sauce generously over the arranged apple slices. Aim for even coverage, letting the sauce pool in the crevices of the apples. You want each slice to be thoroughly coated, giving you that rich flavor in every bite of your Sheet Pan Caramel Apples.
Step 4: Sprinkle the Toppings
Now it’s time to add the crunchy toppings! Sprinkle a mixture of graham cracker crumbs, nuts, and chocolate chips evenly over the caramel-coated apples. This step adds texture and flavor, making your dessert even more delightful. Don’t be shy with the toppings; make sure every apple slice gets its fair share.
Step 5: Bake the Apples
Place the sheet pan in the preheated oven and bake for approximately 10-15 minutes. Keep an eye on the apples; they should become tender and the caramel will bubble slightly. You want them to be soft but not mushy, holding their delightful shape.
Step 6: Cool and Serve
After baking, remove the sheet pan from the oven and let the Sheet Pan Caramel Apples cool for a few minutes. This will allow the caramel to set slightly, making it easier to serve. Once slightly cooled, slice the apples if needed and serve warm, perhaps with a scoop of ice cream or a dollop of whipped cream for an extra special treat.

Make Ahead Options
These Easy Sheet Pan Caramel Apples are perfect for busy cooks looking to save time! You can slice the apples and arrange them on the sheet pan up to 24 hours in advance. Simply refrigerate the prepped apples in an airtight container to prevent browning. Additionally, you can prepare your toppings—like graham cracker crumbs and chopped nuts—up to 3 days ahead; store them in separate containers to maintain their crunch. When you’re ready to serve, just pour the warm caramel over the apples, sprinkle on the toppings, and bake for 10-15 minutes. This way, you’ll have a delightful fall dessert with minimal effort and less stress!
Expert Tips for Sheet Pan Caramel Apples
-
Perfect Apple Choice: Use firm apples like Granny Smith or Honeycrisp to keep the slices from getting mushy during baking.
-
Caramel Consistency: Warm your caramel sauce before pouring, ensuring it’s pourable for even coverage over your apple slices.
-
Mind the Bake Time: Keep a close watch while baking. Apples should be tender but not falling apart; check at the 10-minute mark!
-
Layer Wisely: Arrange apple slices in a single layer on the sheet pan. This helps the caramel and toppings distribute evenly for the best Sheet Pan Caramel Apples.
-
Cleanup Made Easy: Line your sheet pan with parchment paper for quick and easy cleanup after enjoying your delicious fall treat!
Storage Tips for Sheet Pan Caramel Apples
Fridge: Store your leftover Sheet Pan Caramel Apples in an airtight container in the refrigerator for up to 2 days. This helps maintain their flavor and texture.
Reheating: When ready to enjoy them again, simply reheat in the microwave for about 15-30 seconds until warmed through. The caramel may soften again, bringing back that gooey goodness.
Freezer: While best enjoyed fresh, you can freeze the unbaked apple slices, topped with caramel in a separate container. Thaw overnight in the fridge before baking when you want to indulge!
Room Temperature: If you plan to serve them right after baking, let them rest for about 10 minutes at room temperature to let the caramel set slightly.
What to Serve with Easy Sheet Pan Caramel Apples
Indulging in warm, caramel-covered apple slices is just the start of a cozy fall feast.
- Vanilla Ice Cream: The creamy richness of vanilla ice cream adds a delightful contrast to the warm, gooey apples, creating a comforting combo.
- Whipped Cream: Light and airy, whipped cream enhances the dessert’s sweetness while offering a fluffy, refreshing touch.
- Cinnamon Sugar Donuts: These sweet treats pair beautifully, echoing apple pie flavors and bringing a fun, festive flair to your dessert spread.
- Hot Apple Cider: The spiced warmth of apple cider enriches the overall autumn experience, making it the perfect drink to sip alongside.
- Crumbly Oatmeal Cookies: These cookies add a chewy texture that complements the soft caramel apples, providing a lovely balance of flavors and crunch.
- Chocolate-Covered Pretzels: The salty-sweet combination of chocolate pretzels brings an exciting contrast, crunching under each bite of tender apple.
- Chai Tea: This spiced tea complements the caramel flavor, wrapping you in a warm blanket of cozy autumn scents with each sip.
- Pumpkin Spice Cake: The rich flavors of pumpkin spice cake pair well with apples, adding another layer of seasonal delight that embodies the spirit of fall.
- Honey-Drizzled Yogurt: For a lighter side, tangy yogurt drizzled with honey perfectly balances the indulgent dessert, creating a refreshing palate cleanser.
Variations & Substitutions for Sheet Pan Caramel Apples
Feel free to get creative with these delightful sheet pan caramel apples, making them your own with these fun twists!
-
Butterscotch Twist: Substitute caramel with melted butterscotch for an exciting flavor variation that brings a different sweetness.
-
Nut-Free Treat: Omit the nuts completely if you’re entertaining guests with nut allergies. The dessert will still be deliciously crunchy with just the graham cracker crumbs.
-
Peanut Butter Drizzle: For a creamy twist, drizzle melted peanut butter over the caramel before sprinkling the toppings. The combination of flavors is heavenly!
-
Add a Kick: Sprinkle a pinch of cayenne pepper or cinnamon over the apples for a subtle heat that will surprise your taste buds.
-
Sprinkled Joy: Experiment with different toppings like colorful sprinkles or crushed candies. Not only do they add texture, but they also make the dessert more visually appealing—think of adding fun toppings, similar to what you might sprinkle on a German Potato Pancakes dish!
-
Vegan Delight: Use coconut caramel or homemade date caramel for a dairy-free option. This swap will maintain creaminess while catering to vegan diets.
-
Frozen Variation: Before baking, freeze the apple slices after adding the caramel. It’ll give a fun, icy contrast to the warm dessert, perfect for those wanting something a little different!
Exploring these variations can make your Sheet Pan Caramel Apples truly standout and cater to everyone’s preferences, adding another layer of joy to your cozy fall gatherings!

Sheet Pan Caramel Apples Recipe FAQs
What type of apples should I use for the best flavor?
Absolutely! For the best results, I recommend using firm apple varieties like Granny Smith or Honeycrisp. Their crisp texture and perfect balance of tartness and sweetness make them ideal for caramel apples.
How should I store leftover Sheet Pan Caramel Apples?
I suggest placing your leftover Sheet Pan Caramel Apples in an airtight container and refrigerating them. They can last for up to 2 days, maintaining their delicious flavor and texture!
Can I freeze Sheet Pan Caramel Apples?
Yes, you can freeze the unbaked apple slices topped with caramel! First, layer them in a single layer on a baking sheet and freeze until solid. Then, transfer them to a sealed bag or container for up to 3 months. When you’re ready to indulge, just thaw them overnight in the fridge and bake as directed—easy peasy!
What should I do if my caramel sauce isn’t pourable?
If your caramel sauce has thickened and isn’t pouring easily, don’t worry! You can gently warm it in the microwave for about 10-15 seconds or on the stove over low heat. Stir until it reaches a smooth consistency again, making it perfect for a delightful caramel coating.
Are there any dietary considerations for this recipe?
Absolutely! If you have allergies, you can easily adapt this recipe. Make it nut-free by omitting walnuts or pecans, and choose gluten-free graham cracker crumbs for a gluten-free version. Additionally, dairy-free chocolate chips can be used to cater to vegan diets!
How can I enhance the flavor or texture of my caramel apples?
The more the merrier! You can mix and match toppings to elevate your dessert. For a twist, try adding melted butterscotch instead of caramel or drizzling with peanut butter for extra creaminess. Don’t hesitate to sprinkle on crushed candies or sprinkles for fun visuals too!

Sheet Pan Caramel Apples: Effortless Fall Delight at Home
Ingredients
Equipment
Method
- Preheat your oven to 350°F (175°C) and line your baking sheet with parchment paper.
- Slice firm apples into wedges and arrange them in a single layer on the prepared baking sheet.
- Pour the warm caramel sauce generously over the apple slices, ensuring even coverage.
- Sprinkle the mixture of graham cracker crumbs, nuts, and chocolate chips over the caramel-coated apples.
- Bake for approximately 10-15 minutes, until apples are tender and caramel is bubbling.
- Let cool for a few minutes before serving warm, optionally with a scoop of ice cream.

Leave a Reply